

 This is a very sturdy oven that can be left outdoors in the same conditions as a picnic table ( as long as you take the lid inside or put a cover over it to prevent scratching. If you want to make it a bit lighter, you can use thinner boards. I’d build the frame out of at least 2 x 4 so it will stay firmly together as you move it around to face the sun throughout the seasons.
Materials:
- One 1” x 4” x 8’ pressure treated board
- Five 5/4” x 8” x 8’ pressure treated board
- Two 1” x 2” x 8’ pressure treated board ($1.97/ea)
- One 2” x 2” x 8’ pressure treated board
- One precut piece 30” x 36” clear acrylic (Plexiglass) for lid
- Twenty 5/8” rubber washers (they were cheaper in the plumbing department) $1.99/box of 10
- Twenty #8 screws ½” , galvanized large pan head ($5.58 for a box of 100)
- Approx fifty 1 ½” galvanized deck screws (had in garage)
- ½” Foil covered insulation board (4’ x 8’)
- Four Cement pavers ($1.38 ea)
- Black spray paint
- Exterior stain for box
Cutting the Wood
Cut 5/4” x 8” x 8’ into nine 3 ft pieces and five 2 foot pieces
Cut 2” x 2” x 8’ into two 21” long pieces & two 24” pieces
Cut 1” x 4” x 8’ board into two 2” pieces
Option: swap out one 5/4” x 8” x 8’ for a 5/4” x 8” x 12’ and cut two 2’ pieces from the extra length
Assembly
- Make your base:Lay four 3’ pieces edge to edge. Put the two 1” x 4” x 2’ pieces across evenly spaced and screw into place. This is your base.

Turn base over for next step.
2) Build the main box base
Lay a 3’ board perpendicular to the long side of the base and screw into place. Repeat on other 3’ long side.

Lay a 2’ board perpendicular to the short side of the base. It will overlap the ends of the 3’ boards. Screw into place along the edge. Repeat on the other side.

You now have the bottom of your box
3) Make the side panels:
Use one screw to loosely attach a 2 x 2 x 21” upright to the inside corner of the box. This is your guide for laying the next boards. Lay a 2’ piece edge to edge with the short side of the box, square it up with the sides of the box and screw it to the upright on one side. Repeat with two more boards.
Then- don’t make our mistake! Attach a second 2” x 2” x 21” upright on the outside of the box so that the lower edge of the upright is in line with the top of the box bottom. In the picture above the upright is at the right height, but it is on the wrong side.
Draw a line from the upper corner to the outer edge where the box bottom and the side boards meet. (diagonally from corner to corner of the upper 3 board section)
Remove the section from the box base & cut along the line to make two triangular sections for the sides.

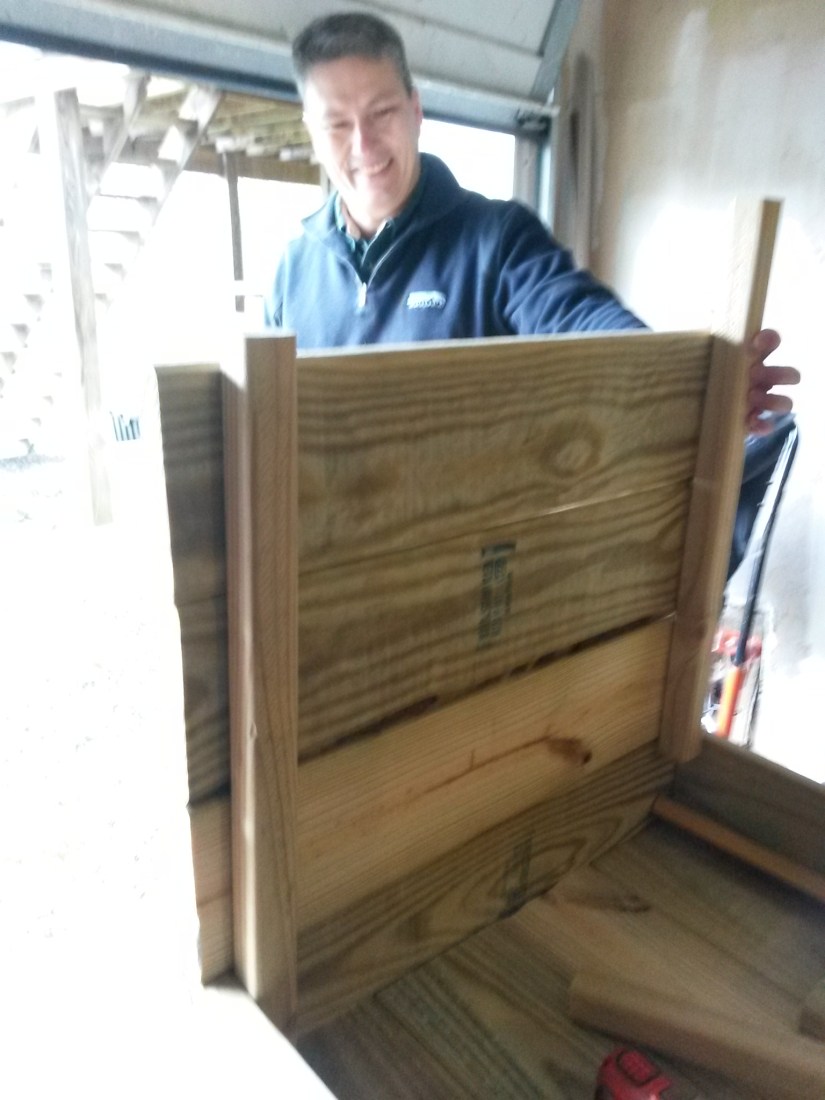
Here’s the picture of me moving the board to the other side of the panel. There may have been some creative language and mostly kind-hearted teasing happening in the garage. The temps had dropped a fair bit, and we were questioning the wisdom of building a solar oven when it was 45F outside.
4) Attach the side panels to the base
Screw through the box side and the upright to lightly attach the triangular sides. Don’t tighten this down all of the way. You are just holding it in place for now.


5) Fill the back:
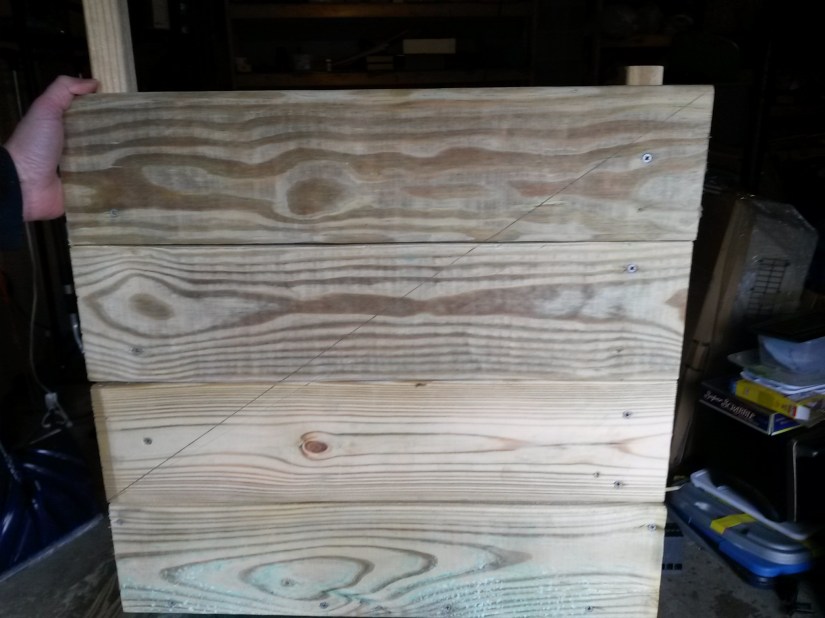
Insert a 3’ board section into the frame created by the sides and the bottom of the box. If the fit is too tight, loosen the screws on the sides a bit more. Screw through the corner uprights to attach the boards. Leave a bit of slack in the screws as you go, but make sure the board is secure before adding the one above. Insert & attach two more 3’ boards to form the back of the oven. Then tighten all screws on the side pieces and upright to make a tight fit.

6) Add the lid side rail
Place a 2” x 2” x 24” board to the long side of the triangle and screw into place, making sure to secure the ends of each of the side boards.
7) Finishing off the box
Using razor knife, cut insulation board to fit the inside of the box.
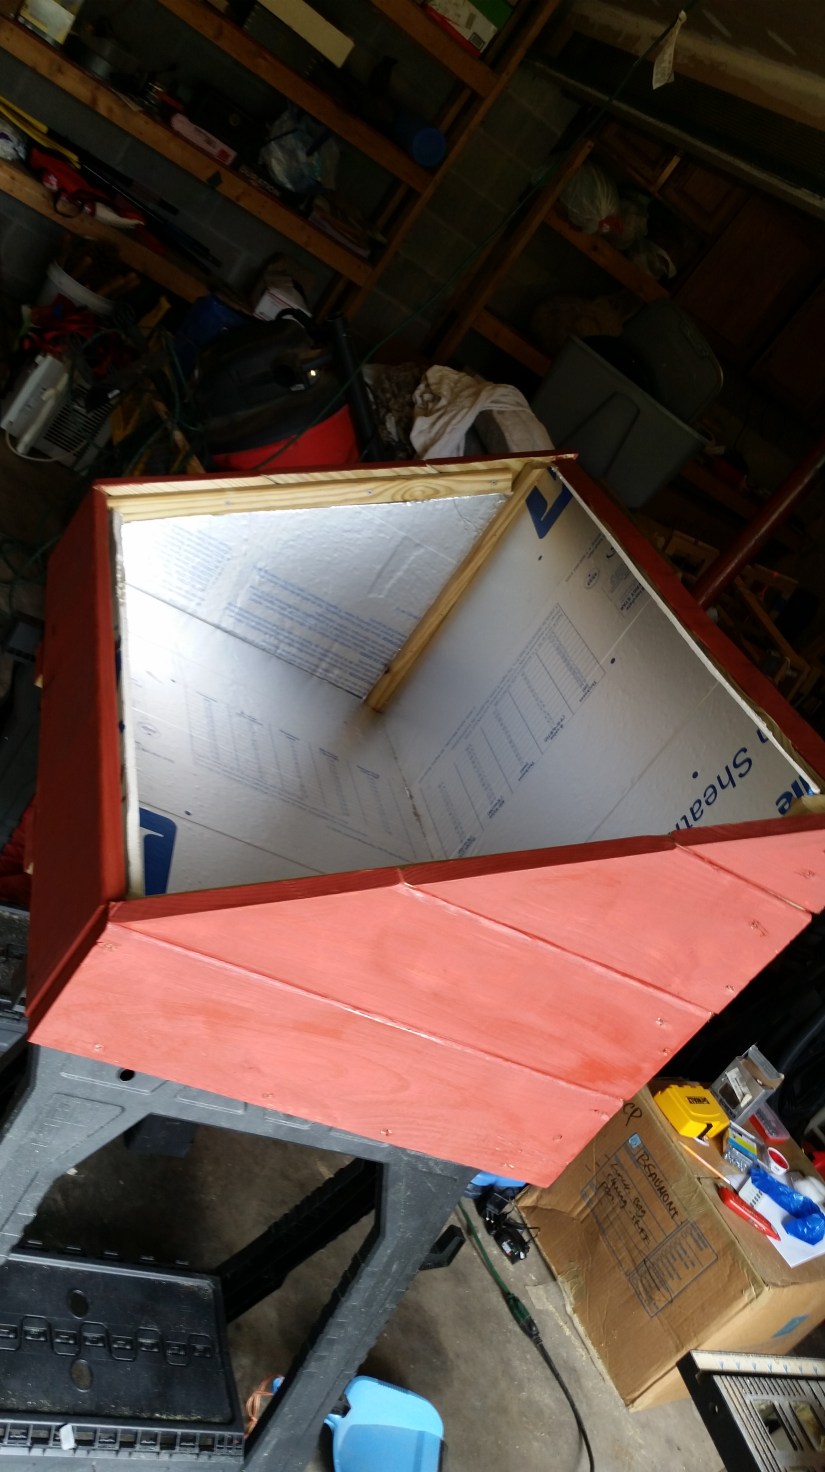
Stain or seal the exterior of the box.
Spraypaint the cement pavers black and put aside until you are ready to place your box. Don’t attach the pavers unless you plan to create a cart or wheels for your box. We are thinking about mounting the box on an old garden cart so it is easy to move around. For now, we use a moving dolly.
To make the lid: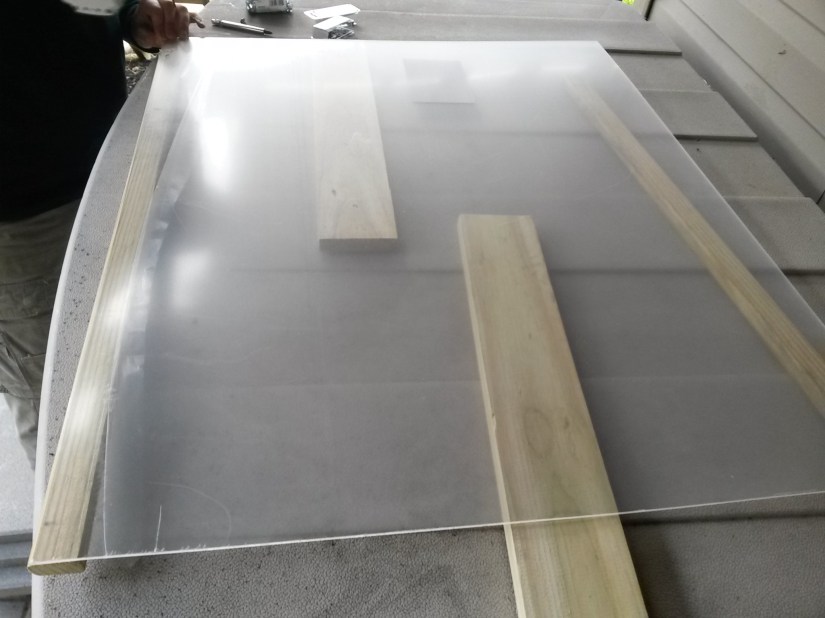
Peel back the protective film on your acrylic sheet. Predrill holes through the plastic into the 1” x 2” pieces. Put a rubber washer on the screw and then screw the pan head screw into the predrilled holes slowly. Be careful not to crack the plastic. The picture has 3 screws per side. 5 would be better.
The lid will fit firmly into the box. You can add hinges- or- you can have pegs that the lid slides over. Before you set the position of the lid, test your box to see how much of a gap you need for venting. I live in upstate NY, so I need a tight seal on all but the warmest days.
Make a cover to protect the clear lid when it isn’t in use. Or, bring it inside. A cloudy lid keeps light from passing into your oven.
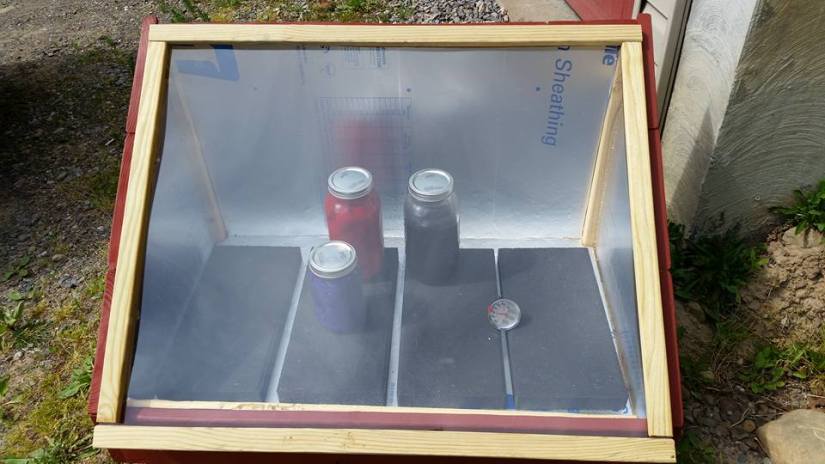
I like to keep the internal temperature of the box around 195F & the temperature in the jars/pot no greater than 195F. The ideal wet temperature to work towards is around 175-185F. This way, you can leave your box for the day and not worry about overcooking anything. You do not need to boil water on your kitchen stove to fill the jars, but on cooler days it does help to start with warm or hot tap water.
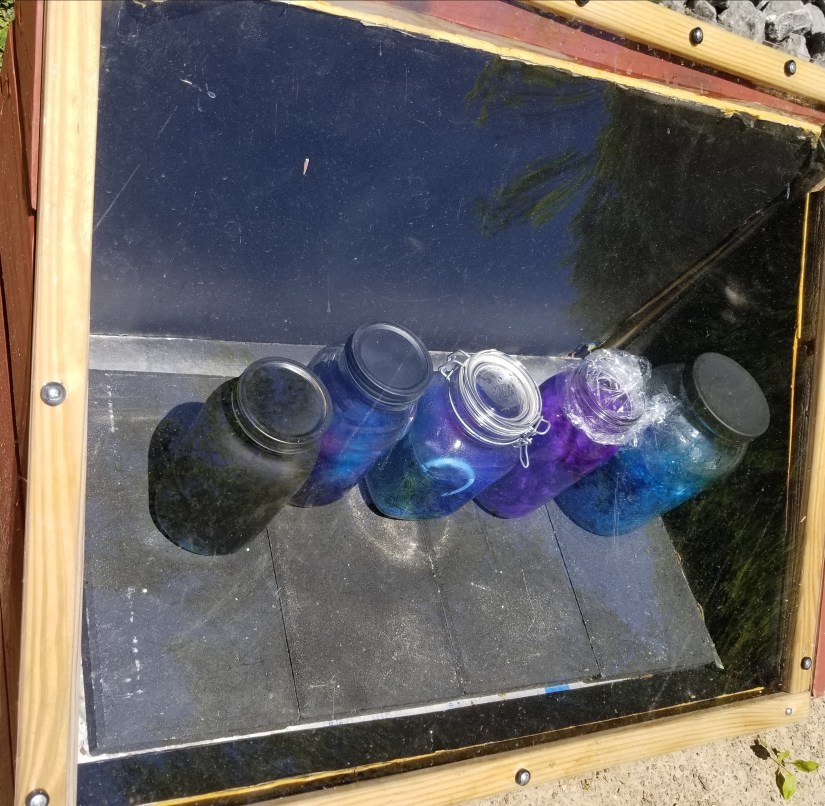
For added temperature, spray paint the reflective surfaces black:
Some general use tips:
- You can increase the temperature inside the jars by using black jars and pans.
- Larger flat plans are great for getting more heat.
- Dark pans absorb more heat.
- Batches of smaller containers will heat more evenly and take less time to reach temperature than a large container with lots of fiber or yarn. The jar on the far right is a 1 gallon pickle jar. Usually this would be painted black, but I leave it clear for demos. I only fill this 1/2 way most of the time unless it is a really warm day.
- It takes longer to heat up lots of water, so get your larger, fuller jars out early
- Start with hot water from the tap
- Black enamel roasting pans make fabulous solar cookware.
- You can lay plastic wrapped yarn directly on the pavers. Keep an eye on it on very hot days to be sure it doesn’t burn.
- Try and keep your oven out of the wind.
- You can increase temperature by adding a sun scoop around your oven. Use a windshield reflector or a box covered in tinfoil to direct the sun through the clear lid of your oven.
