Big Project, Small Footprint – Started January 2022

The Muness Shawl pattern by Sharon Miller is simply put: amazing.
It’s amazingly beautiful. Amazingly complex. Amazingly out of my comfort zone.
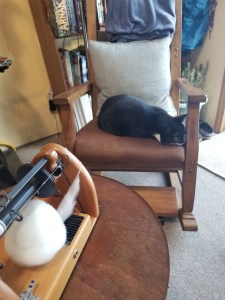
Covid has reared it’s ugly head again (re-reared? re-re-reared?) Bob is still working in the studio. Construction is still delayed for my folk’s house. I needed a project that won’t explode across the house which I am sharing with three adults. Three adults who like the option of sitting in chairs, cooking in the kitchen, and eating at the dining table.
So- processing my 2021 flax inside- nope. Weaving my sample sail at a loom in Bob’s temporary office- nope. Spinning up Berta’s flax using distaff and saxony wheel- nope. I needed something that could fit in a small carry-on bag, not add to clean up, and that could be temporarily exploded and then tucked away as needed. A unicorn project- tiny, neat, and challenging. Also- something that would hit up the happiness receptors in my brain because I feel pretty well blenderized by 2020 & 2021.
In November of 2021, I started messing around with samples for the Muness Shawl. In December, my holiday cookie & fudge addled brain latched on to making an heirloom knitting project as a 365 day project. Never mind that I’m 53 and have never completed a 365 project. New year, new tears. (I don’t think that’s how that goes- but it it may come to that if this all goes sideways!) I’m knitting the Muness Shawl from handspun. Suffice to say, it is January 6th, 2022, and I am just now getting the first blog post written. That bodes well…
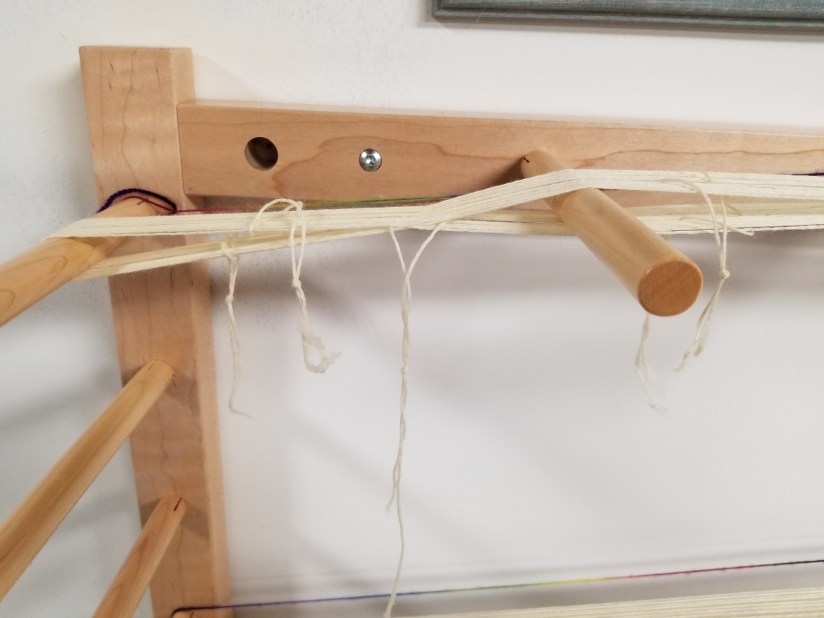
Muness Shawl: The Big Swatch
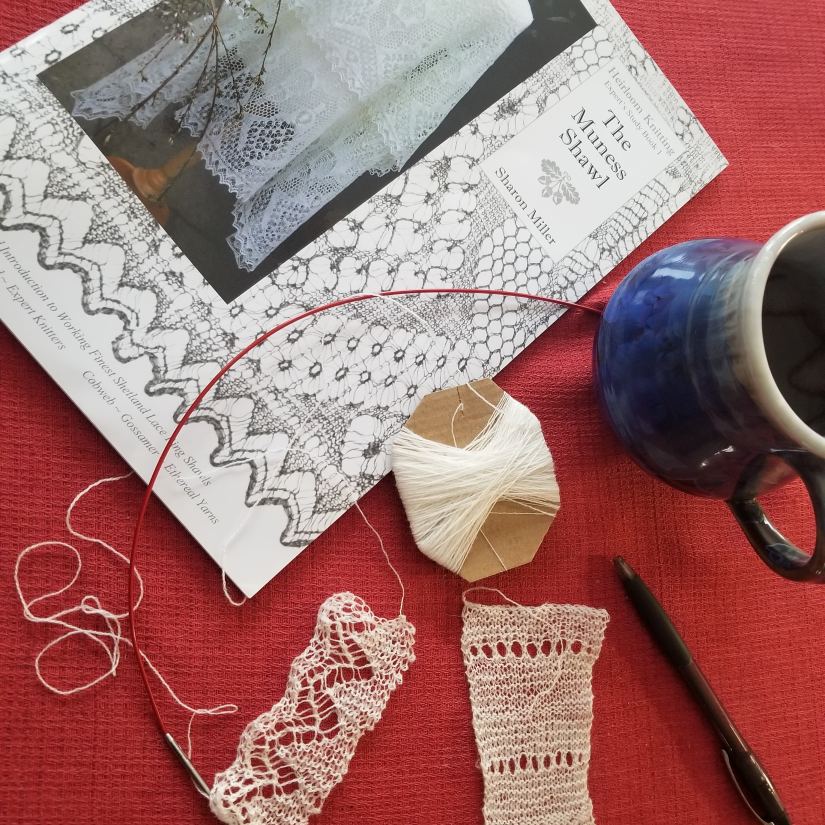
Swatching spun yarn, swatching needle sizes, and swatching for yarn consumption- this project is all about swatching.
Step One: Swatching yarn.
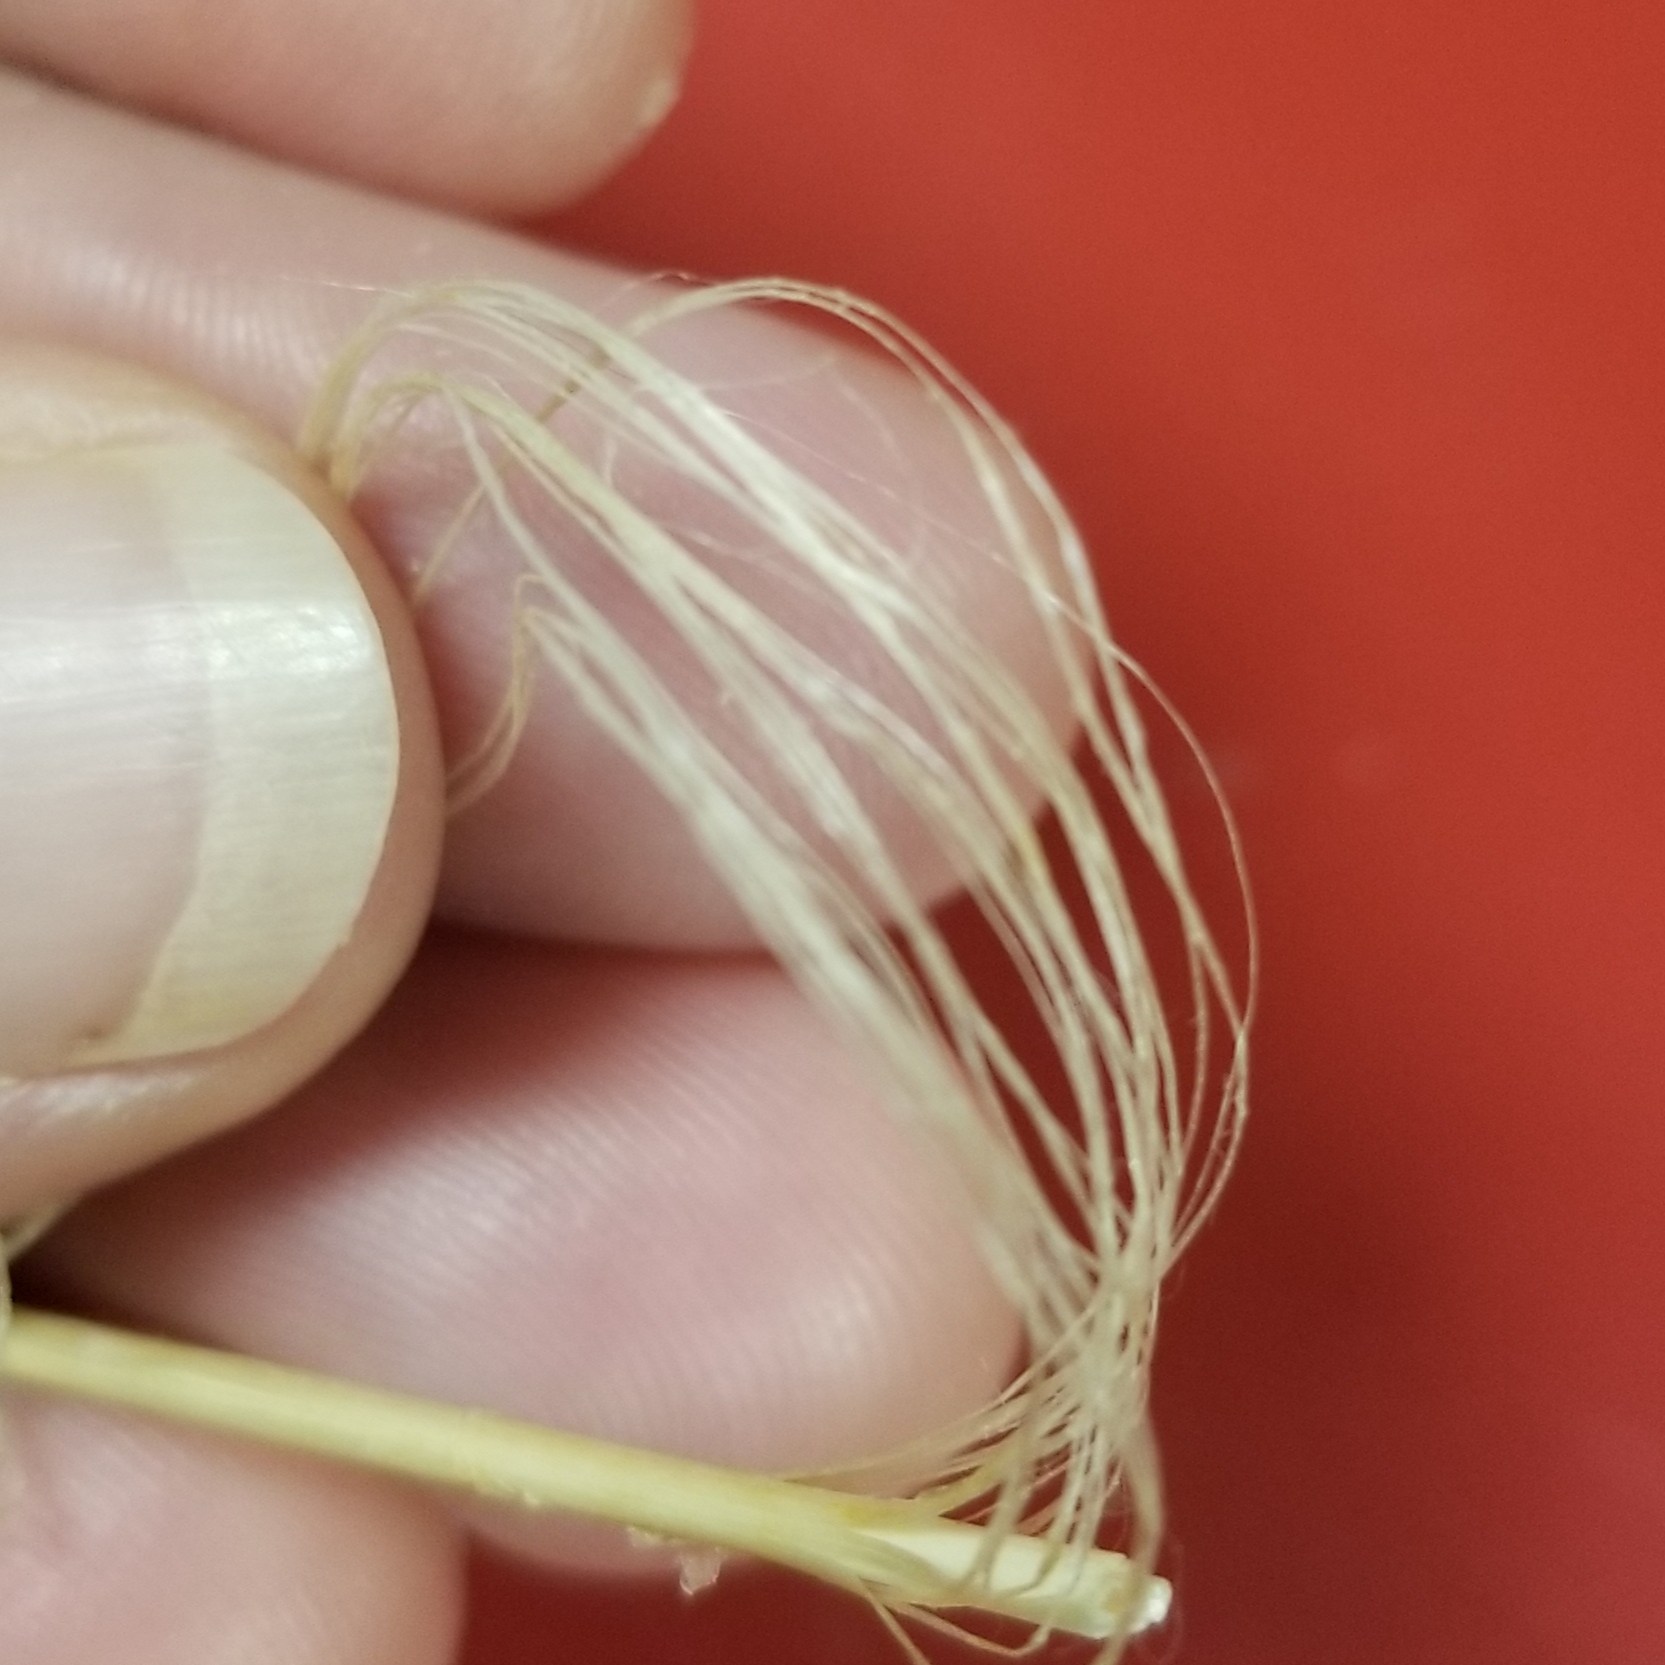
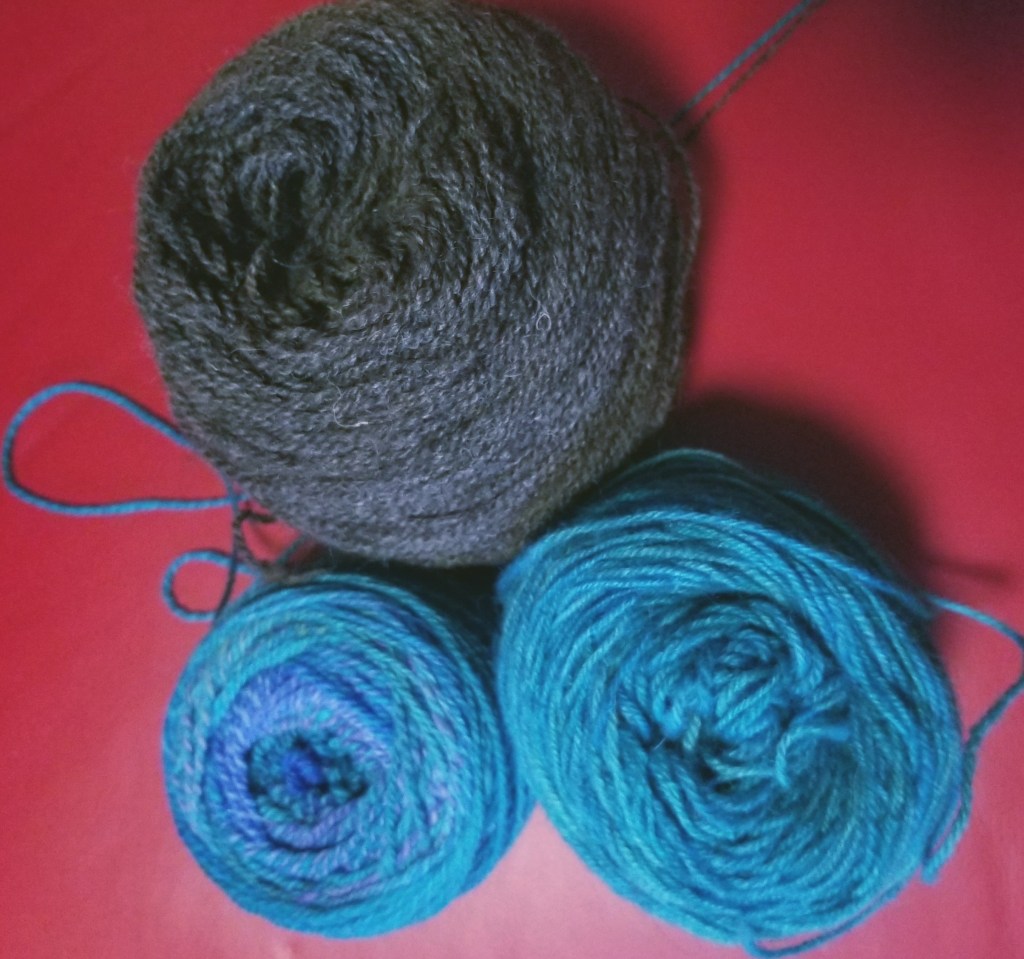
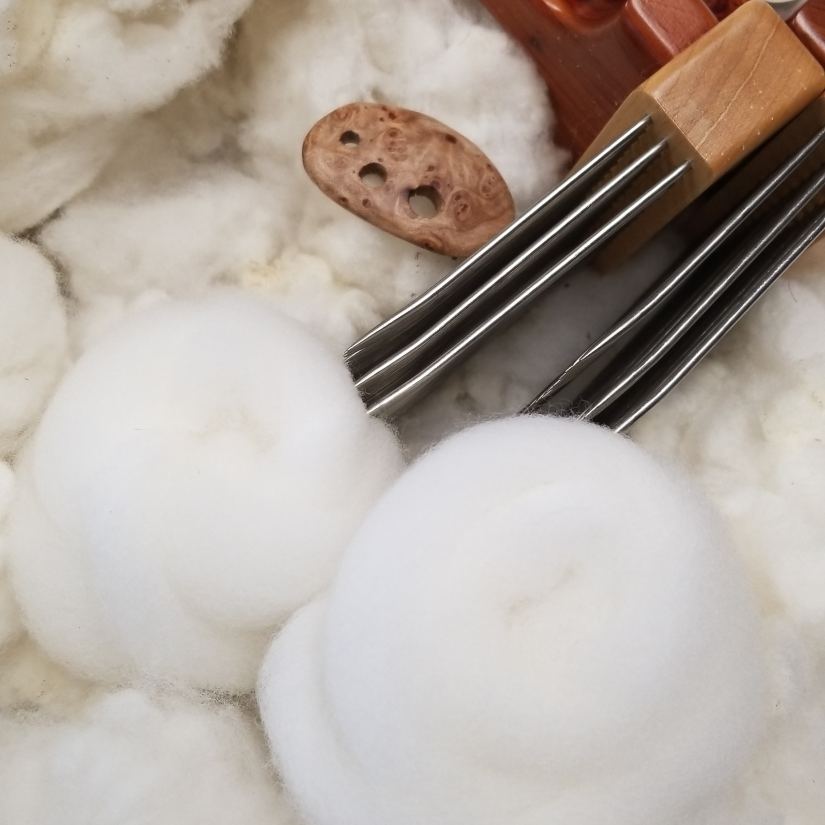
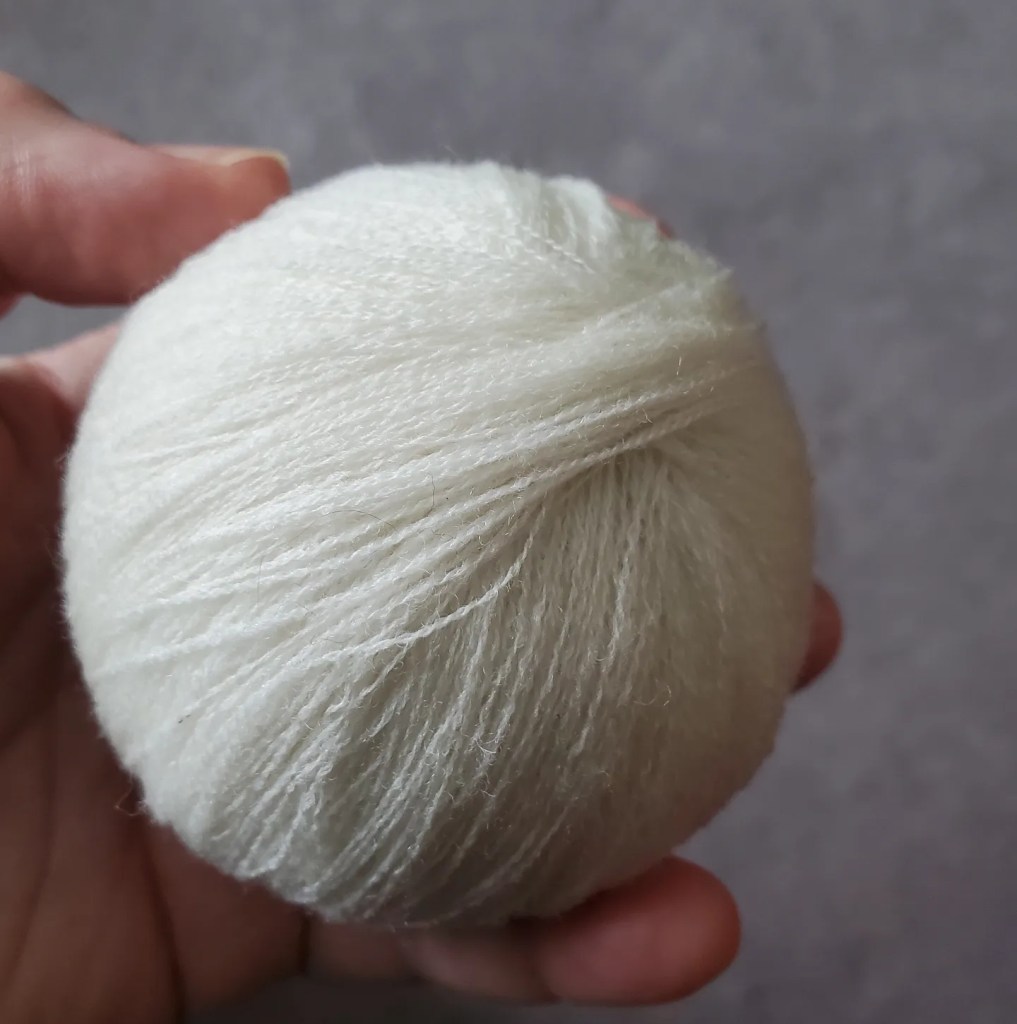
I created different yarns to test- some semiworsted, others worsted. The goal was fine yarn with some loft and a faint halo. I tried BFL, cormo, merino, and shetland top. My BFL spun nicely into a fine yarn, but it was slightly hairy and didn’t have enough loft. The hand of the knitted fiber was harder than I wanted. The cormo had so much crimp and bloom that the yarn looked exploded when I spun to the crimp count. So, that left merino and shetland. I preferred the shetland yarn to the merino because the merino was a bit too springy. The knitted swatch felt soft but a bit spongy. The fine shetland top spun into the perfect yarn for this project. Light, airy, fine with a touch of a halo.
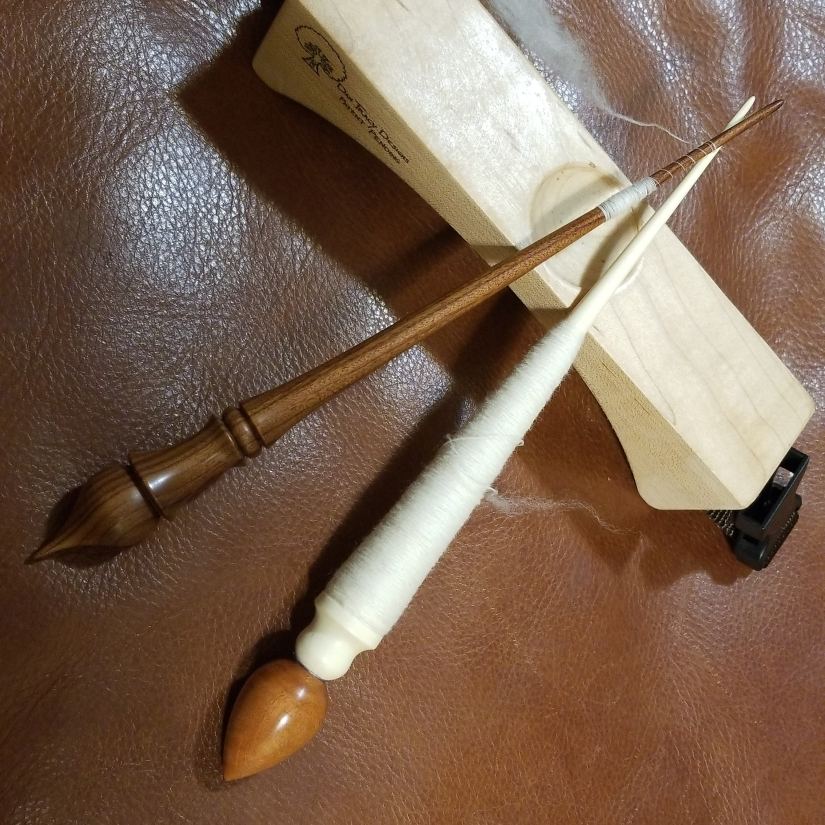
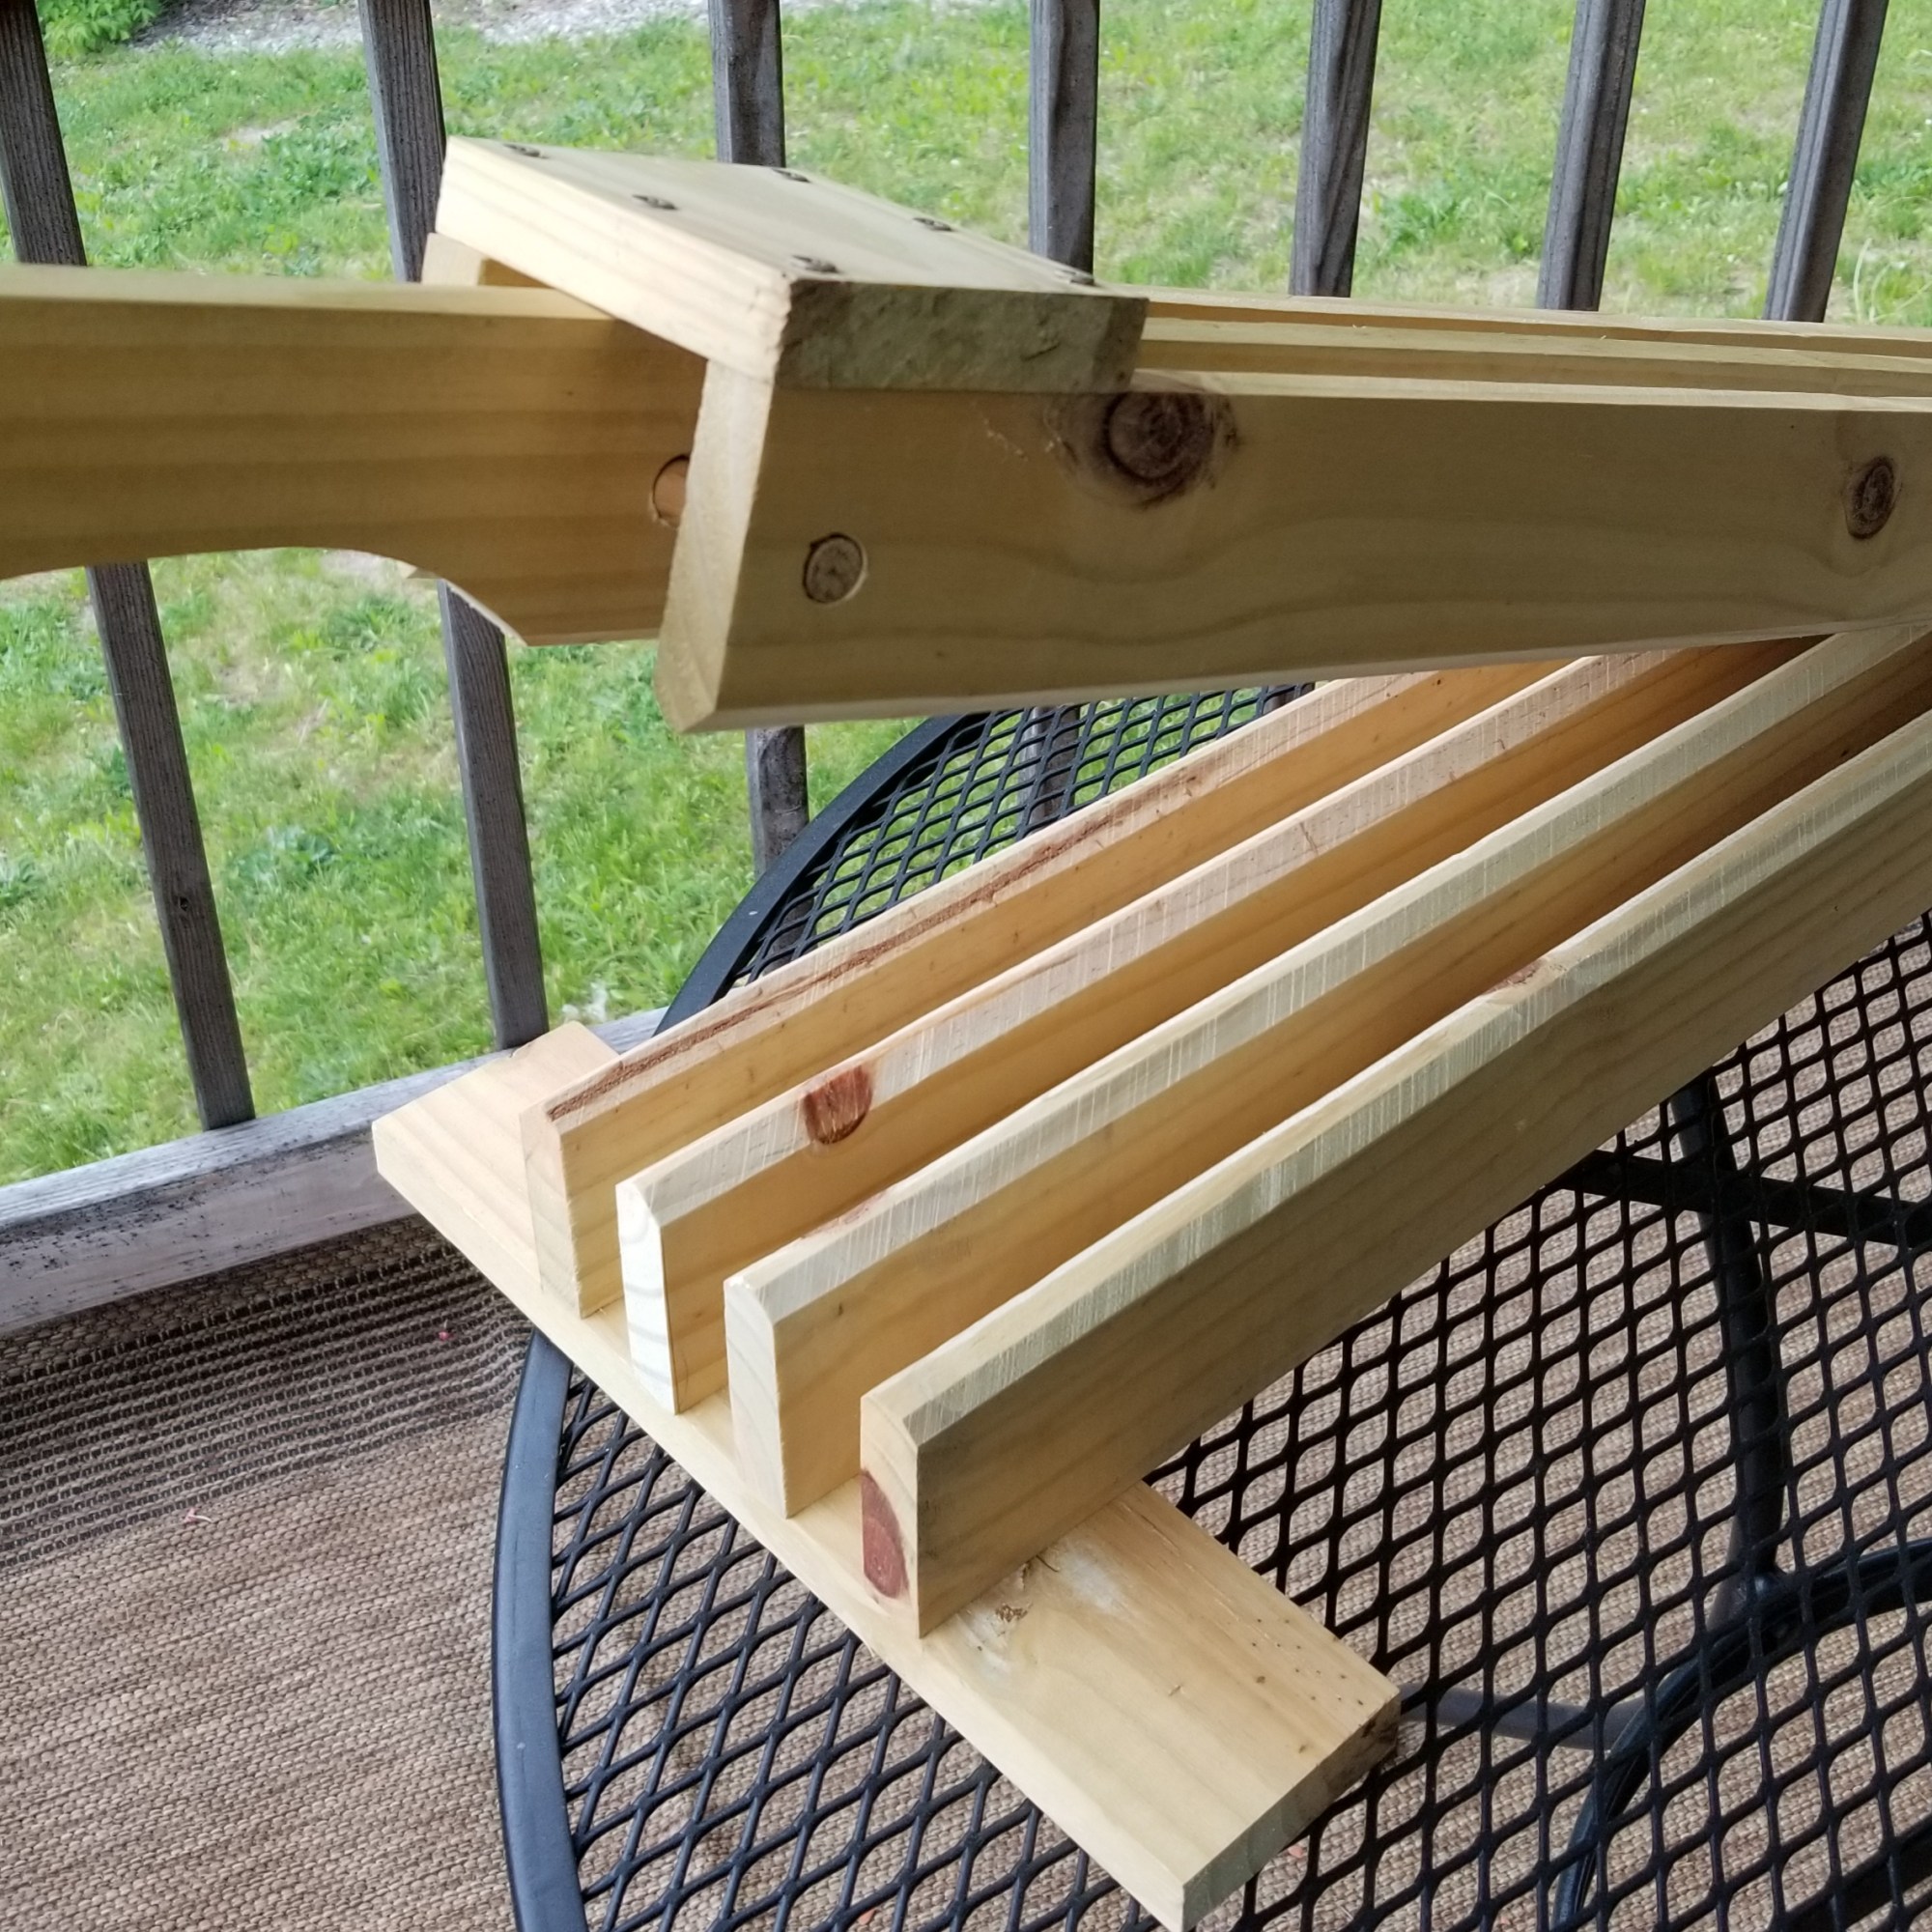
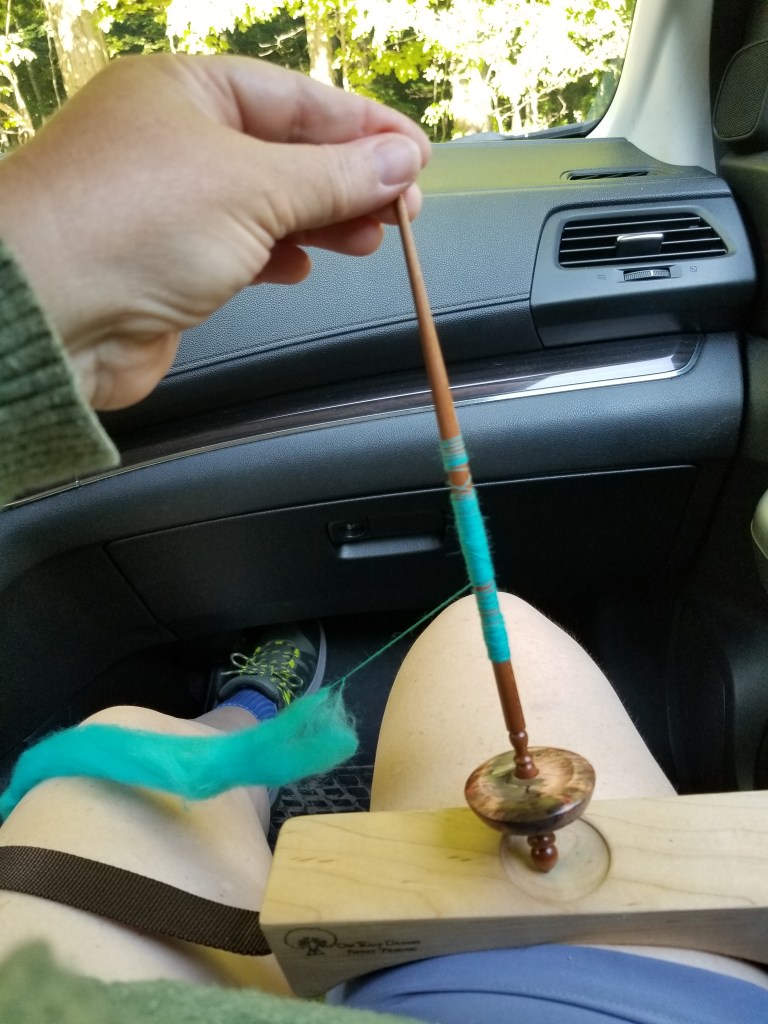
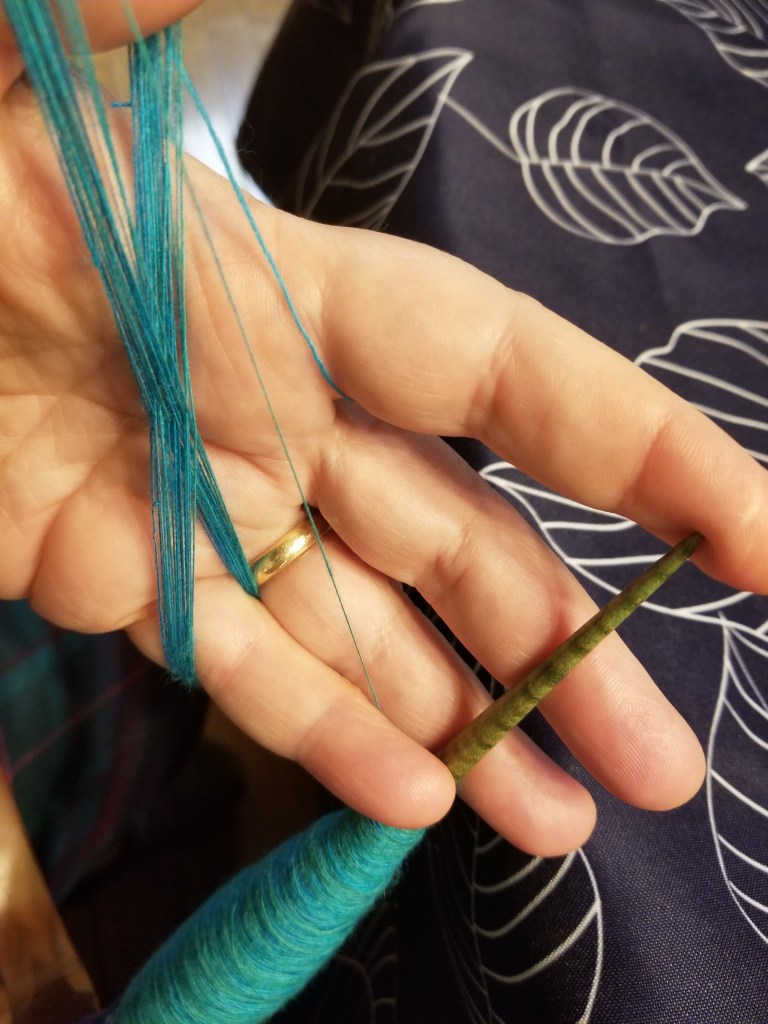
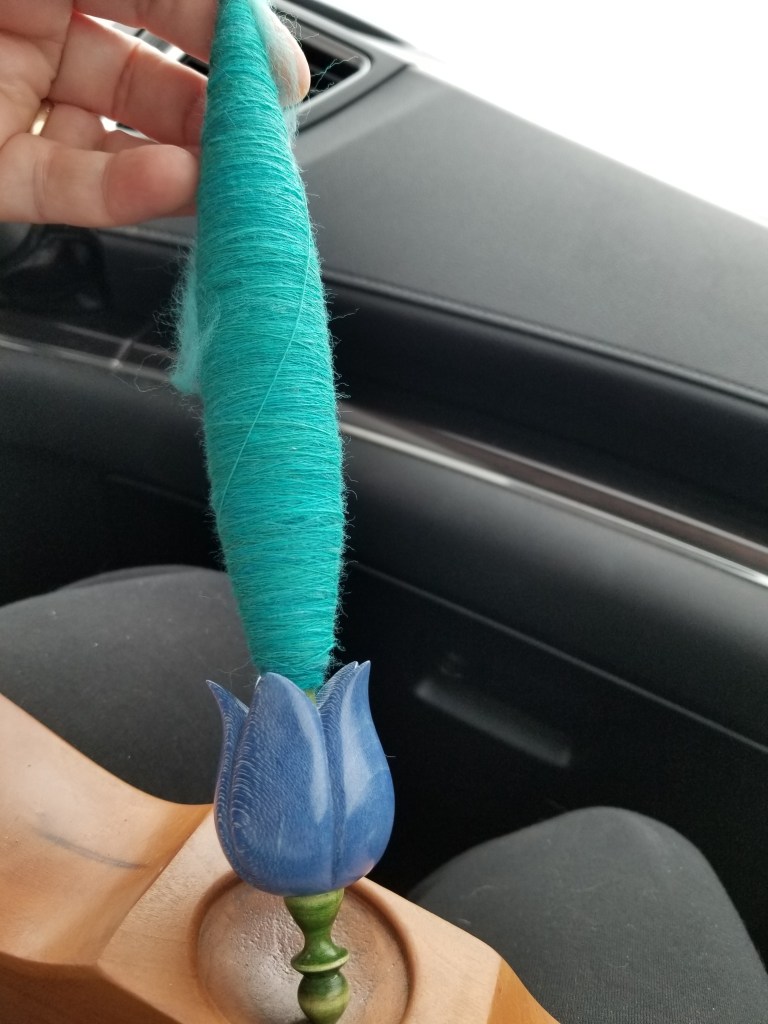
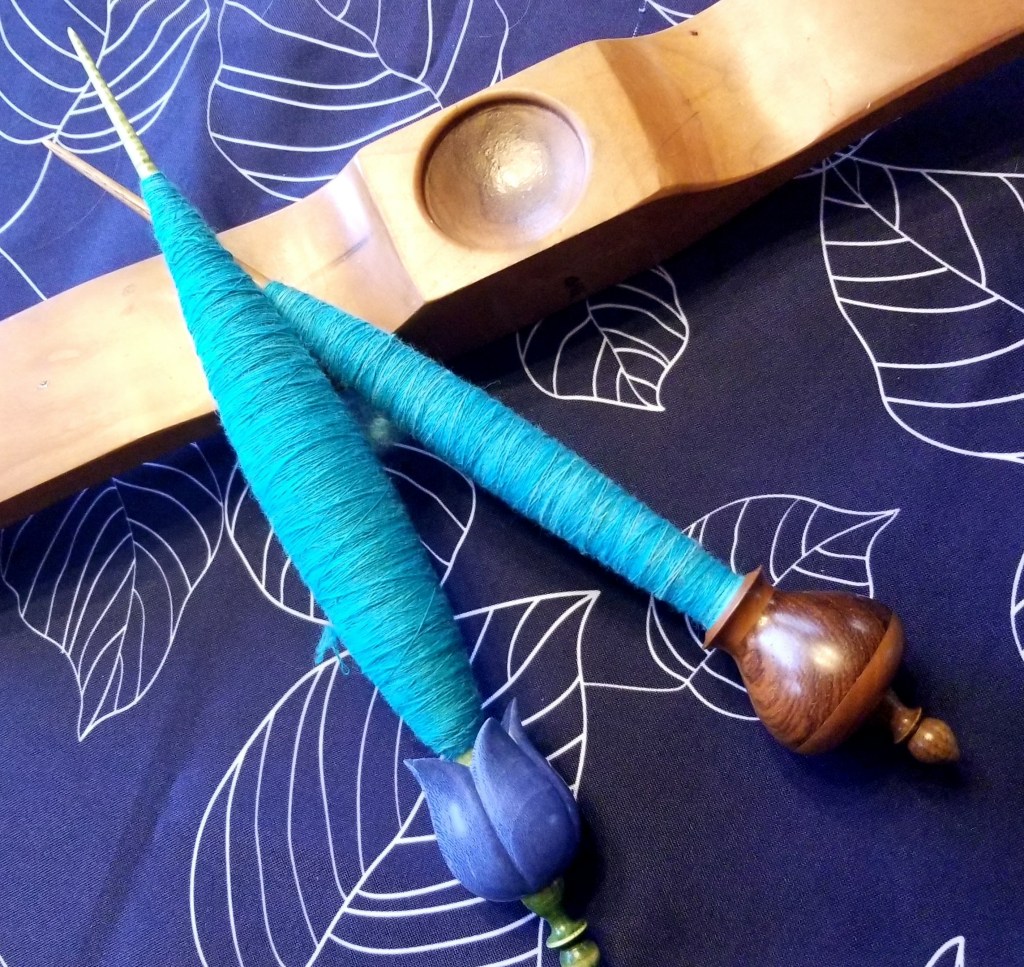
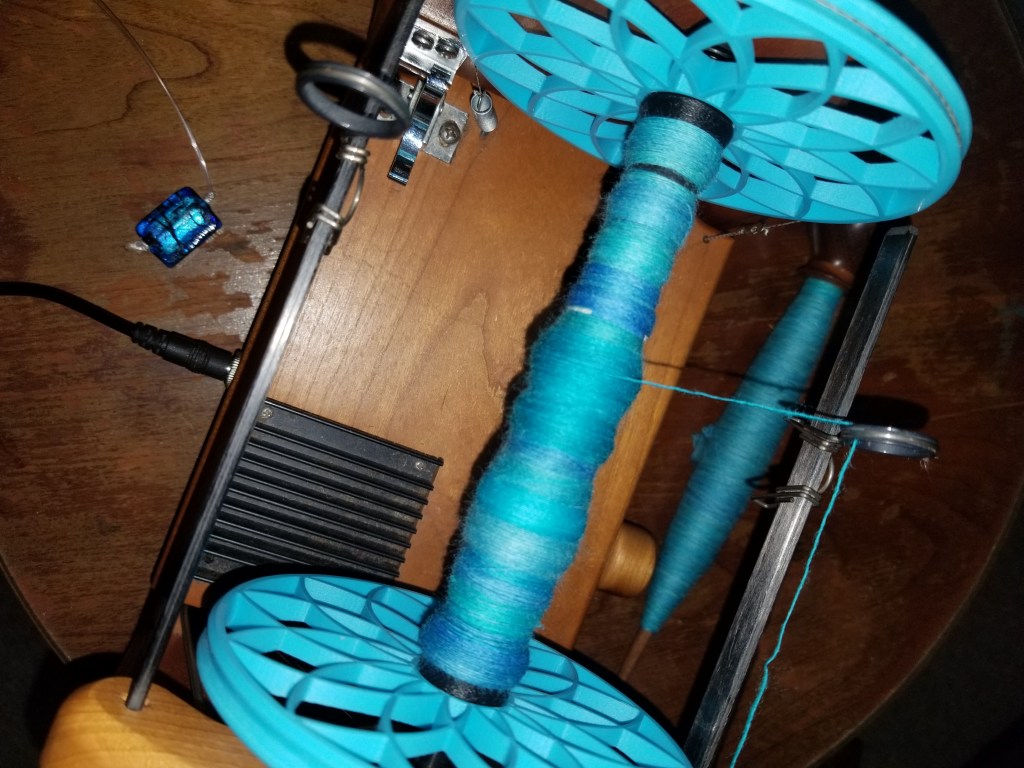
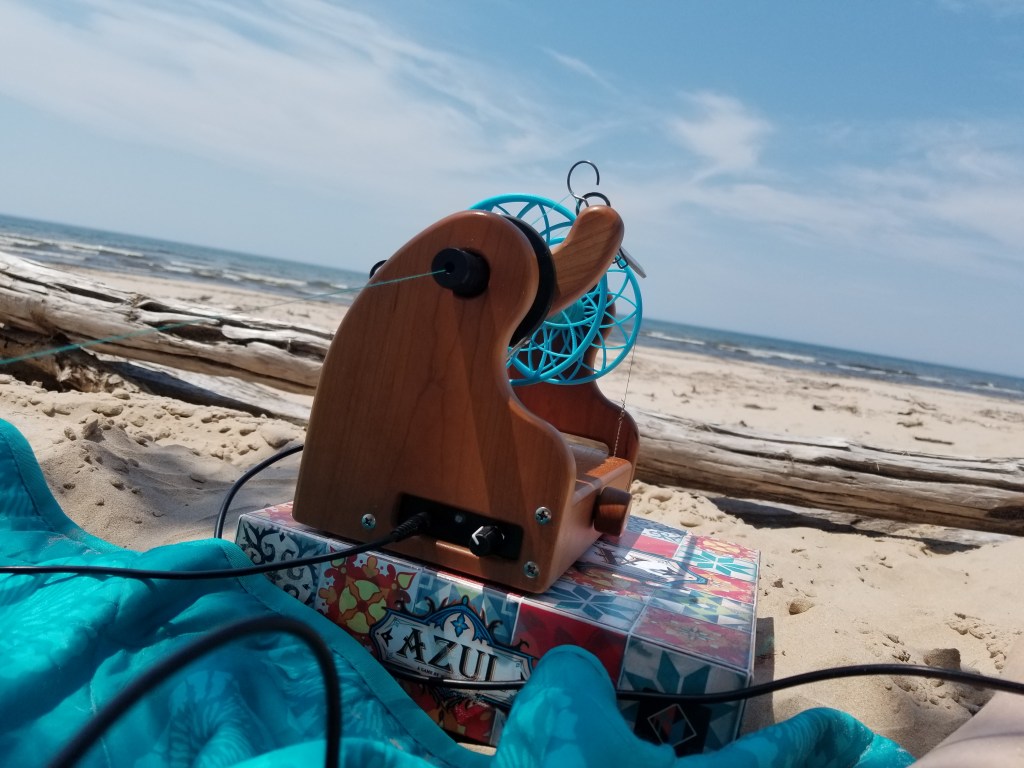
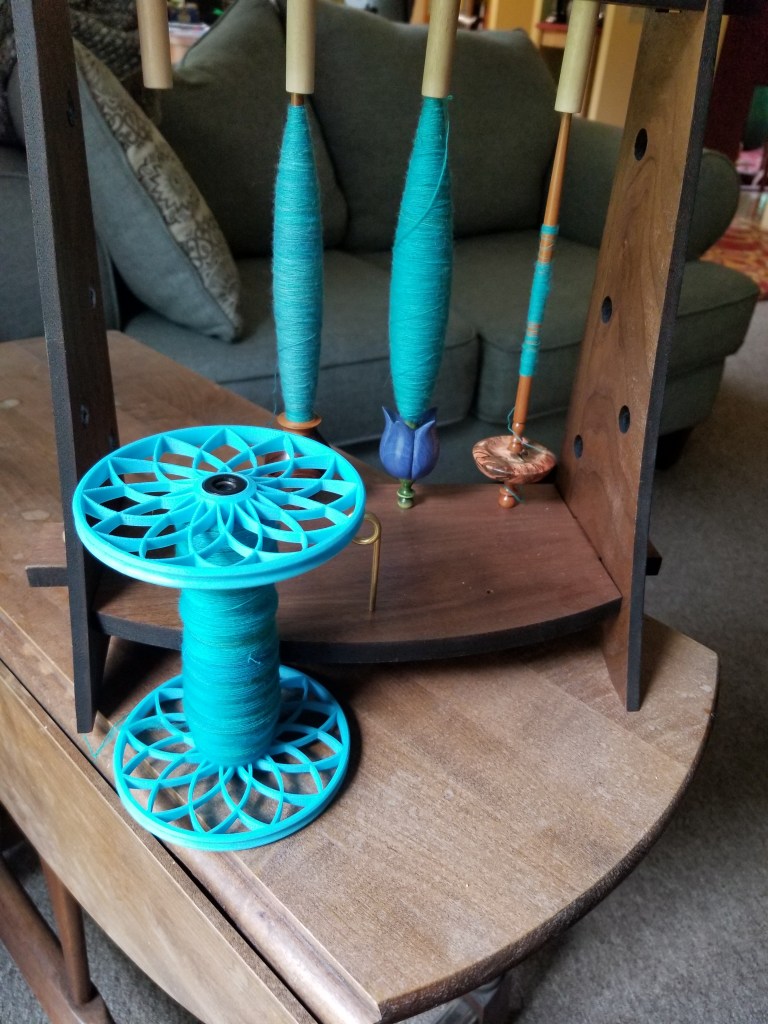
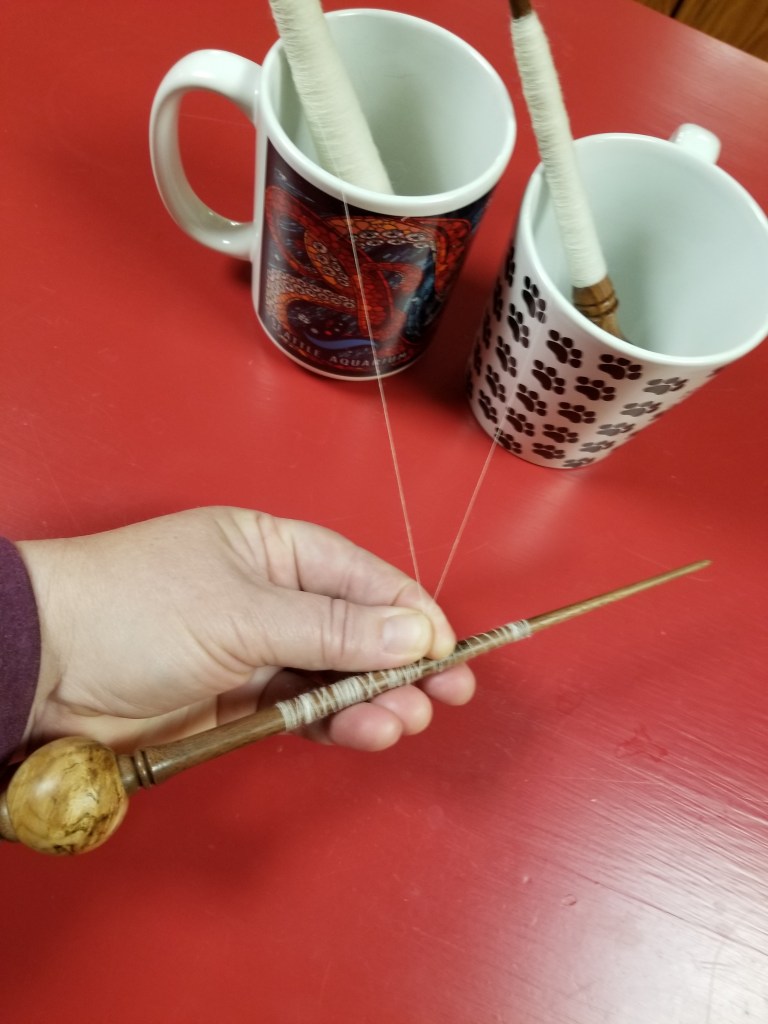
While sampling yarns, I tested different spinning tools for the best fit with my timeframe and space constraints. Between my spindles, the minispinner, my cpw, and matchless, I chose the minispinner with the lace flyer. As always, the spindles were my favorite to spin, but they add extra steps for storage. I am hoping to spin all of the yarn onto one bobbin to avoid extra ends in the knitting. I needed something that could hold more yarn and would be a bit faster than joining all of the spindle cops. The cpw and matchless were wonderful to spin, but not wonderful for portability. My spots for spinning are on three different floors, and I’m uncoordinated when carrying wheels! The minispinner fits in my project bag and, with the battery pack, can spin anywhere.

Step Two: Knit up the better suited yarns and check for the hand and general look. I made 2″ mini knitted samples to feel the hand and see the general look. The shetland swatch was exactly what I wanted in hand feel, but a bit dense in fabric. I could fix the denseness by changing the needle size. So, I went happily off to order my fleece.

Who orders fleece in December?!
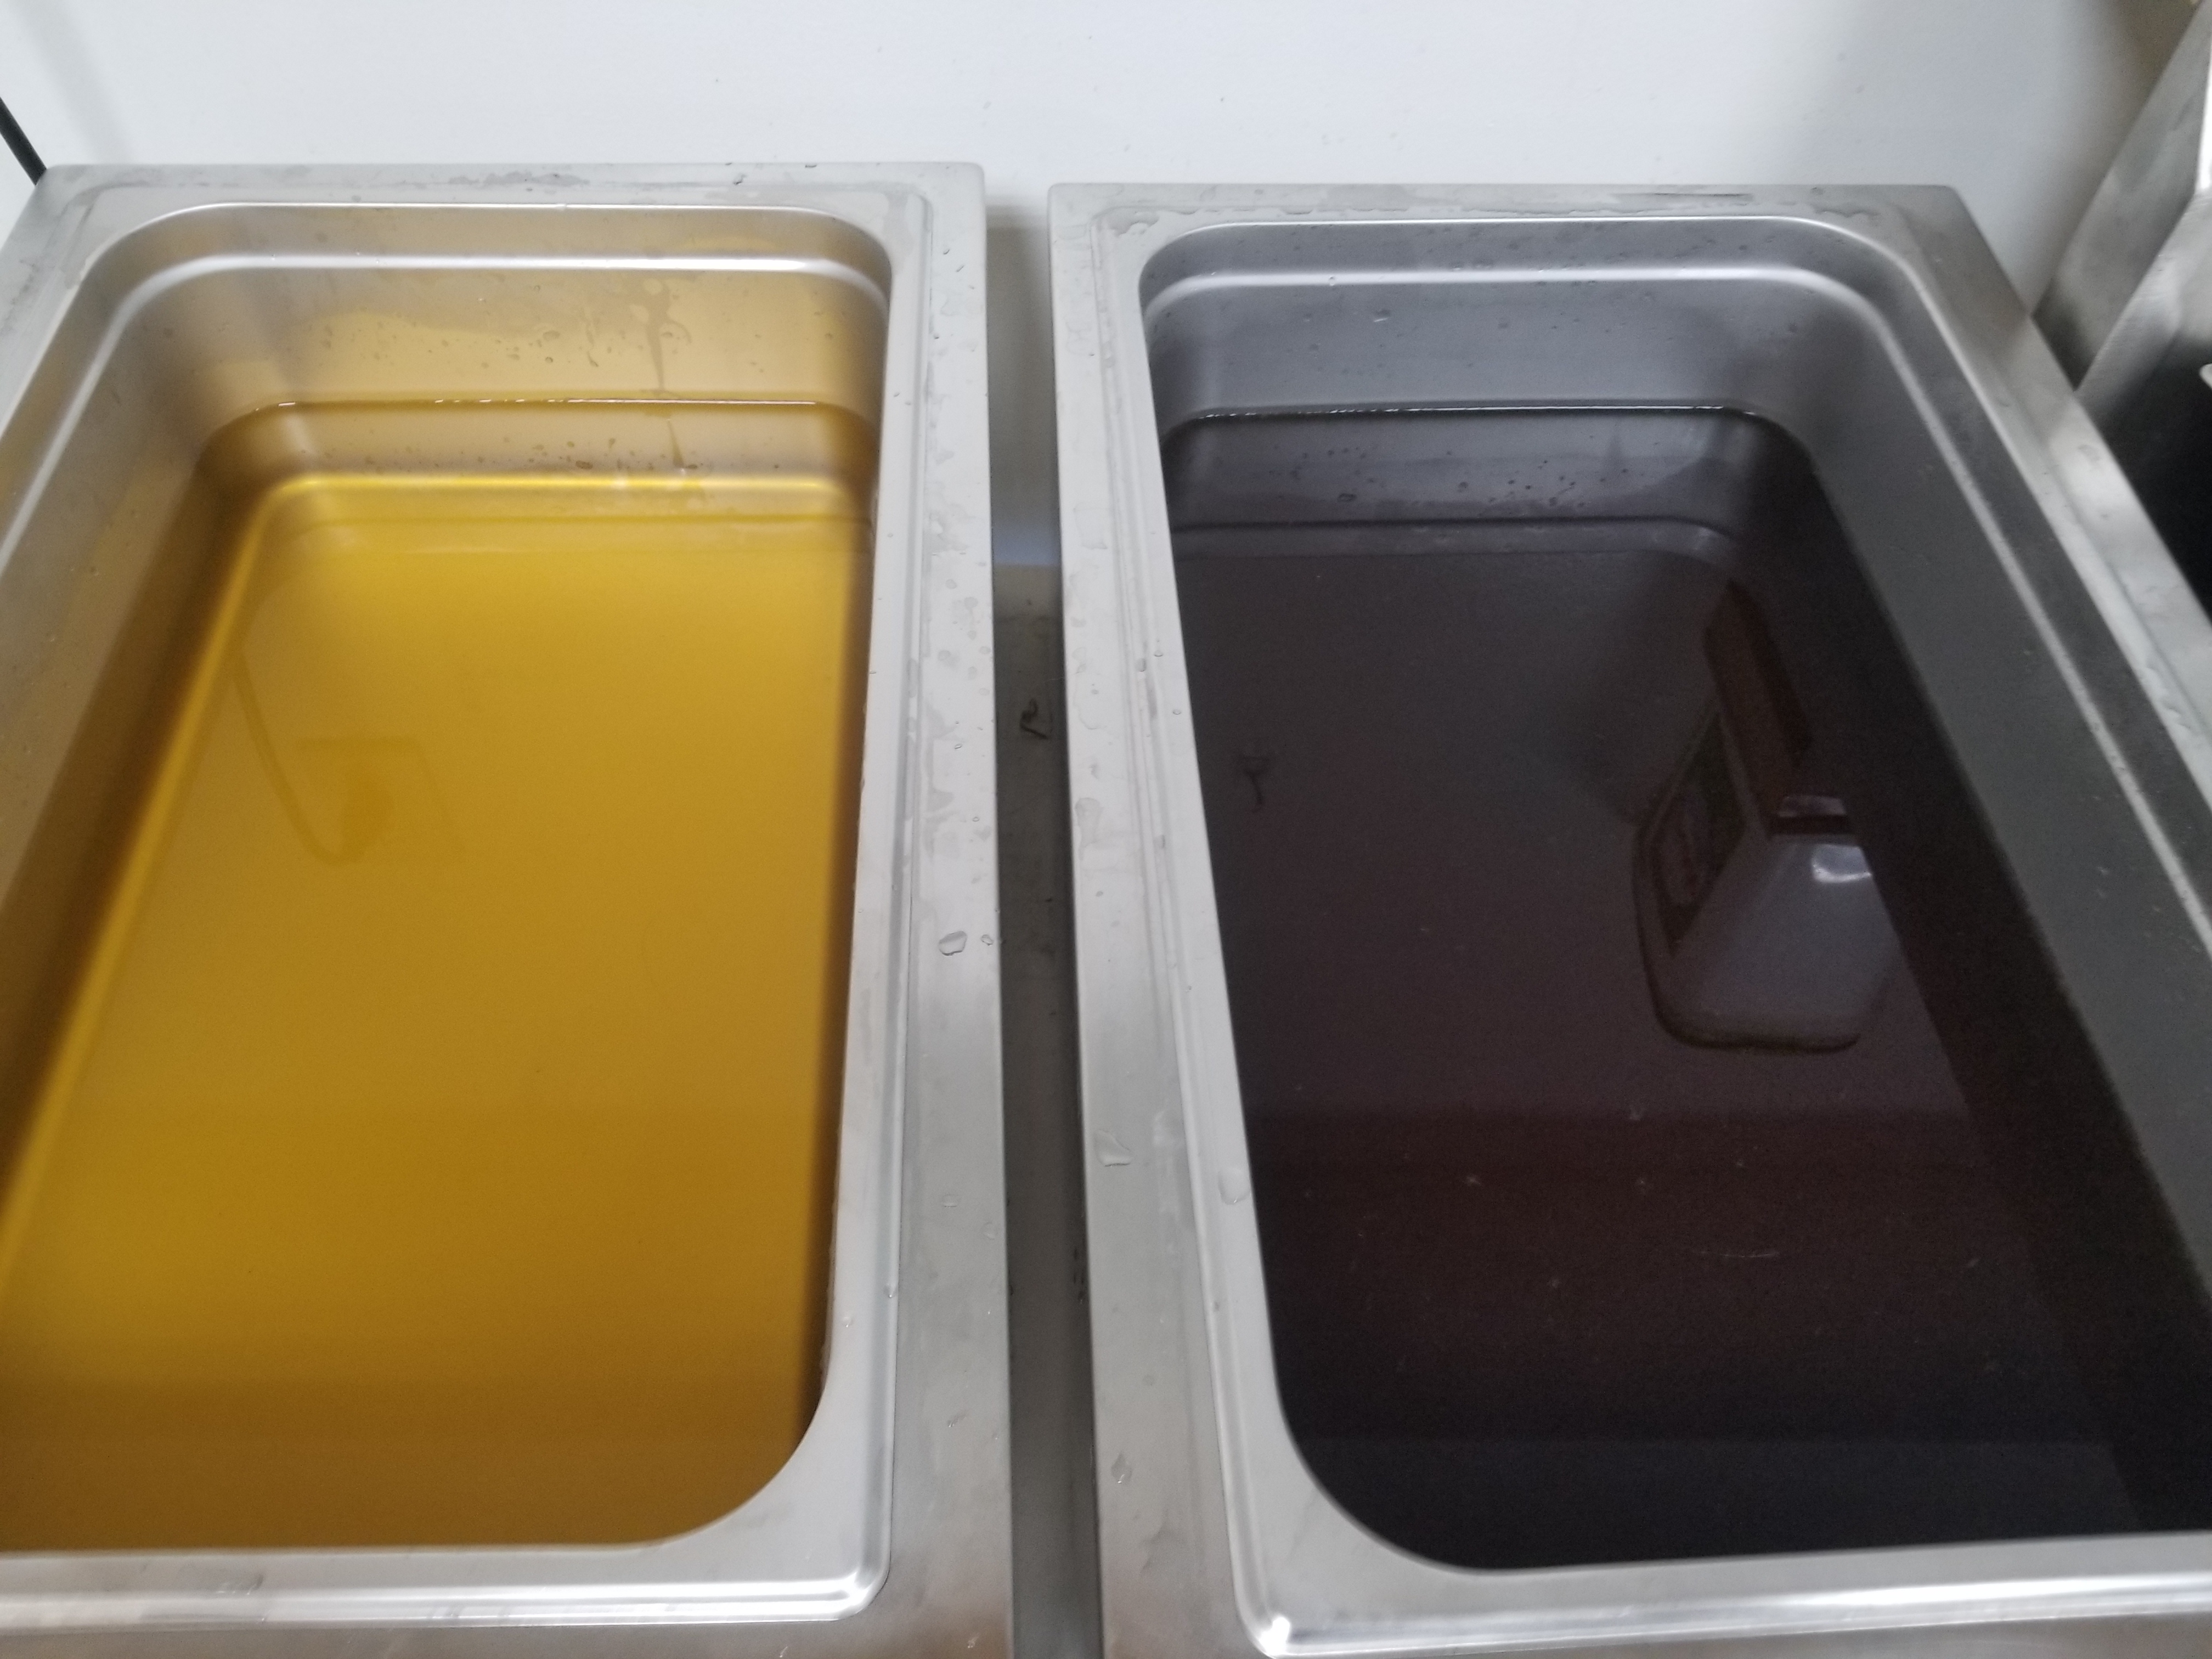
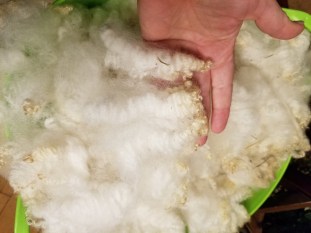
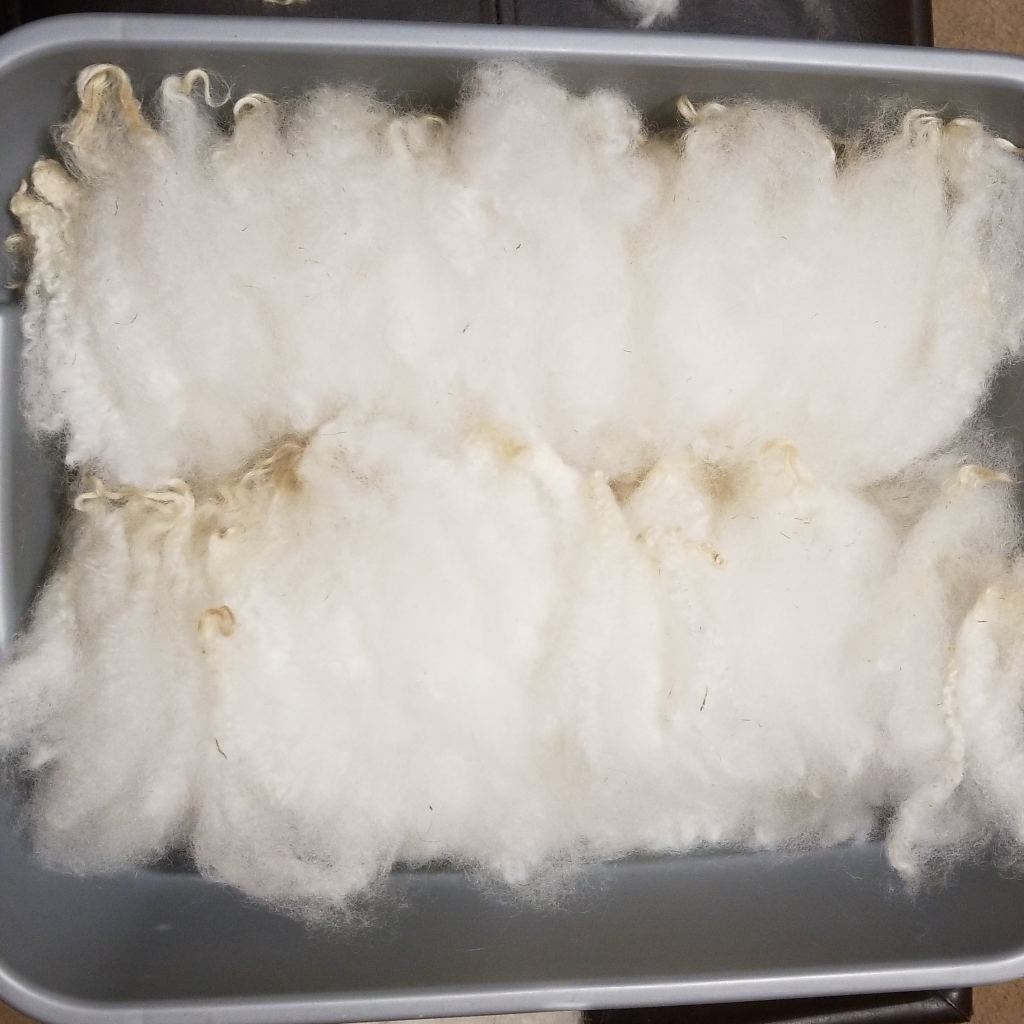
Ordering a specialty fleece in December is- well- not advised. Especially on a year where many growers decided to go straight to yarn and roving rather than sell at fiber festivals. I found a lovely fleece that wasn’t fine enough and some loose fleece that was fine enough but very tender and with some shearing issues. I tried ordering fleece from abroad, but the shipping times and costs weren’t helpful. So- I put aside the idea of the perfect spin. Sort of. I set aside the plan for using a Shetland fleece- yes, there was a teary eye- and I did some stash diving. I have a fleece- a perfect merino fleece.

OK, not perfect. It was super greasy and rammy, but the fiber is perfection for a merino. Fine, sound, nice staple, textbook crimp, bright white, and close to zero vm. Plus- and this is a big one- I washed the fleece last year and then decided to save it for the “right project.”
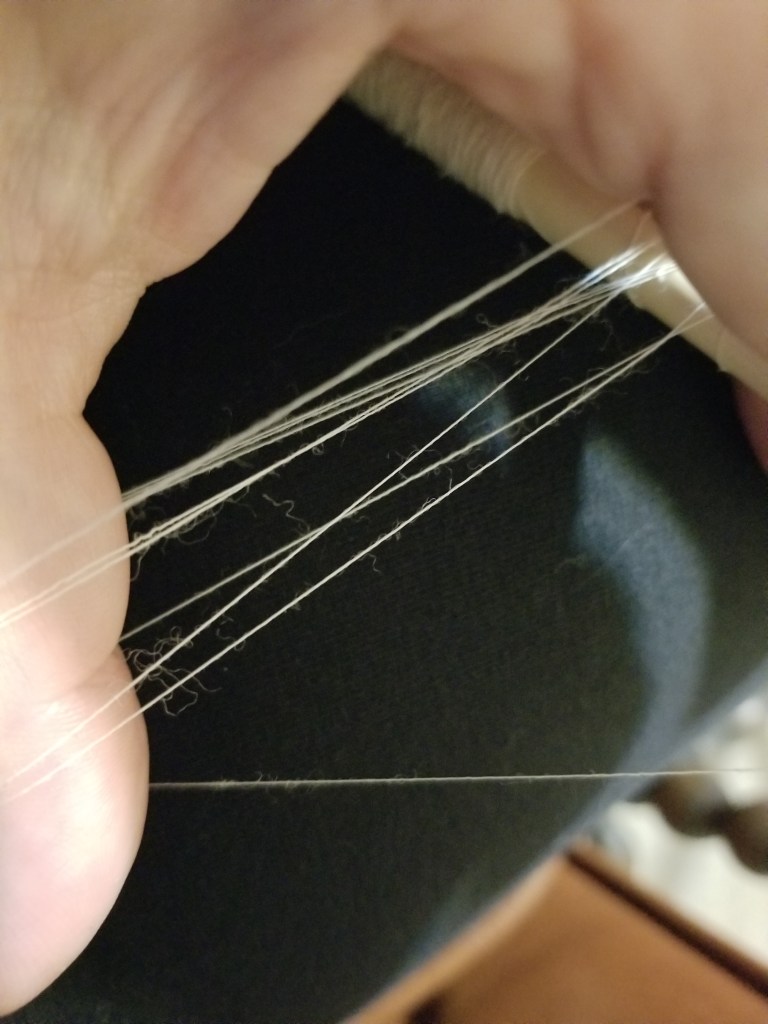
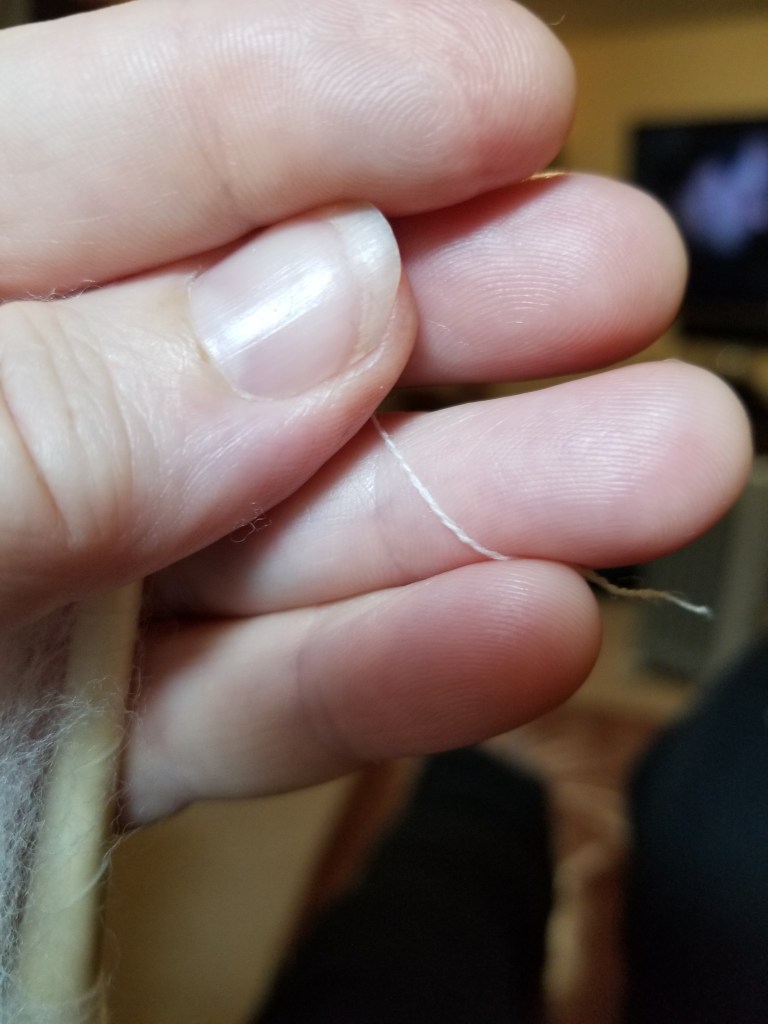
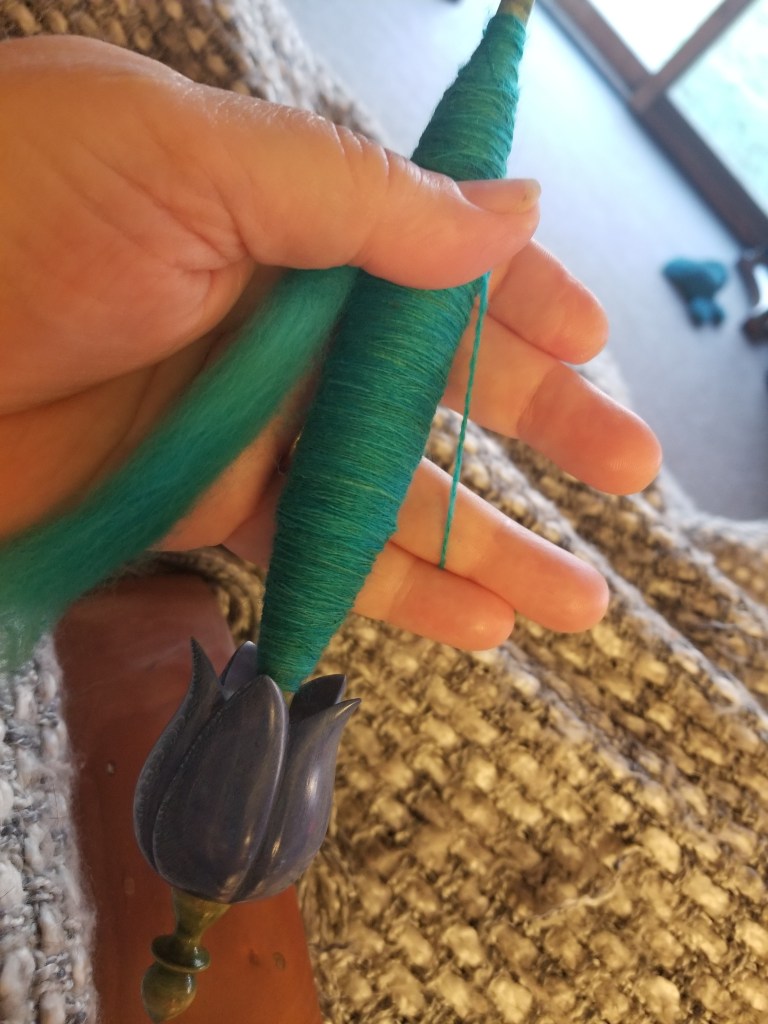
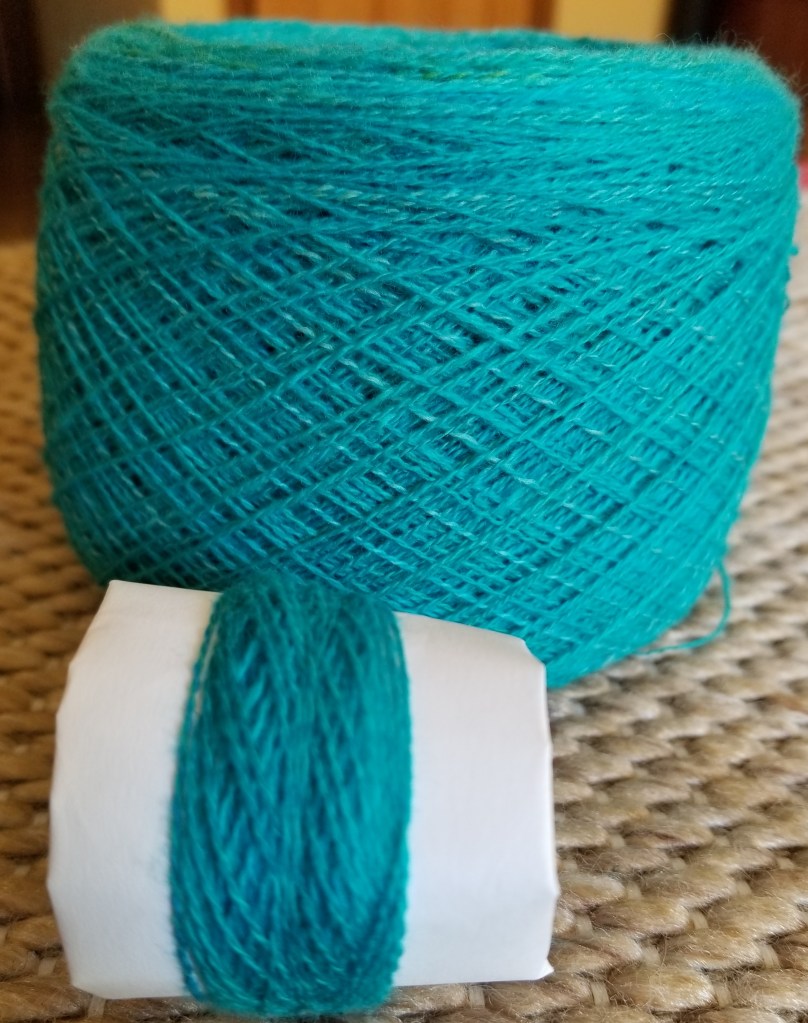
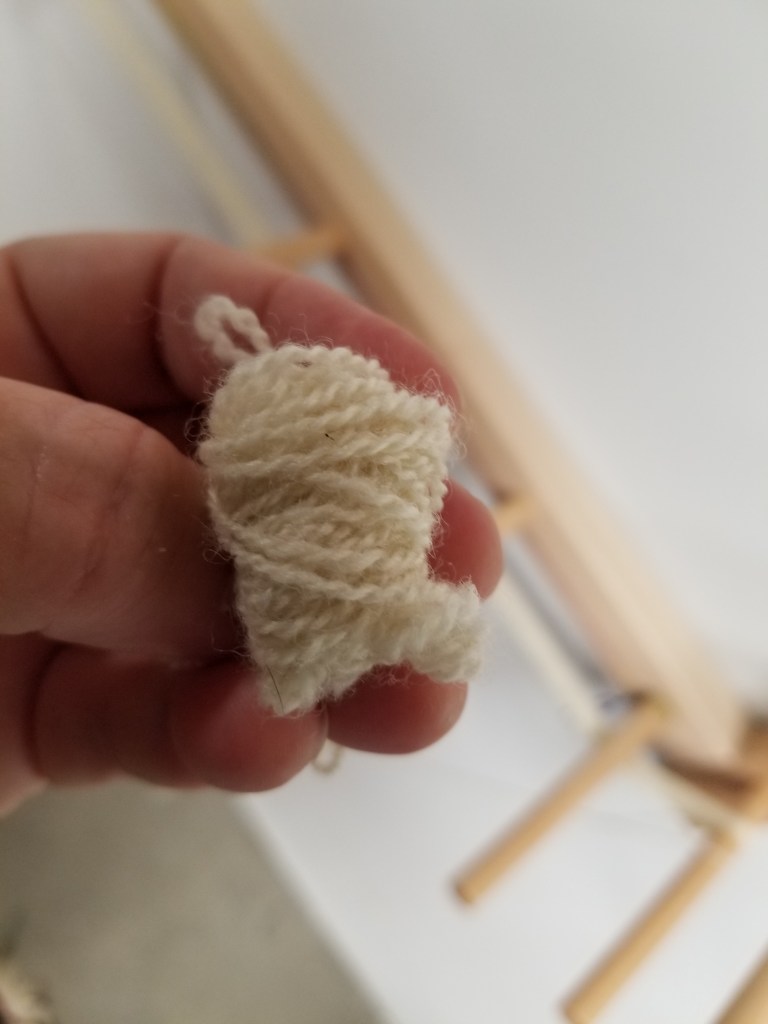
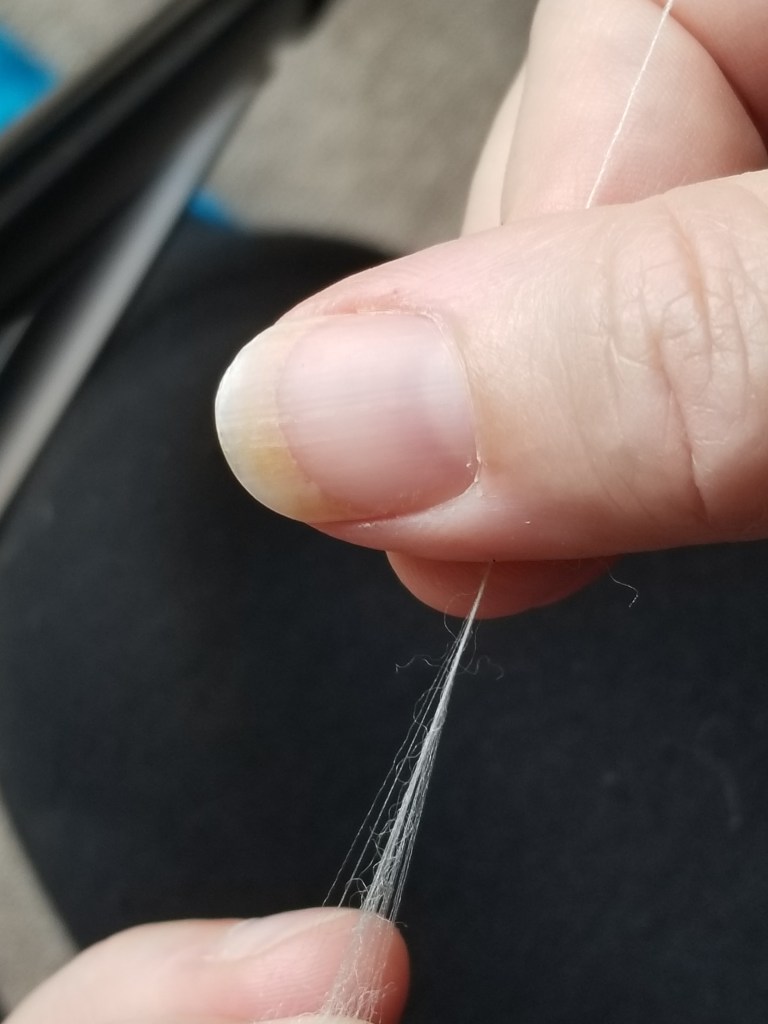
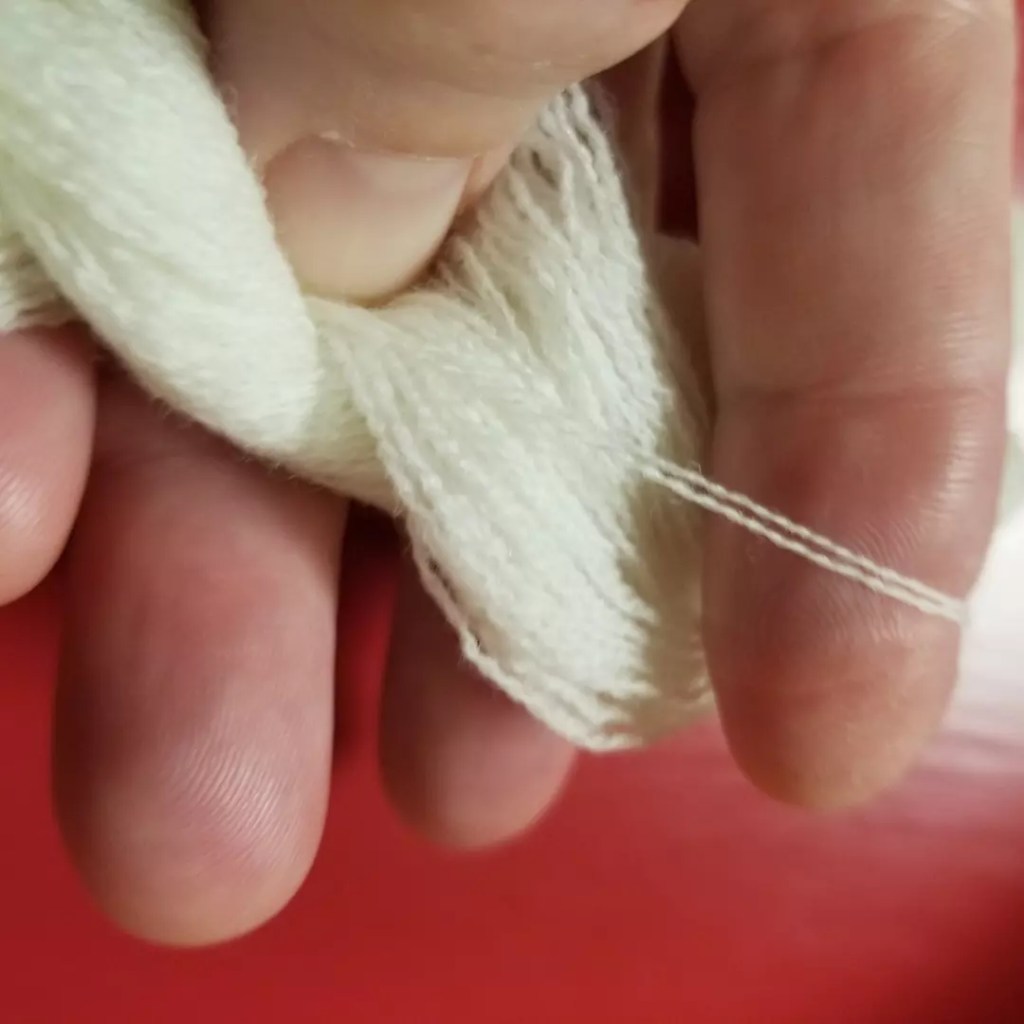
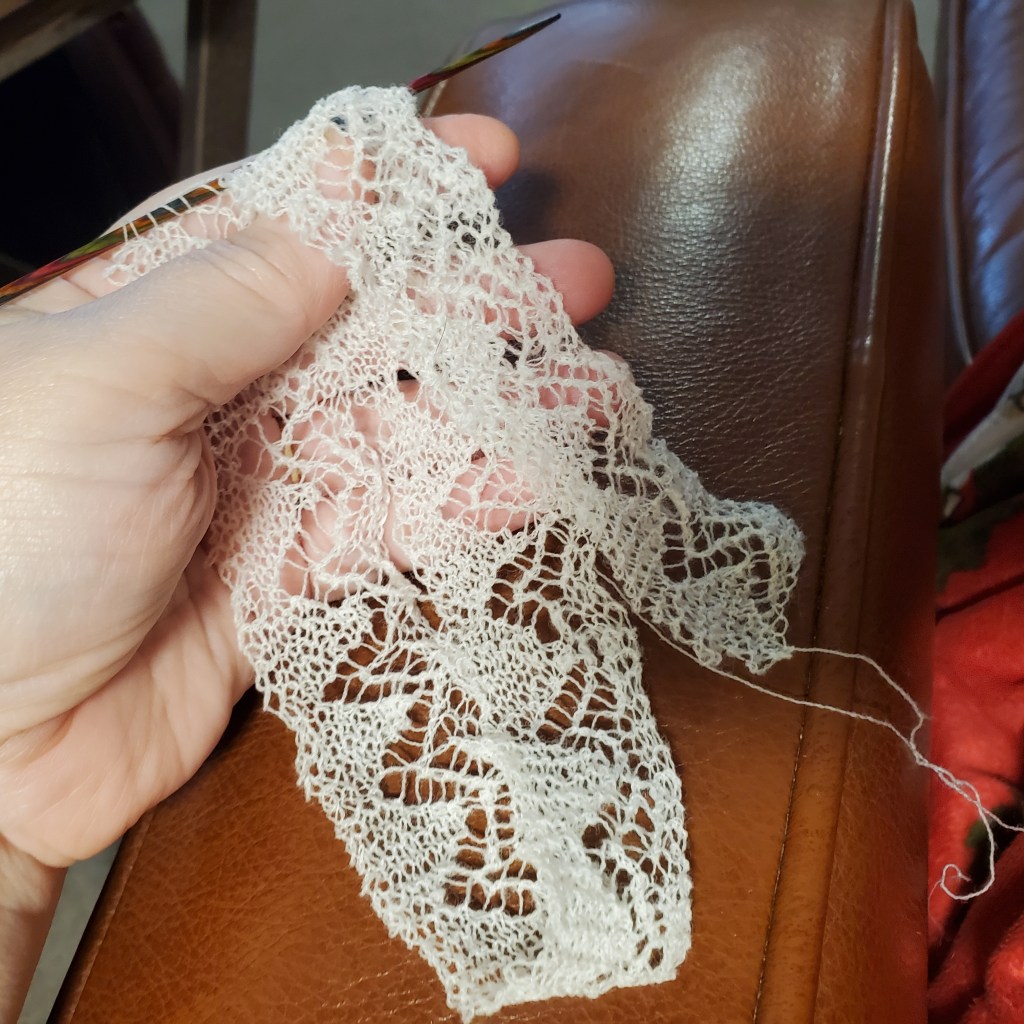
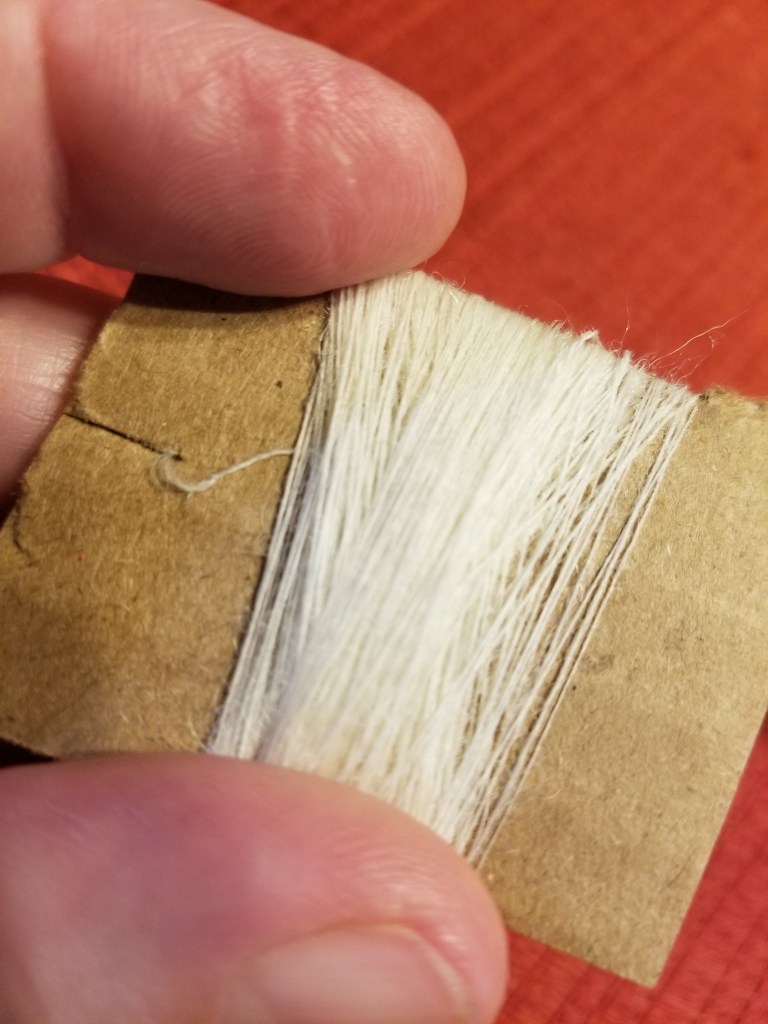
I spun a sample into a soft yarn starting at cobweb and then inching thinner until I had the yarn I liked. RIght on the edge between cobweb and gossamer, I was able to keep the loft and manage the poof. It’s spun at the point of twist from combed top so that under tension it makes the ‘string of pearls’ look but when relaxed has a touch of halo and some squish. I tried to match up to the loft of one of the samples that comes with the book: a heavier gossamer 100% wool yarn. It’s a bit finicky to keep things at that point, but hopefully it will become muscle memory!

Notice that there hasn’t been a big swatch yet? We’re getting there.
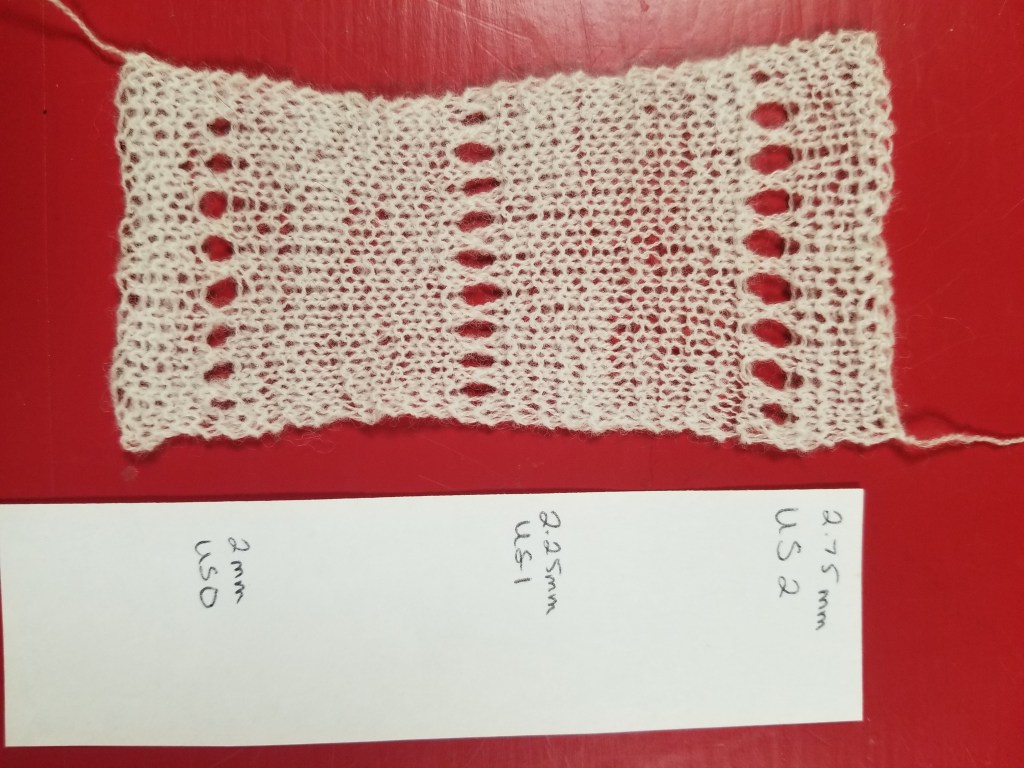
Step Three: Choosing a needle size

Fortunately, this is pretty straightforward. I cast on some stitches, knit a bit, made a row of eyelets, knit a bit, then changed needles and repeated until I found the look I wanted. I’m trying the 2.75mm needles for the Big Swatch, but I won’t be sure until I see the big swatch wet blocked. The stockinette is loose rather than slack. The eyelets stretch open nicely. Fingers crossed, because if I make the wrong call, I’ll be knitting the border swatch over again.
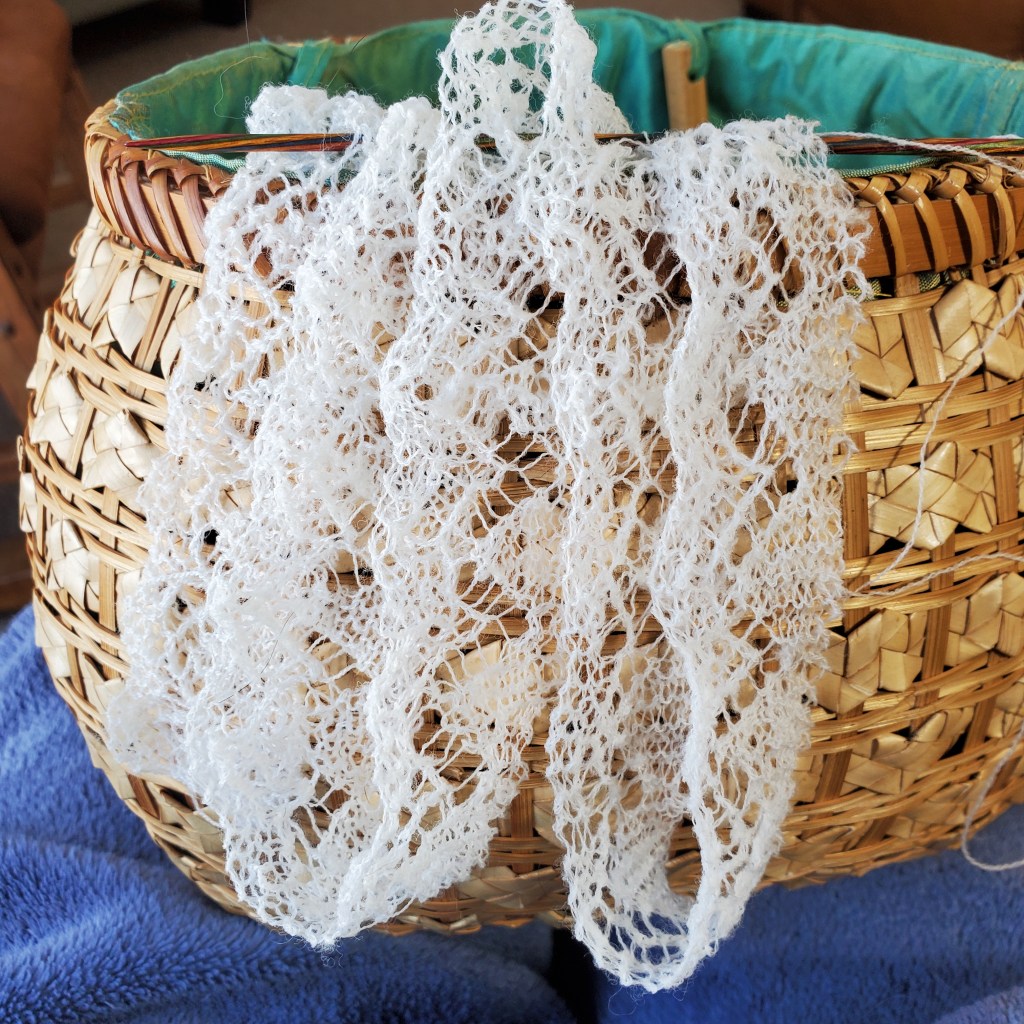
Step Four: Starting the border swatch.
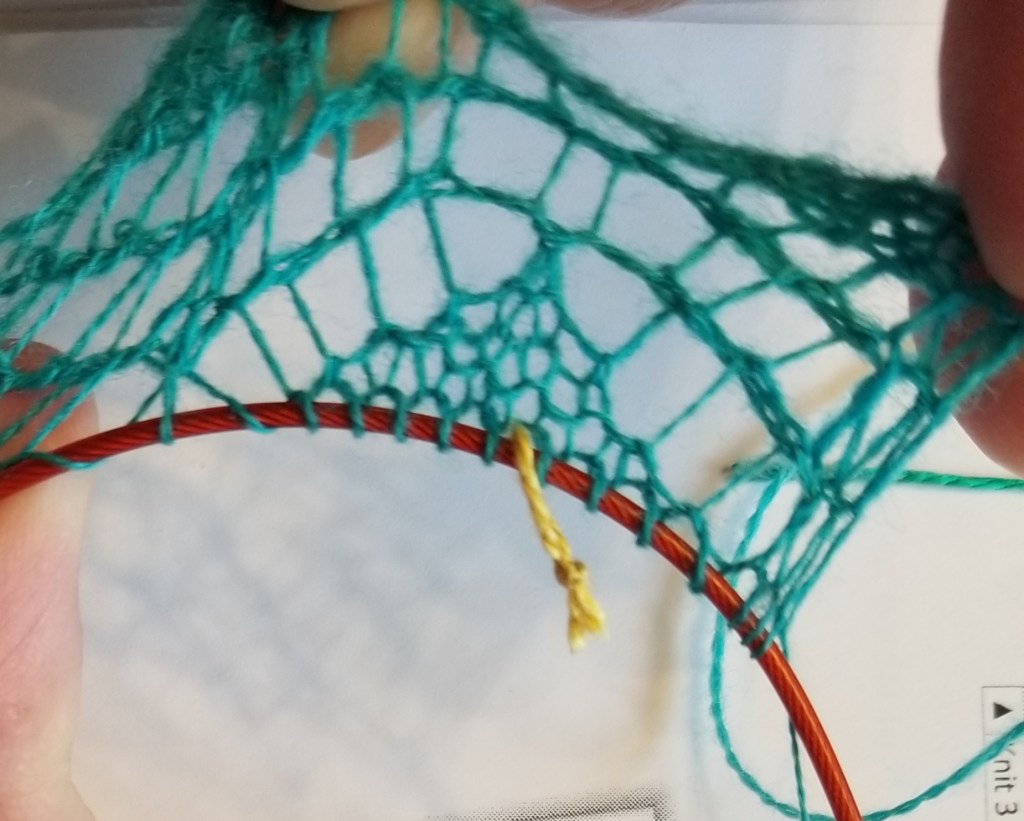
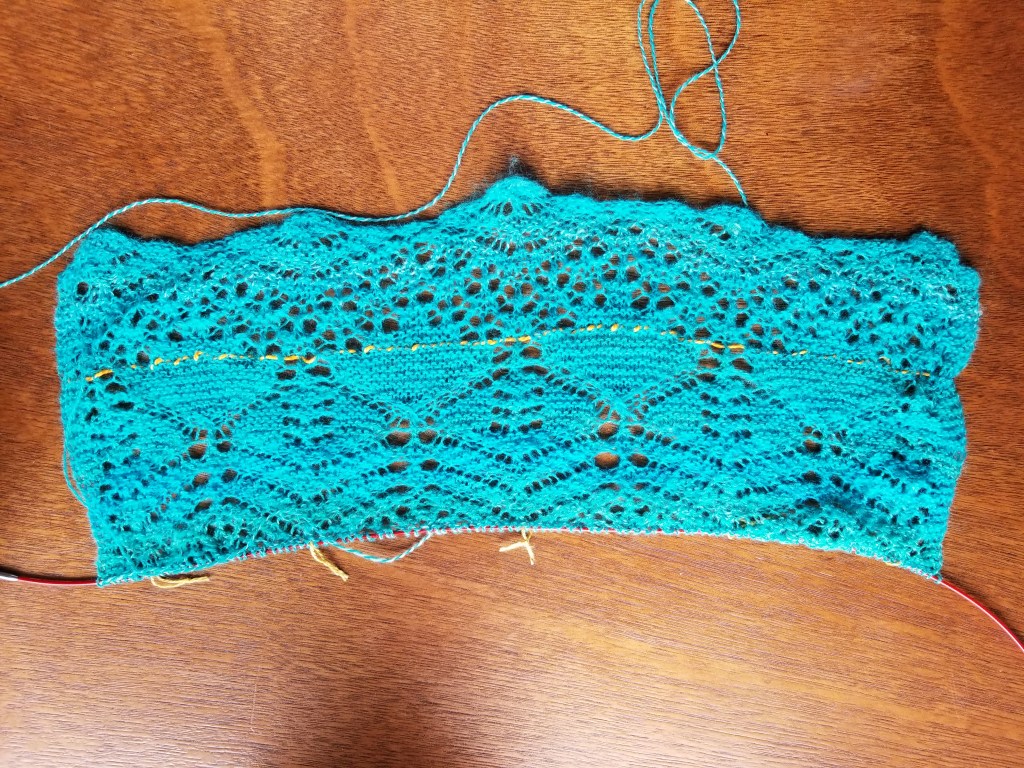
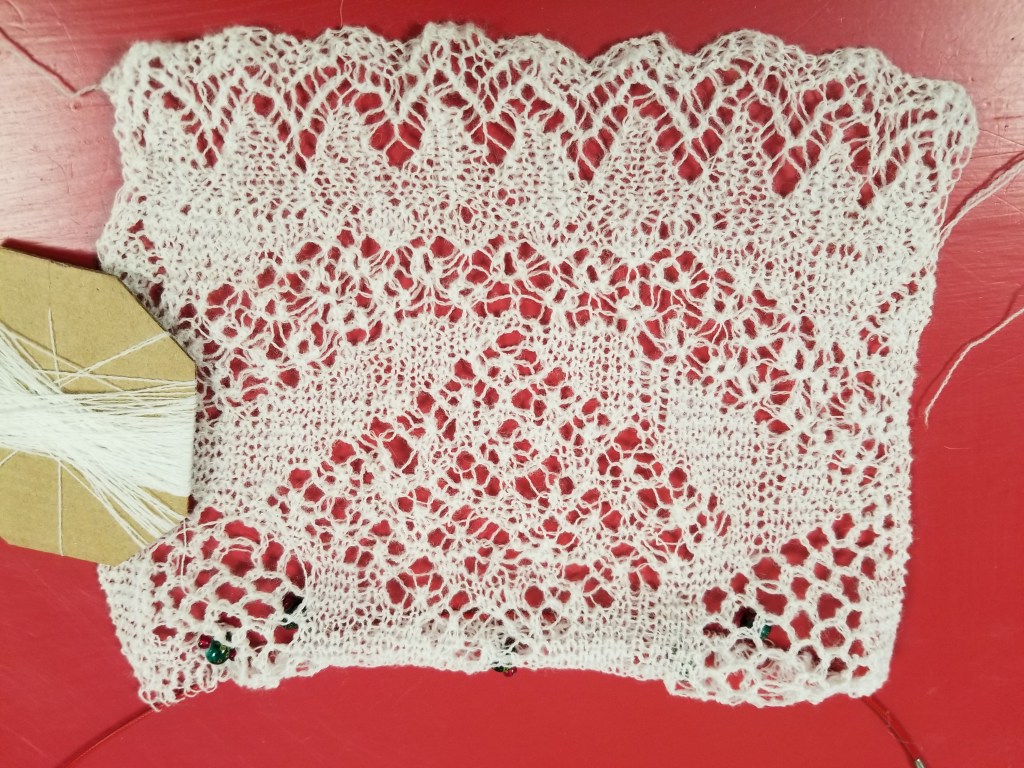
It feels a bit understated to call this a swatch. It’s 65 st x 110 rows of patterned lace knit
It feels a bit understated to call this a swatch. It’s 65 st x 110 rows of patterned lace knit onto a sample of the edging. The edging is a quick knit that is surprisingly pretty for such as simple thing.
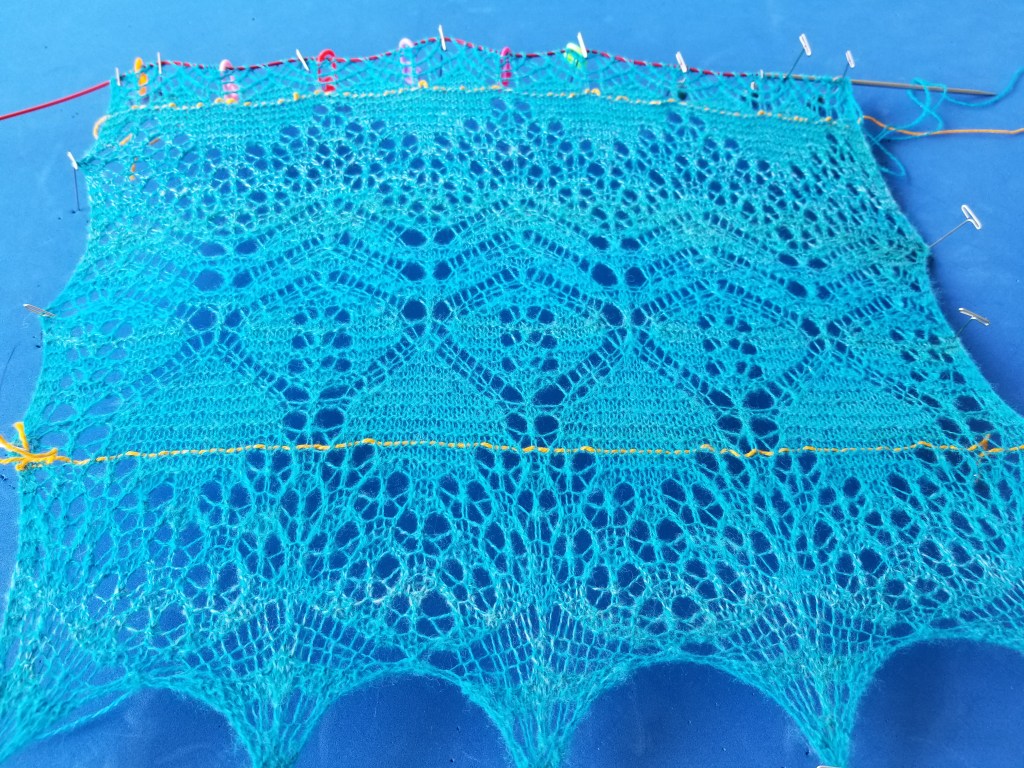
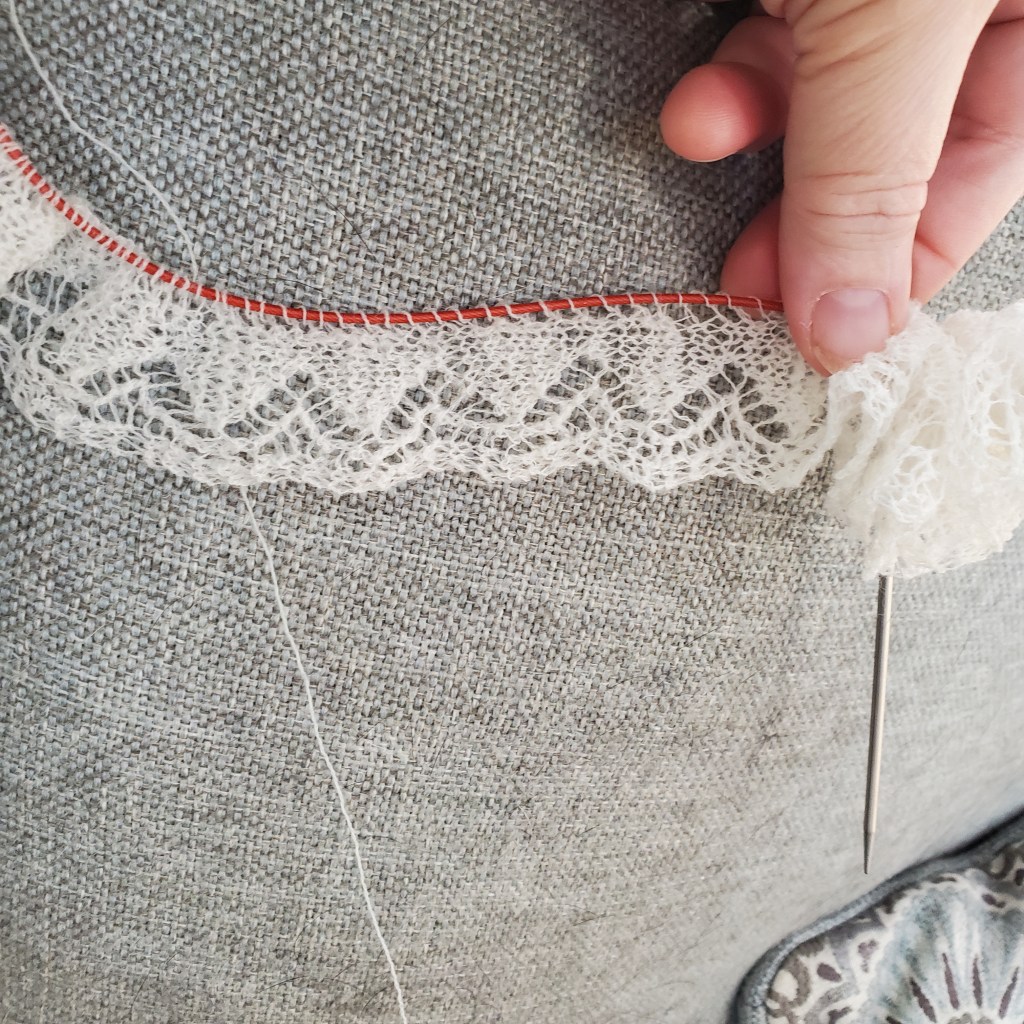
Heads up: The swatch has a change to the edging pattern:
I tried it as a solid pattern joining to the border to see if I liked that look better than the eyelet join. I don’t. 🙂 The actual shawl will have the pick ups in the yarn overs.
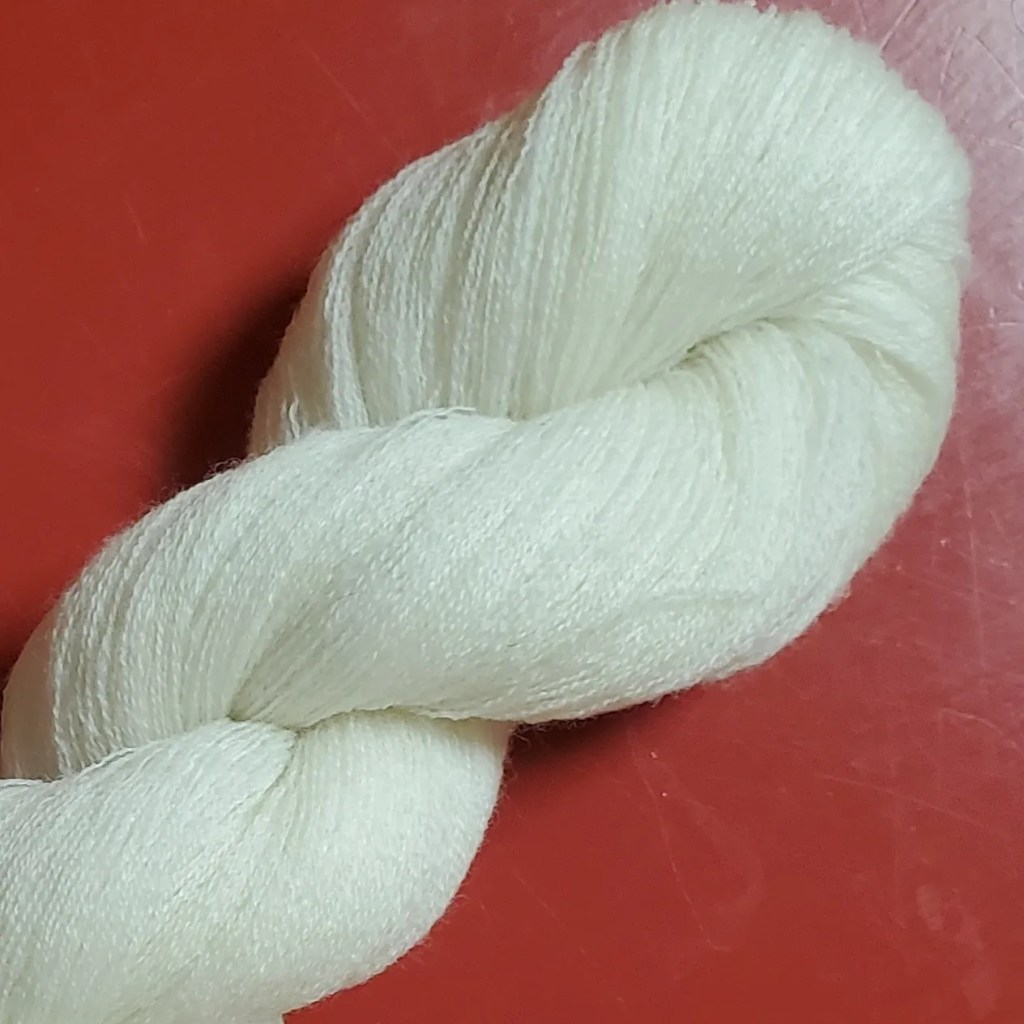
The border swatch (aka The Big Swatch) is the starting place to figure out how much yarn to spin.


The swatch has 7150 stitches. It weighs 4.83g. So, using 310,000 as the number of stitches in the shawl (the number was provided by the designer for the pattern as charted with no modifications), that means I’ll need just under 210g of yarn.
Off of the pins, the swatch measures just about 12 x 13, so the finished shawl will be about 72″ blocked but measured untensioned.
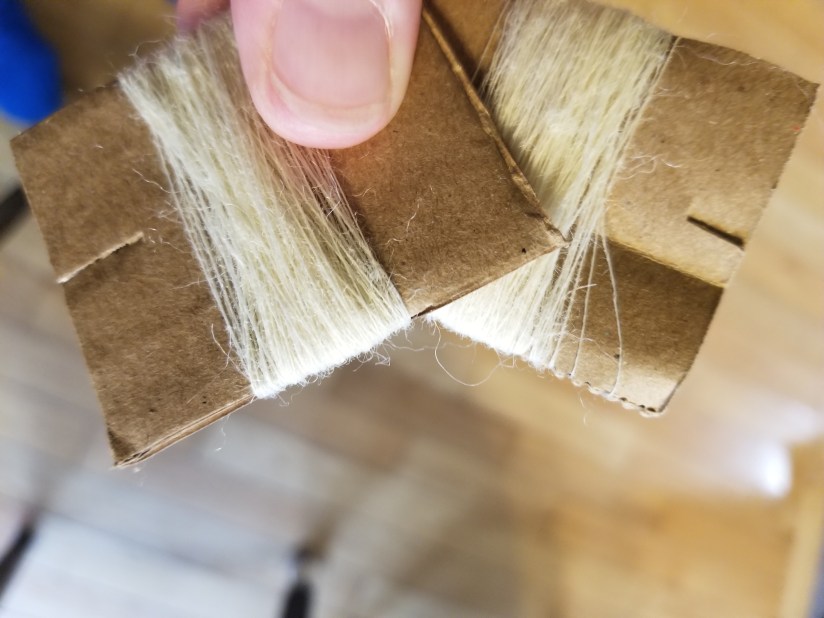
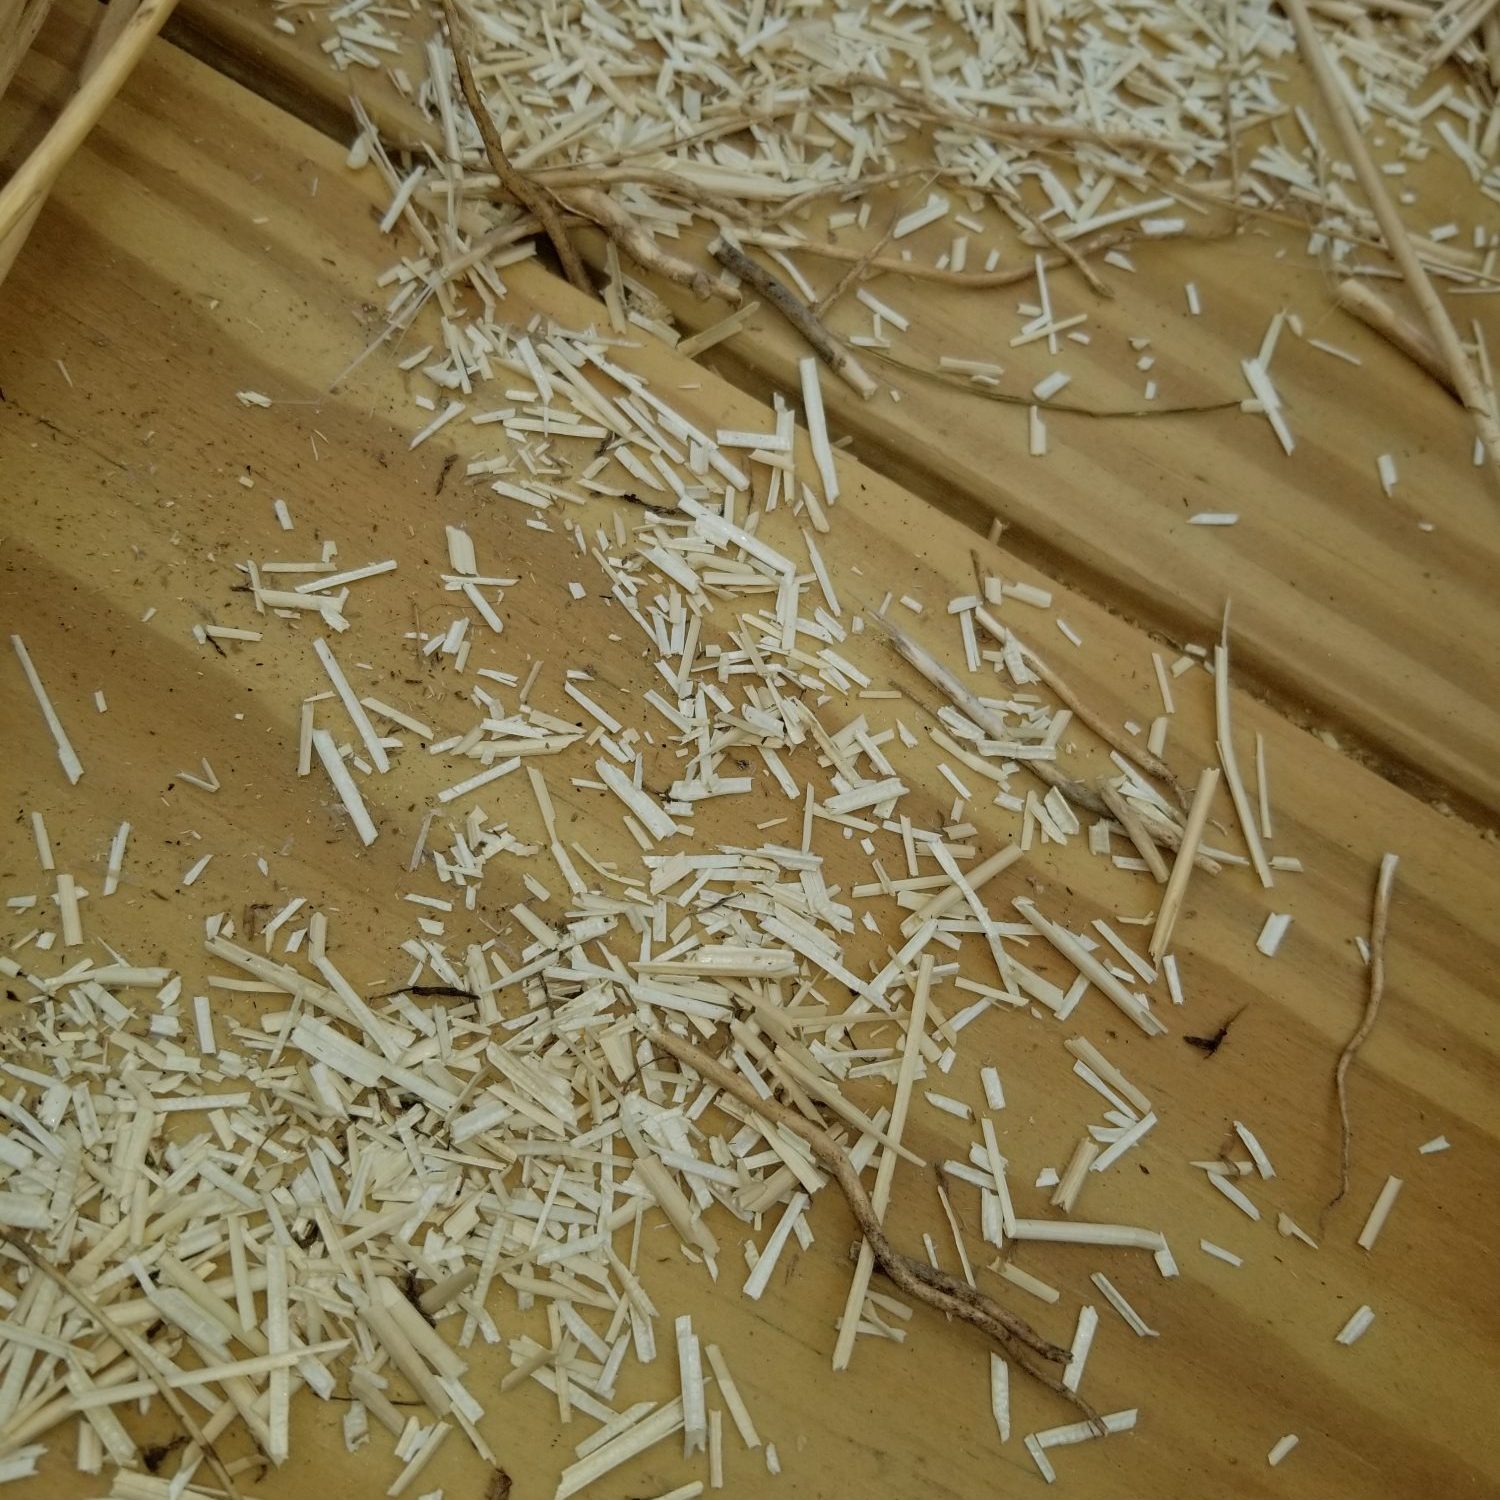
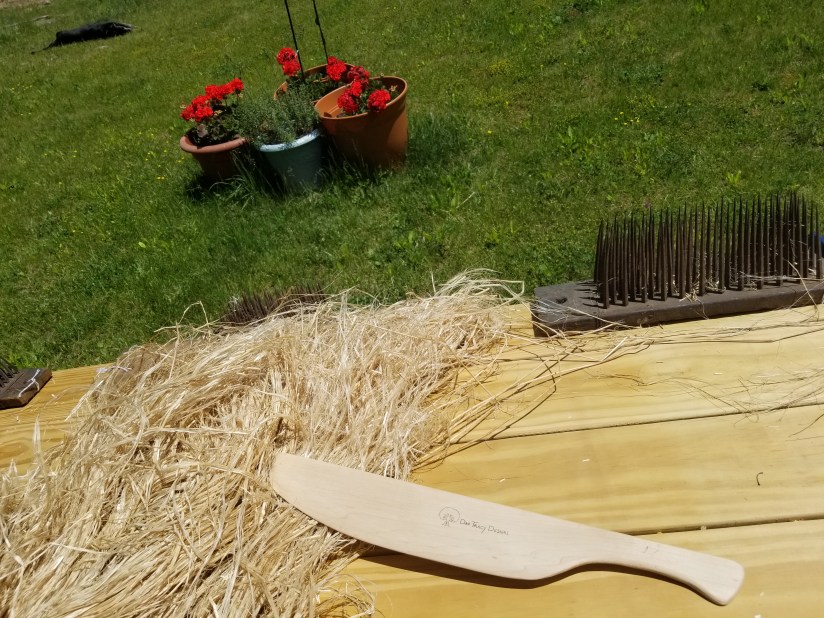
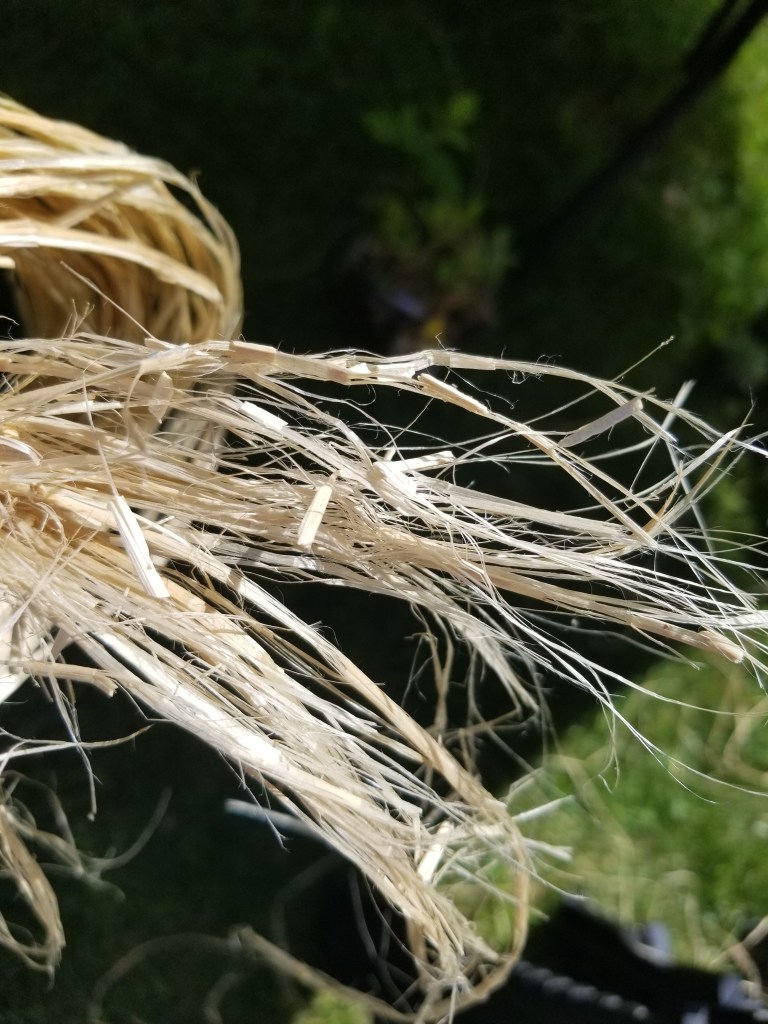
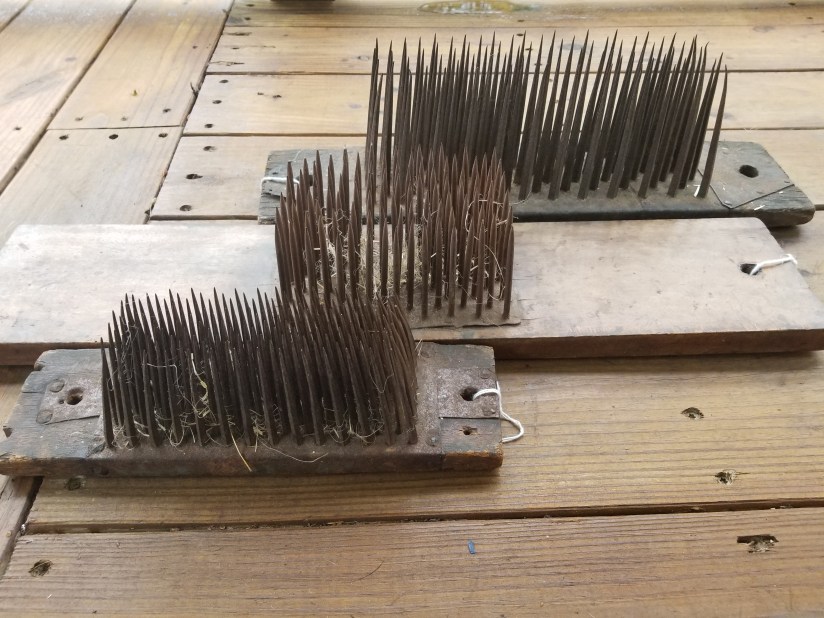
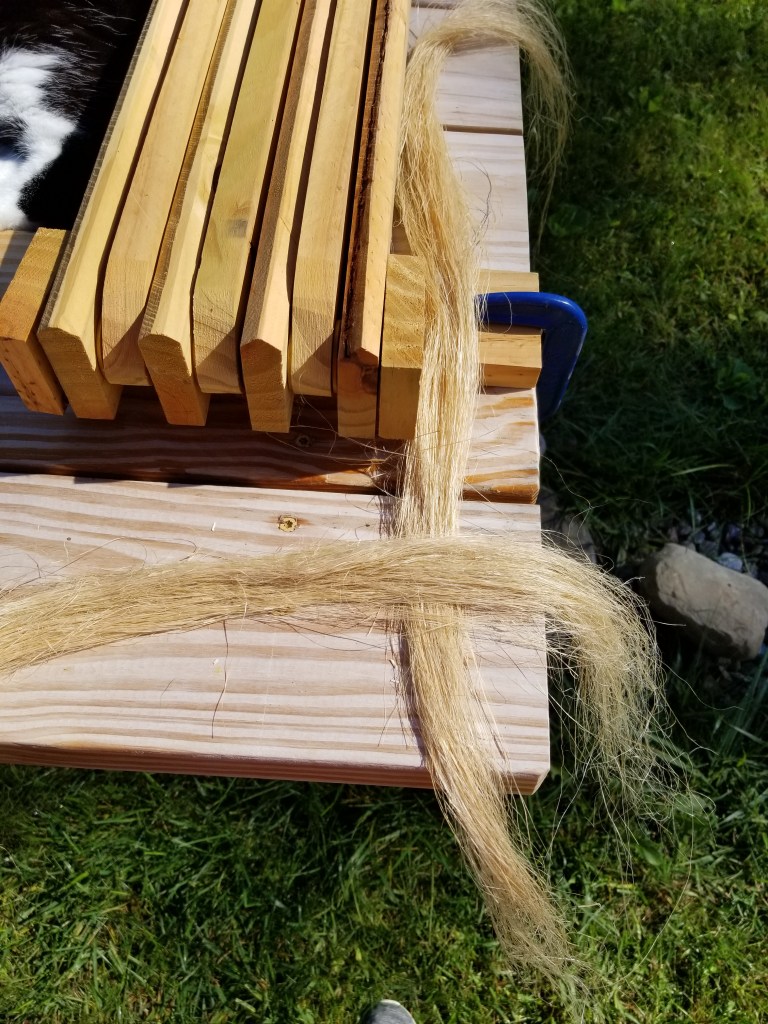
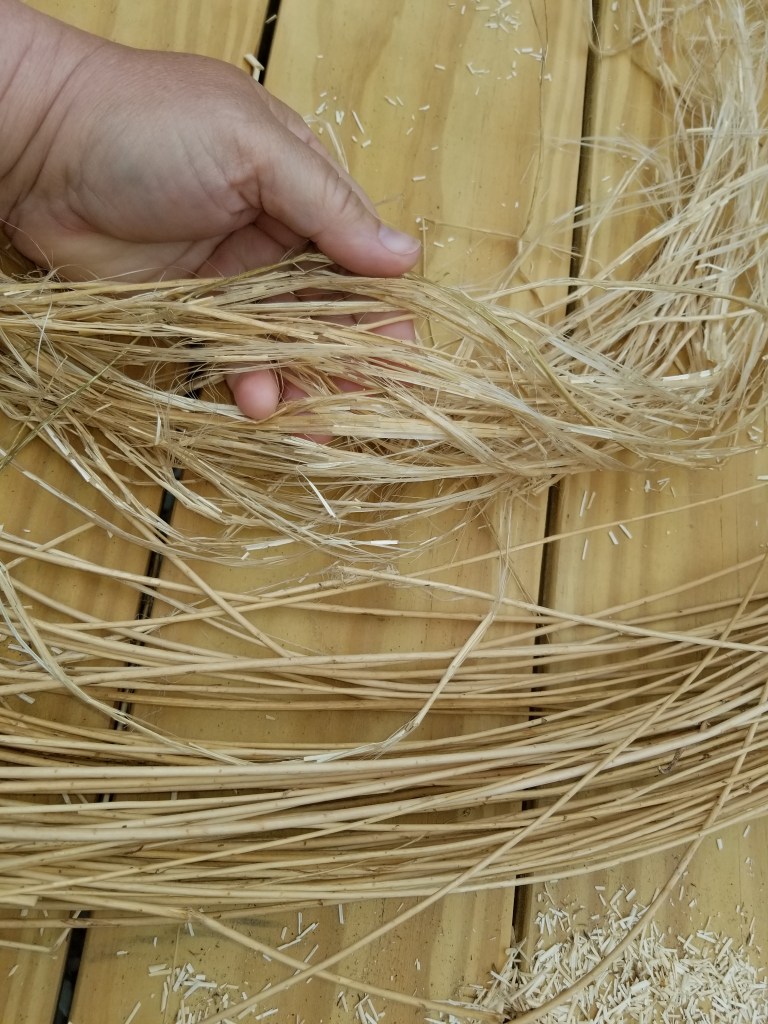
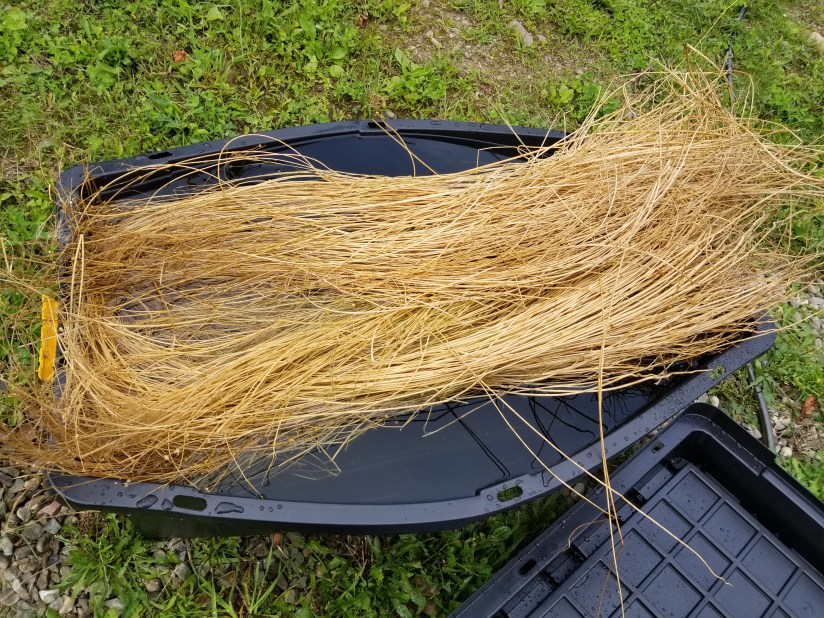
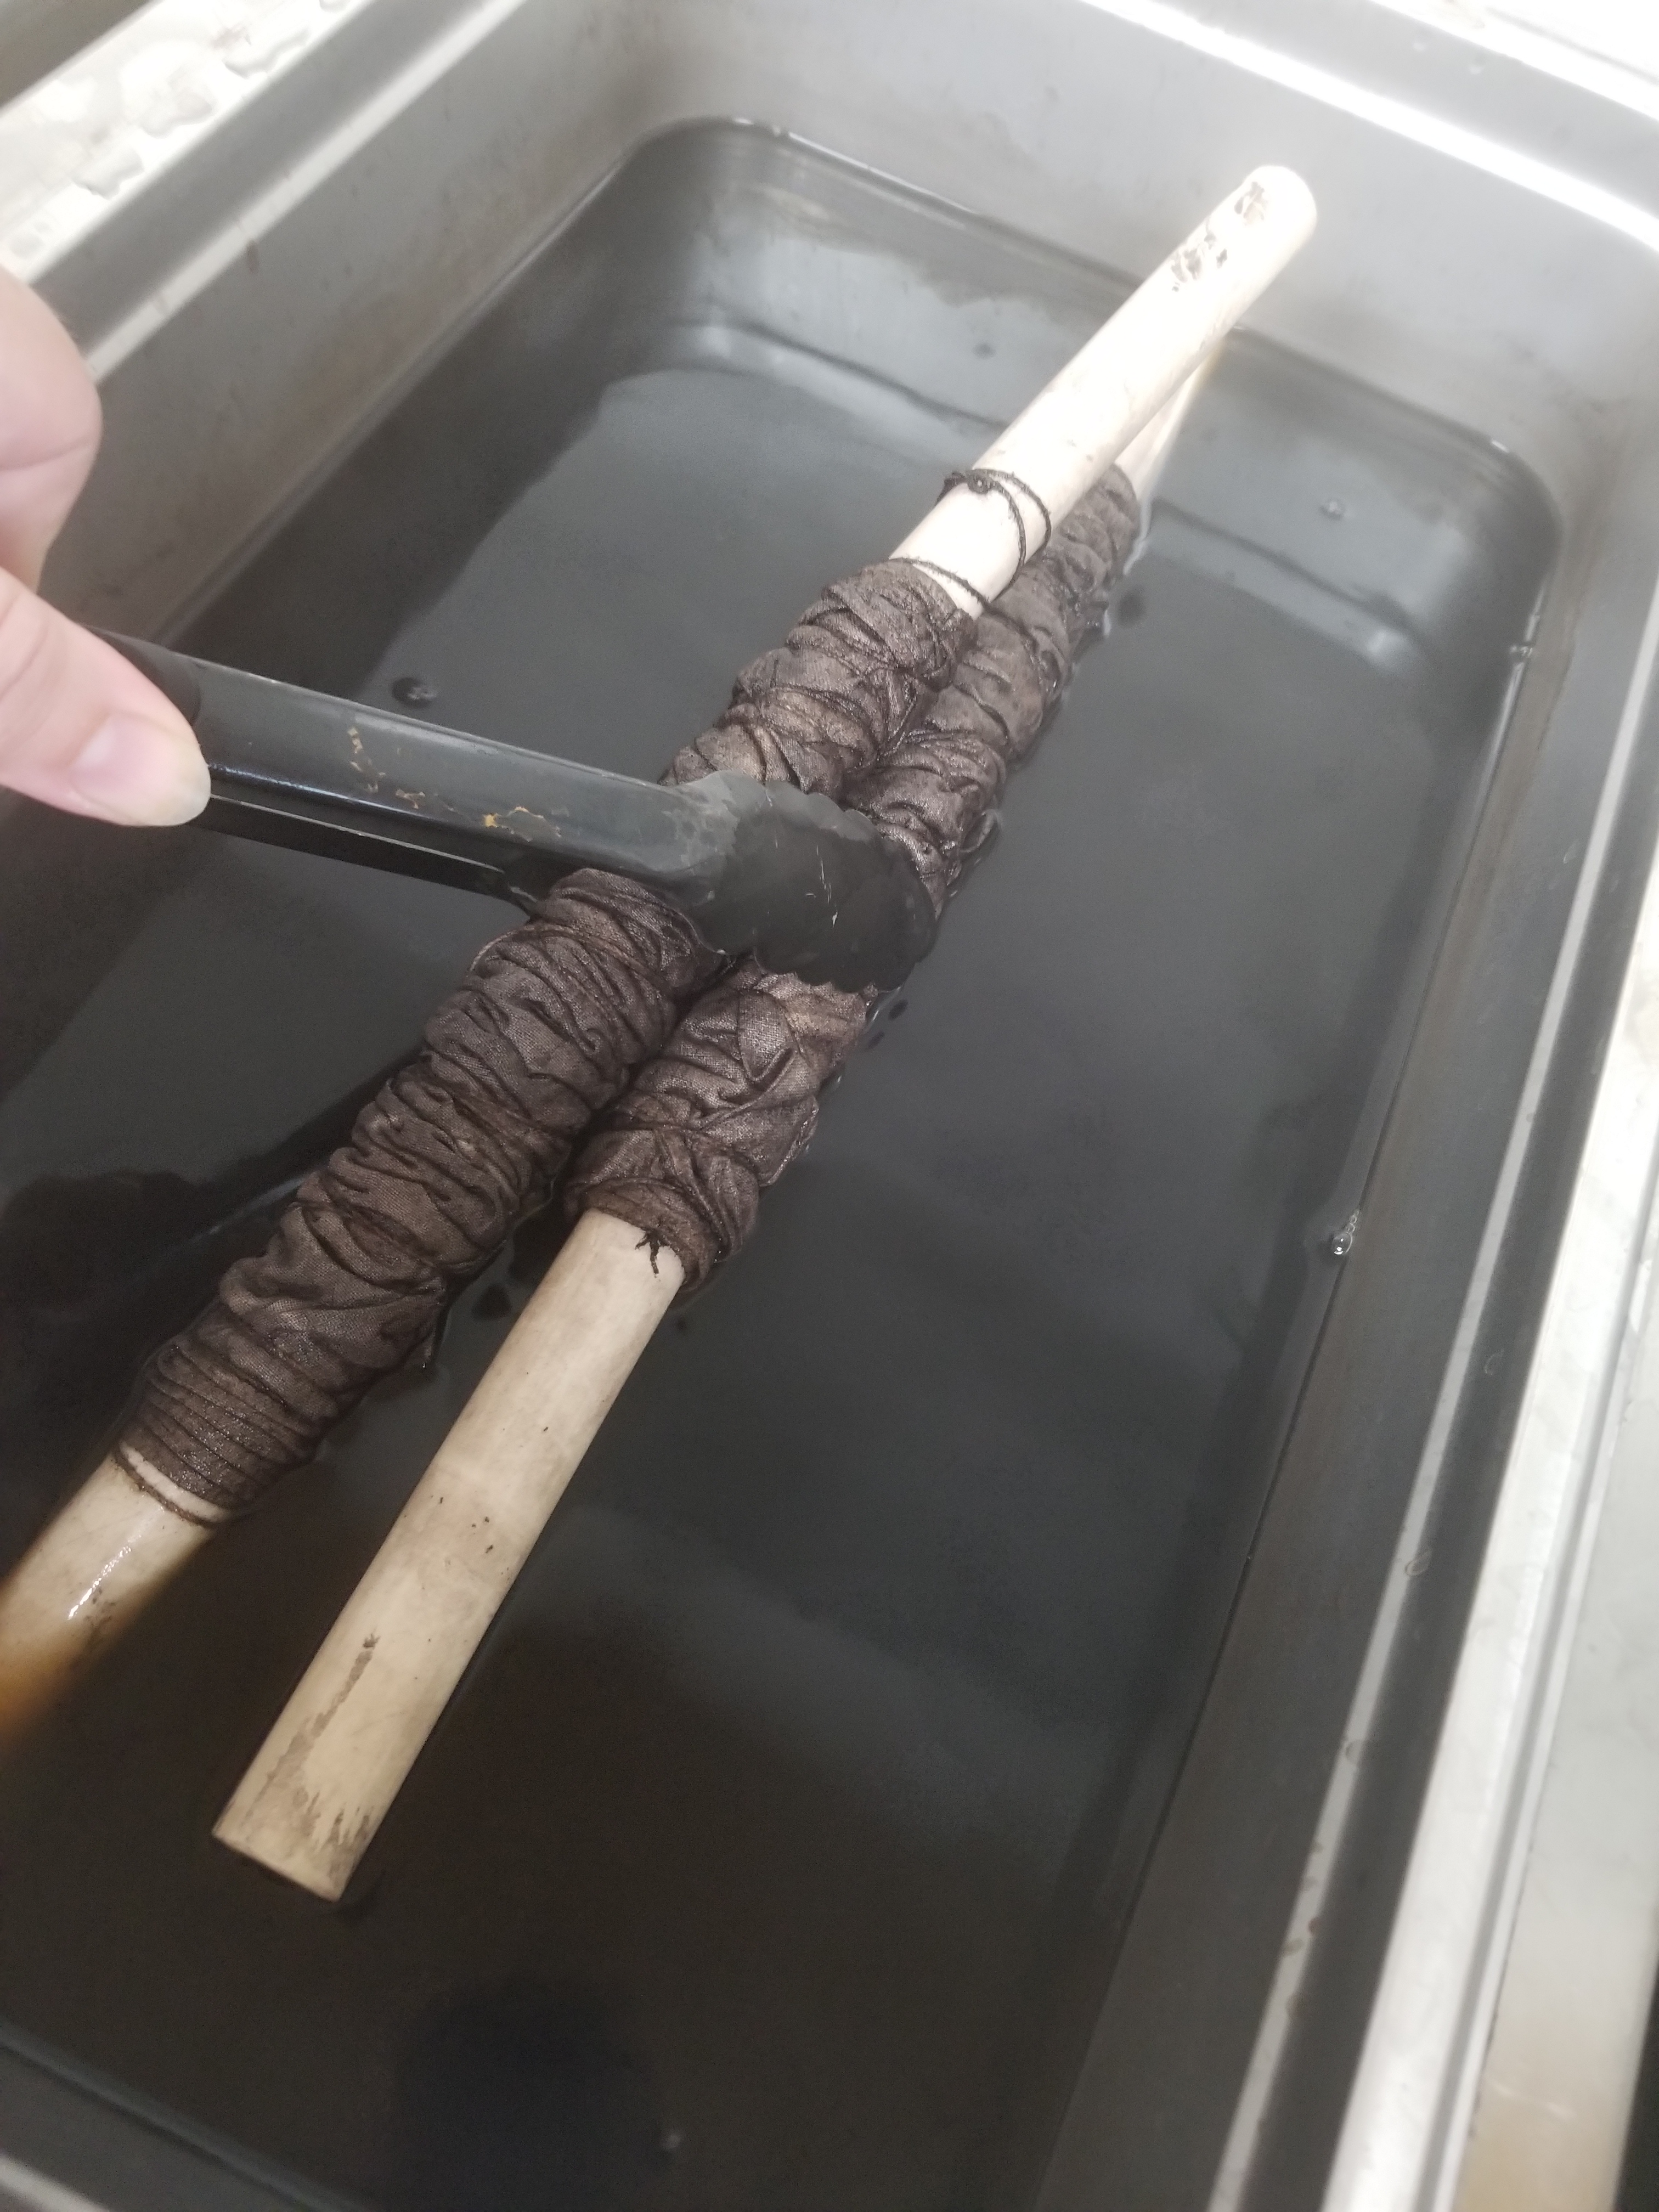
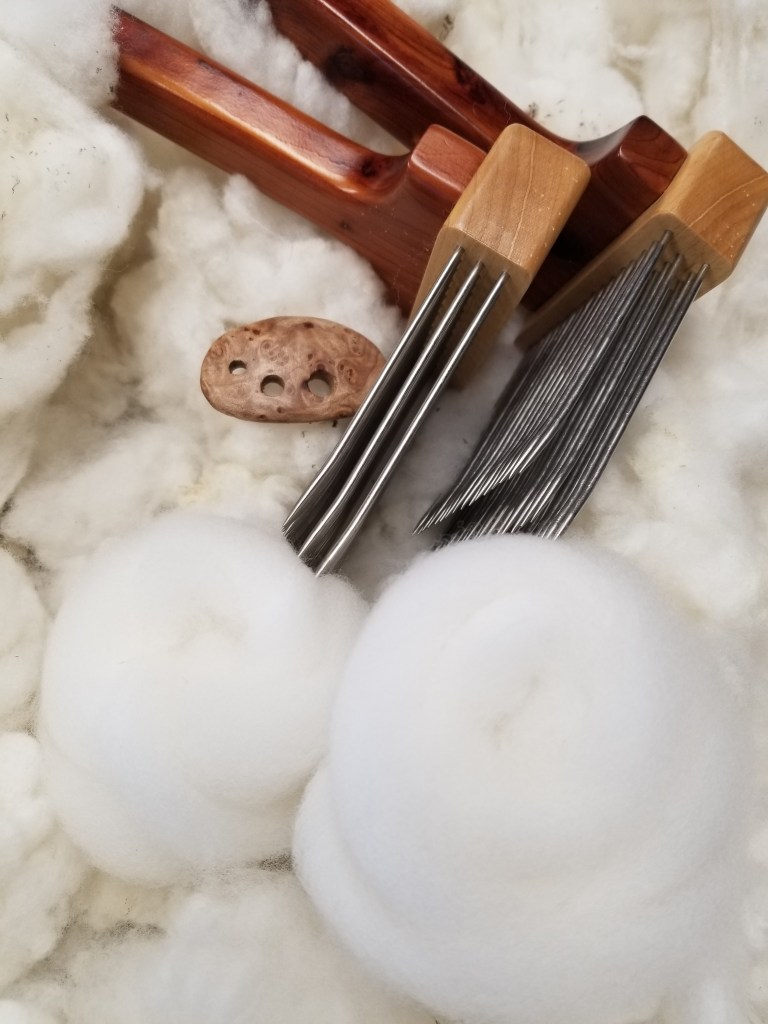
Combing the fiber
I had planned to use shetland, but unfortunately, I waited too long to get fine shetland fleece. So, after much sampling, I decided to use merino. I had a partial extrafine merino fleece from a ram named Jean van Ram at Ewe and Us Farms. The wool is perfection. Bright white, crimpy, sound, 13-15 micron fiber that combs like a dream. It wasn’t quite enough, so I am mixing in some other almost as nice merino that is in the 15-16 micron range. It’s not quite as bright and the staple length is a bit longer, so I am blending them on the combs as I go.
I did put a reservation in on a shetland fleece or two for the next shawl!
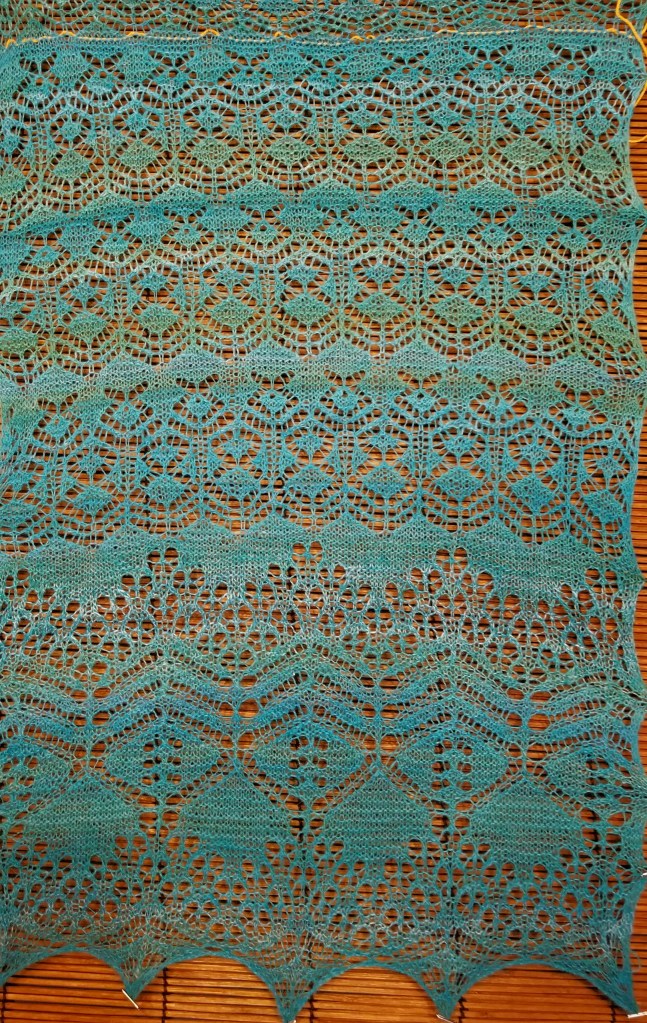
2022- the first border panel
Photos taken along the way to the knitting the first border panel


Coming soon: Photo of the first border panel
Time for a break! The second part of 2022 and all of 2023 were a scratch for me projectwise while I took care of some health problems.
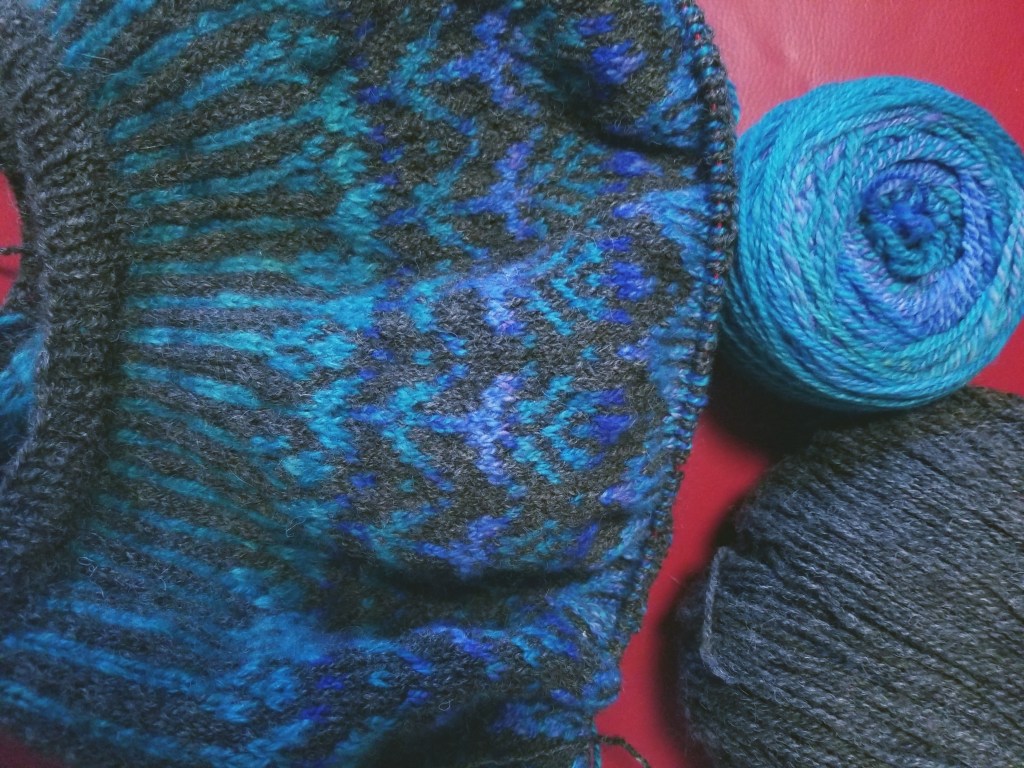
August 26, 2024!
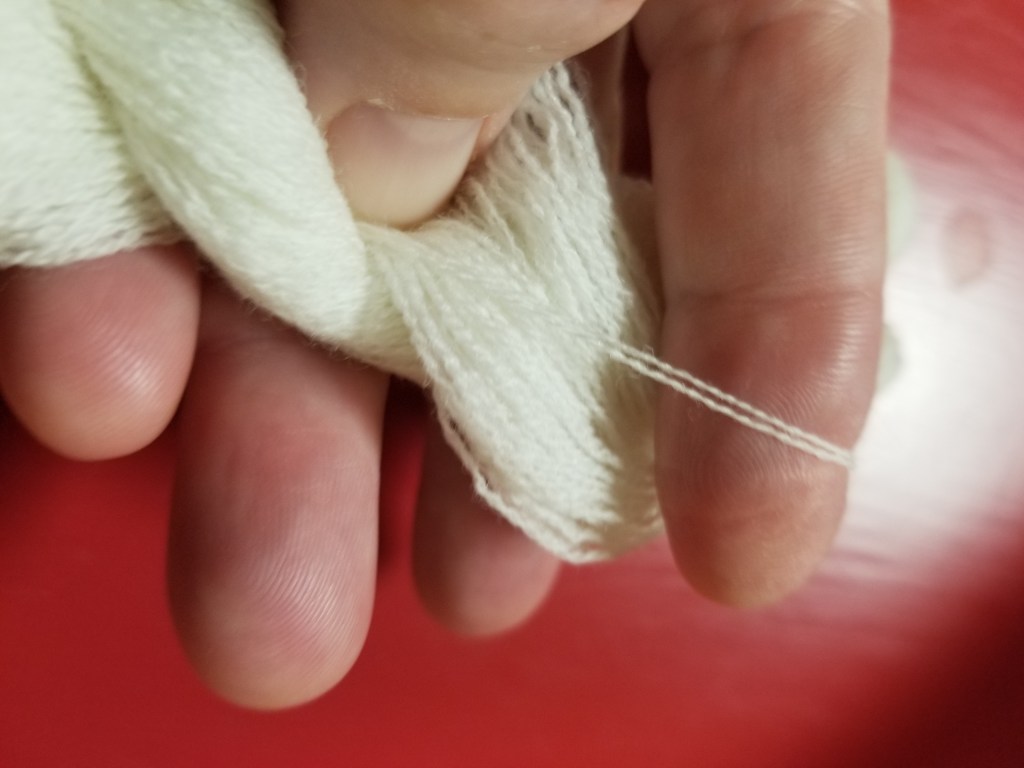
I plied the seriously well-rested singles.
August 27- I combed up some more merino and started spinning. I haven’t found the zone, but I can feel it out there! Most importantly, I found my notes from 2021/2022, so I feel like I’m back on track. There are several options for knitting in the pattern. For some bizarre reason, I did *not* note which ones I chose, so my task for this week is to read the knitted border panel I made back then and figure out which choices I made!