

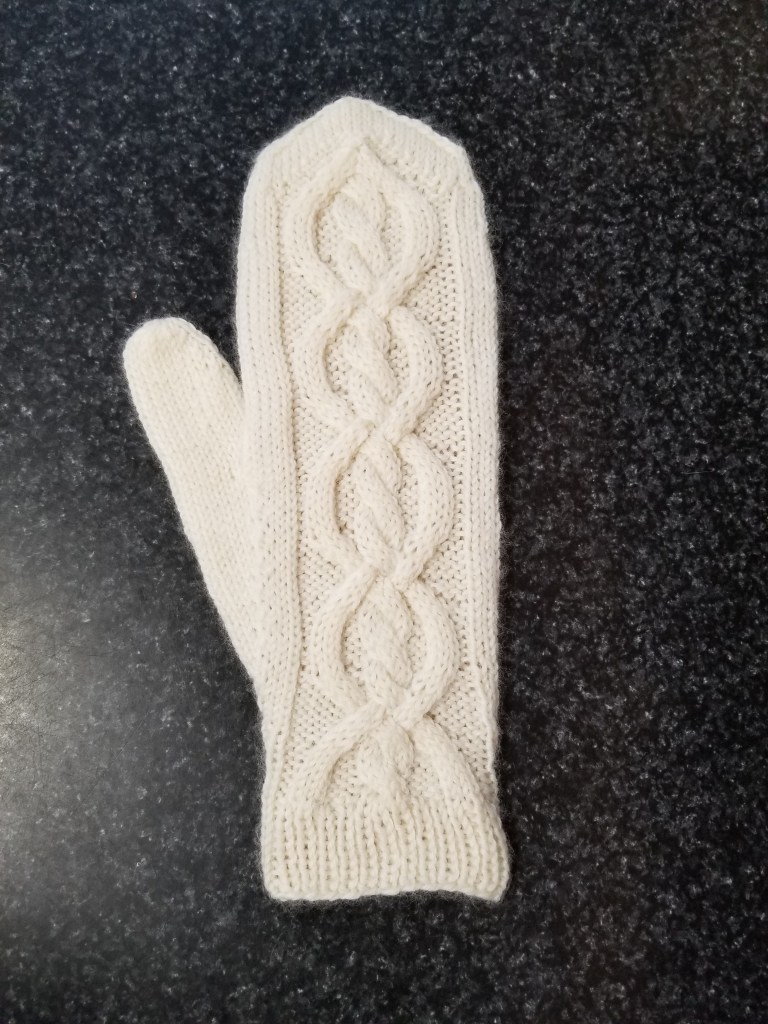

Not my finest knitting!
The Lake Effect Hat started as a simple project. Most of the design work had been done when I made the mittens. The hat matches the the mittens so all I had to do was keep the elements the same. I started with a ribbed brim to match the cuff. I set 5 panels with the Lake Effect cable offset by purls and and bordered by a knit column. Essentially, it’s the back of the mitten in hat form.
After finishing the hat, I started to wonder about the ribbed brim with the clean lines of the knit column between the cables. I wondered if a smooth brim would make a better frame for the hat and the wearer’s face.

First Modification: a smooth, folded brim.
I like the spot where the cables come to a point, and it was getting buried in the crown gather area. So, I decided to drop the cable down a bit. Piece of cake!
Second Modification: Change the starting point of the cable so it can end 3/4″ lower than it’s current location.
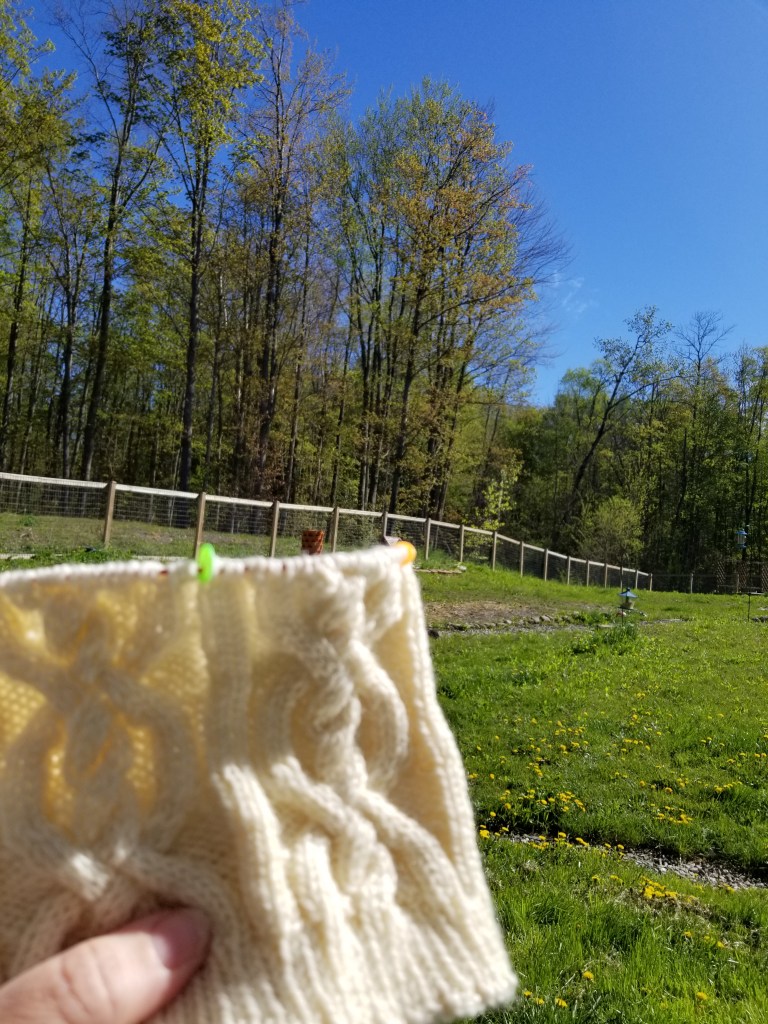
Enter the project creep! While messing around with the cable, I got the great idea to take that knit column and make it a 2 x 2 cable. More cables are better, right?
Remember that knit column. The clean line element that led to the smooth brim. On the second knit up of the hat, I tossed in that 2×2 cable- which meant it no longer had the clean column to tie into the smooth brim. This version has a 2 x 2 cable sitting on a folded brim. It brought to mind an Aran sweater I bought in the Shannon airport circa 1990. I knit about 1/2 a hat worth with the 2×2 cable before frogging. So, back to the beginning. I’m starting fresh with the folded brim! Huzzah!
SPINNING NOTES:

Which leads me to the spinning notes. I used a short forward draw to spin up some romney singles which will 3 ply into a worsted weight, worsted draft yarn. The plan had been to spin on to 3 bobbins and then ply, but life got in the way. I ended up spinning everything onto one bobbin and chain plying.
Mistake number one. Chain plying has some wonderful perks- the primary one being you can spin away onto one bobbin until you’ve reached the desired singles length (rarely), run out of fiber (more likely), or run out of bobbin room (story of my life). Then you triple it over in long chains and twist away. No mismatched ends of singles on bobbins. No weighing fiber into 3 sets. No keeping track of bobbins 1 & 2 while spinning bobbin 3. (The struggle is real!)
But there are cons: chain plying enhances any uneven spinning. If you have a thinner section in your singles, it will ply on itself so the ply will be the thin section x3. If you have 3 bobbins, chances are your thinner section will land alongside less thin sections and the weight of the other 2 singles will help even out the thin section.
The other con- knitting cables with chain plying. It never fails- the chain bump will land in the center of your largest, smoothest cable. You can break out the bump if it’s very noticeable, but I usually convince myself it will settle out in the block and then regret it later!
The other challenge is if you knit cables without a cable needle that little gap where the next chain starts becomes a trap for your needle when you are moving groups of stitches.

Another spinning note: I spun worsted with a medium wool, staple length about 3.5″. The wool had been steamed and pressed within an inch of its life, so when I spun the wool, the yarn came out fairly dense. Washing the yarn perked it up a bit, but washing can’t offset too many fiber ends in the width. Next time, I spin this top I will steam it first, reactivating the crimp which would have let me get the smooth worsted yarn but maintain a bit more loft in the yarn itself.
And yes, I really need to mow my office!
