
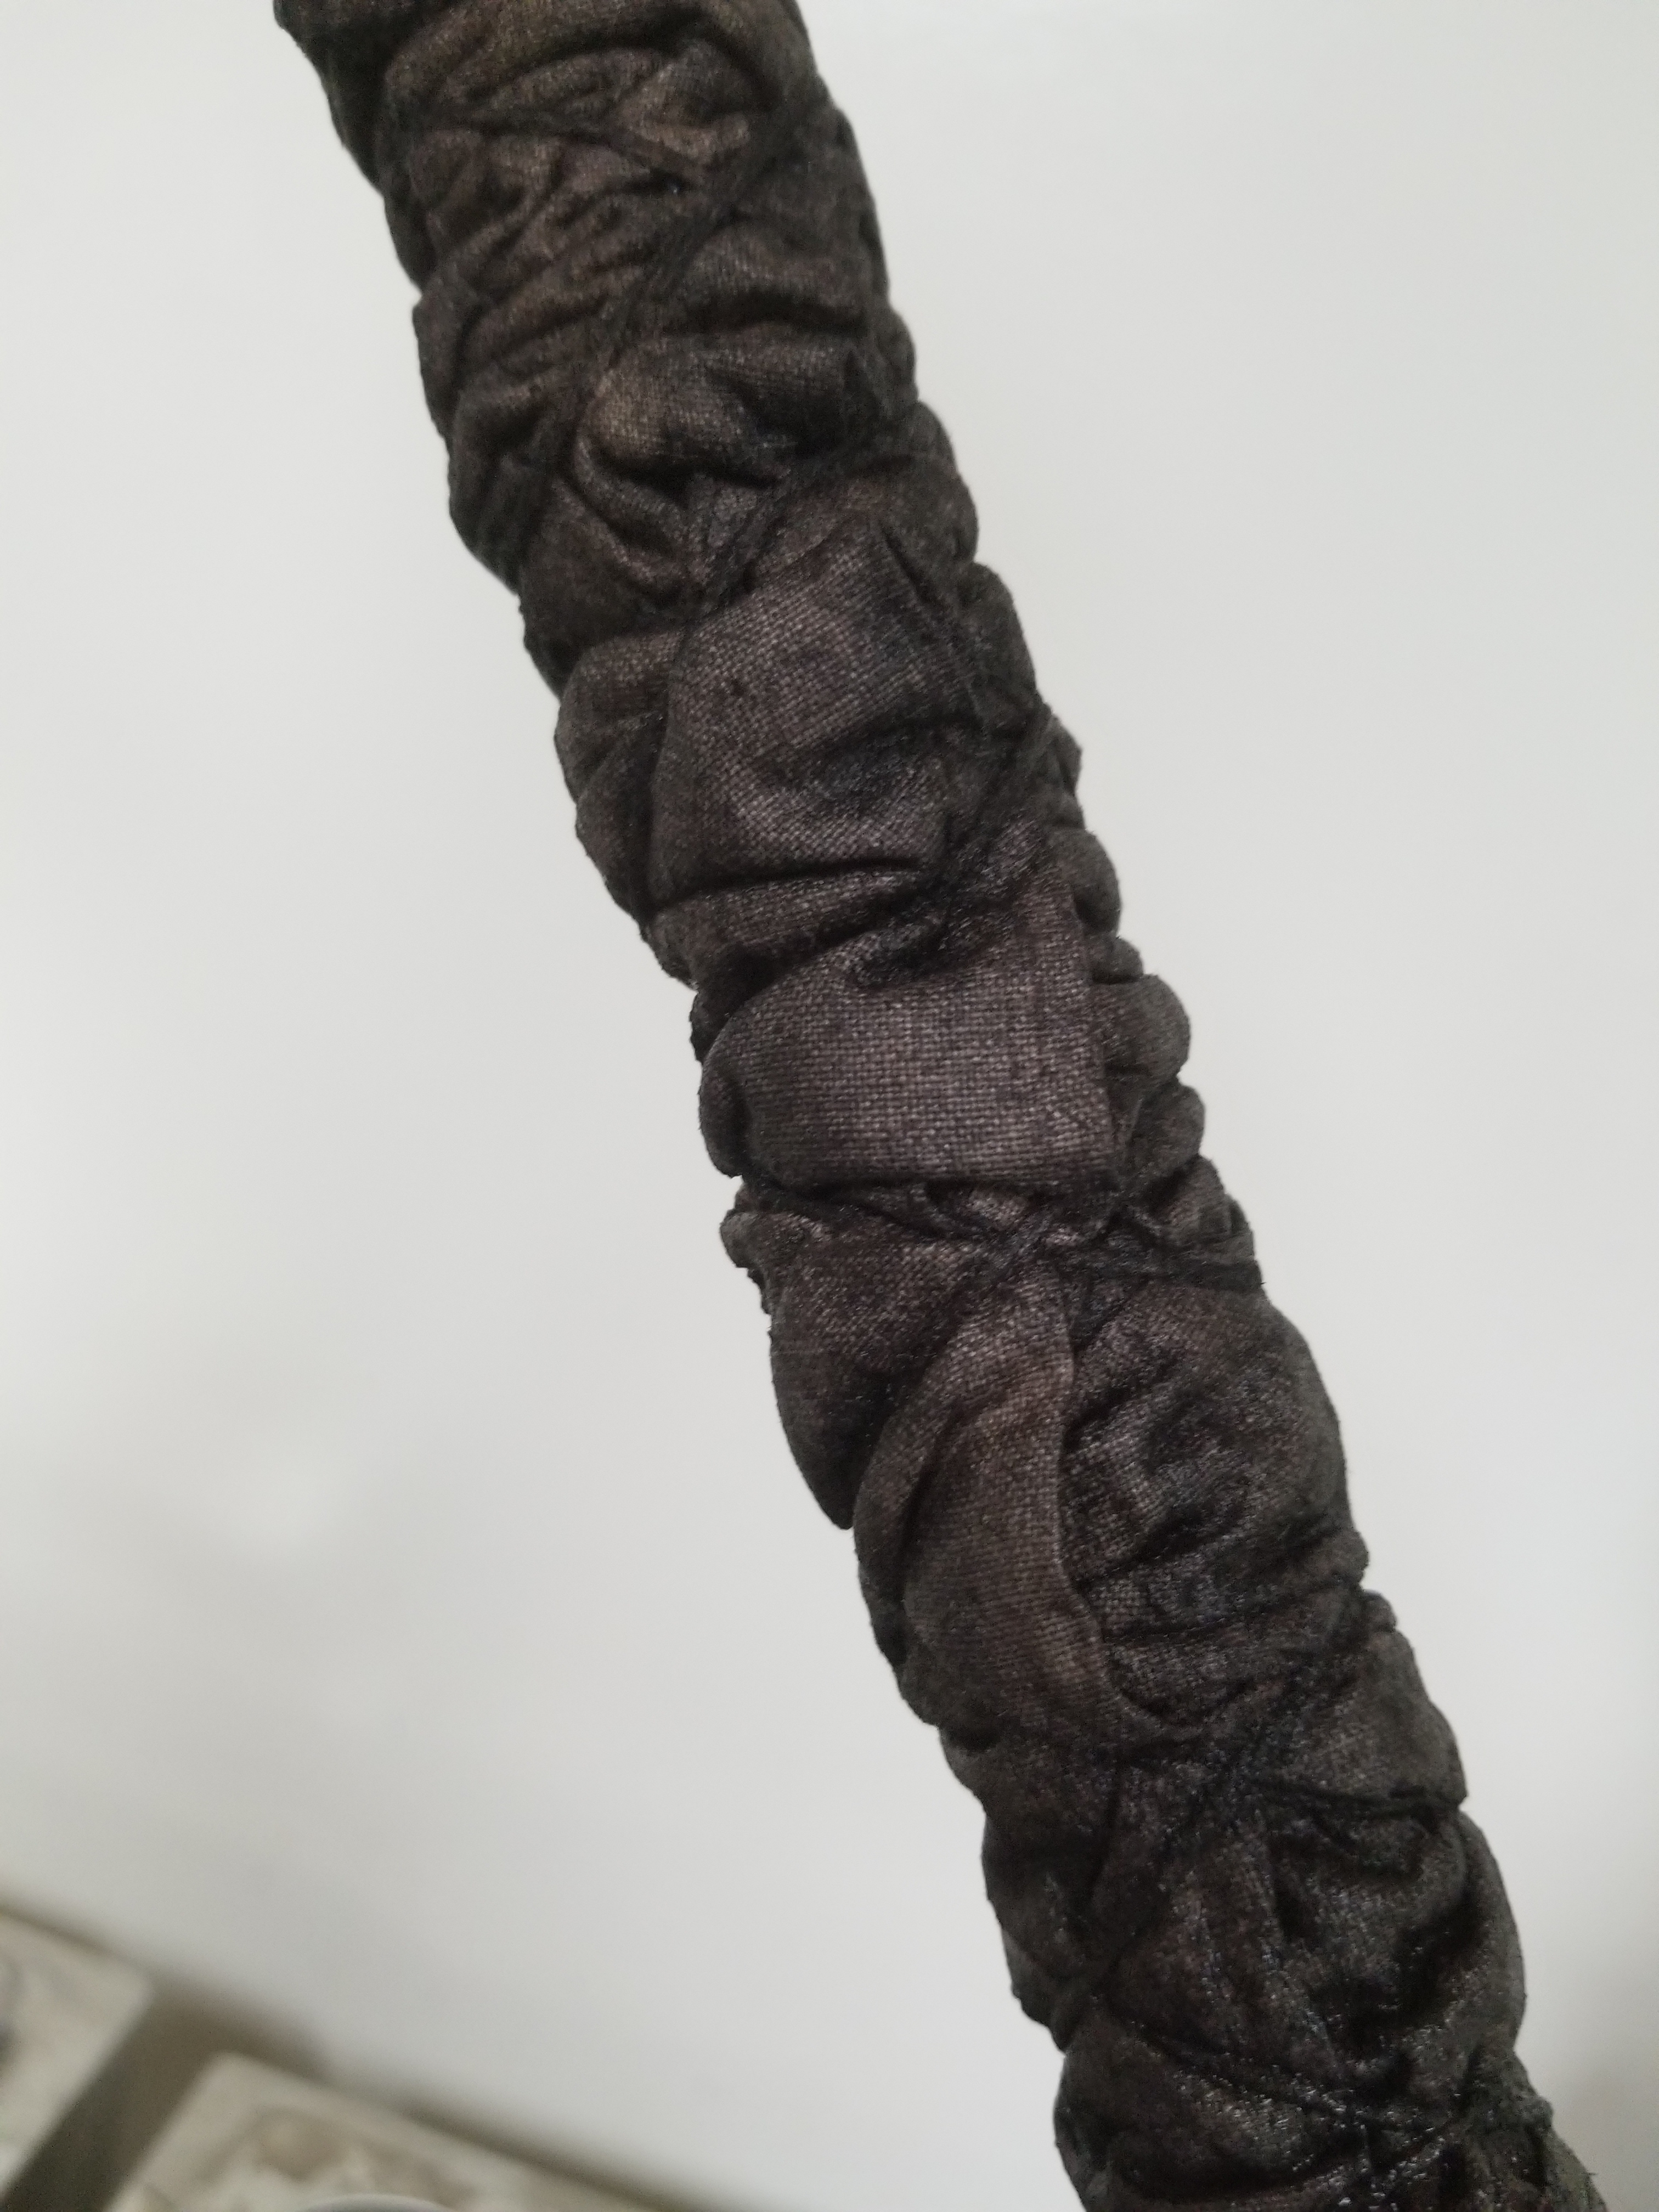
Acorns are extremely versatile. They are full of tannins which will dye plant fibers a pinkish-brown. With an iron dip, the pinkish-brown turns a pretty grey-black. The color you get will depend upon the fiber you are dyeing. In this project, I’m dyeing a 60% linen/ 40% cotton blend. Linen takes a bit longer to dye and seems to need more dye stock than cotton. I used a cotton twine to tie up for my resist, and the twine became jet black.
How to dye with acorns:

Step One: Gather ye acorns while ye may
I use 3 pounds of acorns to 1 pound of fabric or fiber. There are roughly 50 acorns in a pound, though of course the size of your acorns are going to play a part there.
Step Two: Soak the acorns
You’re going to need to mash up the acorns so you can extract the maximum amount of dye. You can try to bash them up while they are hard, but it is so much easier to soak them first.
I took off the caps and soaked the acorns for 2 days in the solar oven. We only had good sun for one of those days, but it was enough to lightly soften the shells.
Step Three: Mash the acorns.
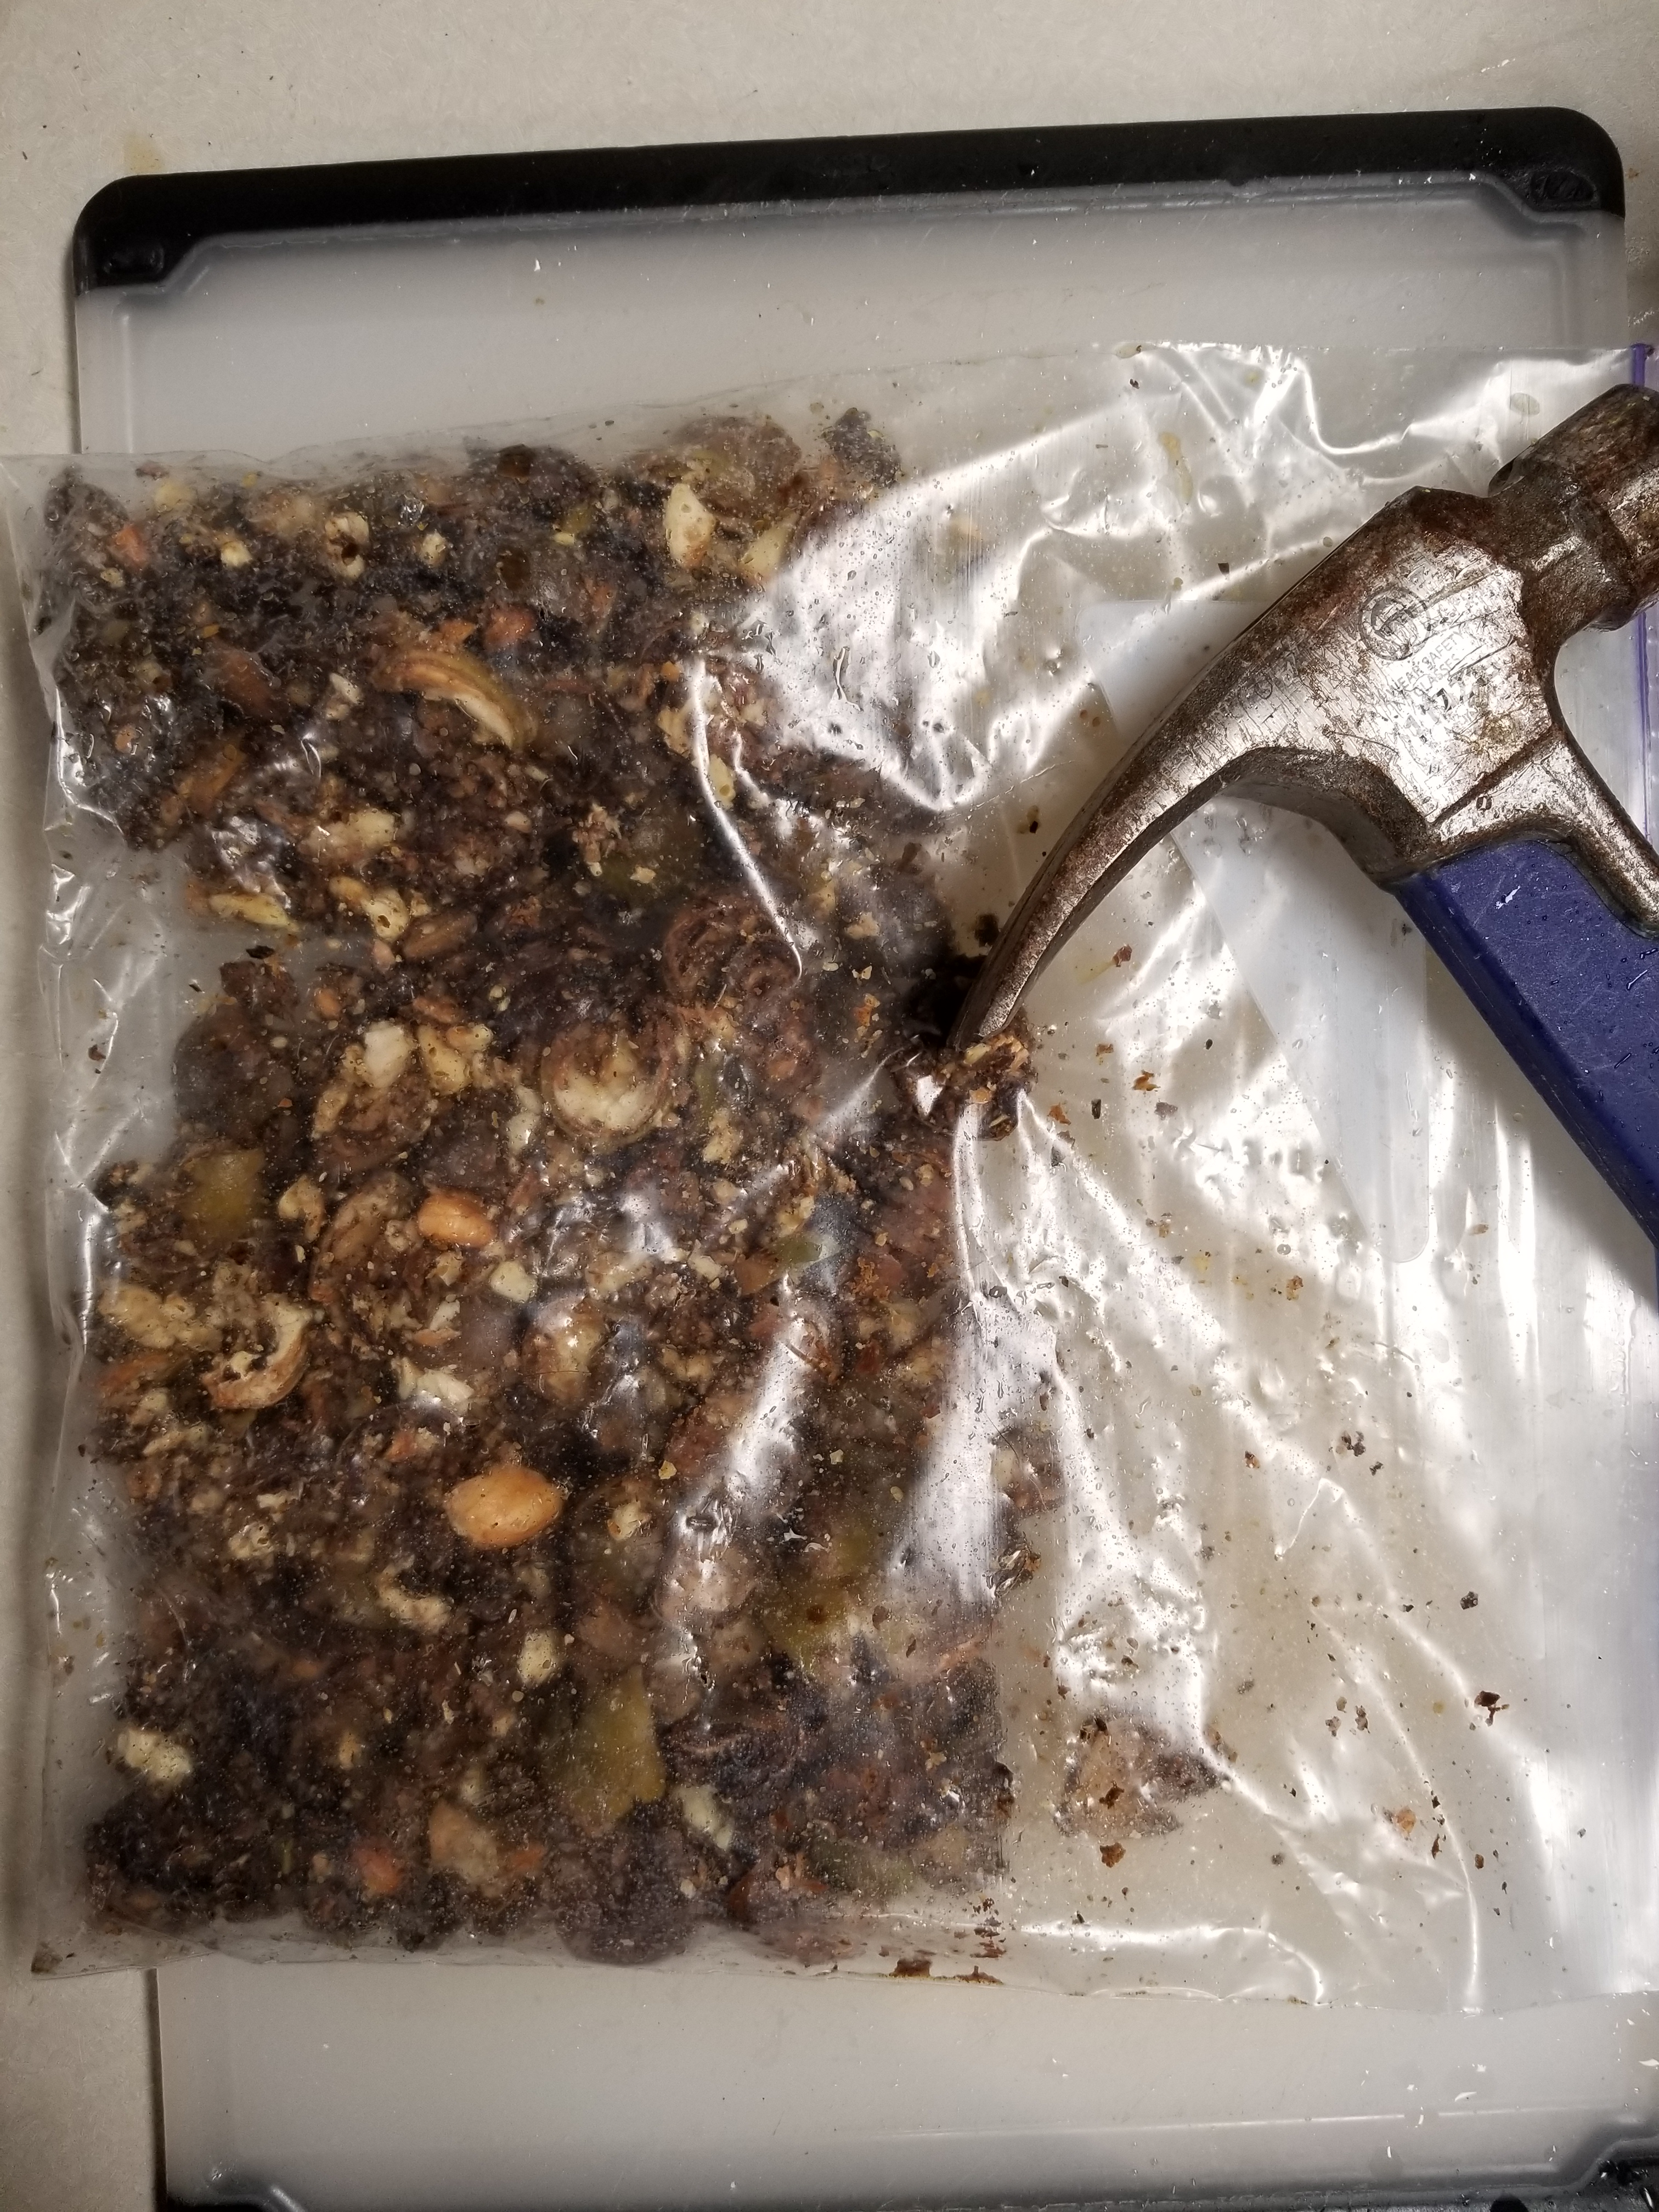


You can use a rock, a mortar and pestle, or a hammer. Whatever you have on hand will work. Mine were a bit too hard for the mortar and pestle, so I took the very satisfying hammer short cut.
Mash the acorns and put them back into the jar. You’ll see the brown liquid already forming as you work.
Step Four: Let it steep.
You can’t rush a good cup of tea or a strong natural dye bath. All for the same reason! It takes time to pull what you want from the plant matter into solution. For acorn dye, you want a dark brown liquid which will be full of tannins for dyeing. We had a mix of cool, rainy weather and hot, sunny days, so I just left the acorns in a black mason jar in the solar oven for about 10 days. I know at least two days the bath reached 165F. Some other days, it probably never got above 60F. The cooler the temps, the longer the soak. After ten days, I had a dark brown dye bath that smelled like a forest pond.

Step Five: Prep the Iron Dip
Do this alongside soaking your mashed acorns.
I put a rusty piece of metal in a mason jar with 50% water & 50% white vinegar. The metal soaked for a week on my countertop. I meant to put it in the oven, but well, life… No matter. At the end of the week, I had a nice dark gold solution.
I poured off the solution and left the metal and any flaked bits in the bottom of the jar. I’ll keep reusing this metal until it stops making the bath. Then I’ll just put the piece of iron somewhere to get rusty again and start over.
Time to Dye!
Step Six: Prep your dyeing pot.
I like to use stainless steel hotel pans for dyeing, but you can use almost any big stainless or enameled pot that will fit your dye stuffs with room to spare. Stainless steel or fully enameled pots will let you control the color most. Iron saddens dye colors, so iron pots or inexpensive pots that rust easily will change the color of your yarn. Similarly, aluminum pots can change your colors. Good if you want to do that. Less good, if you don’t.
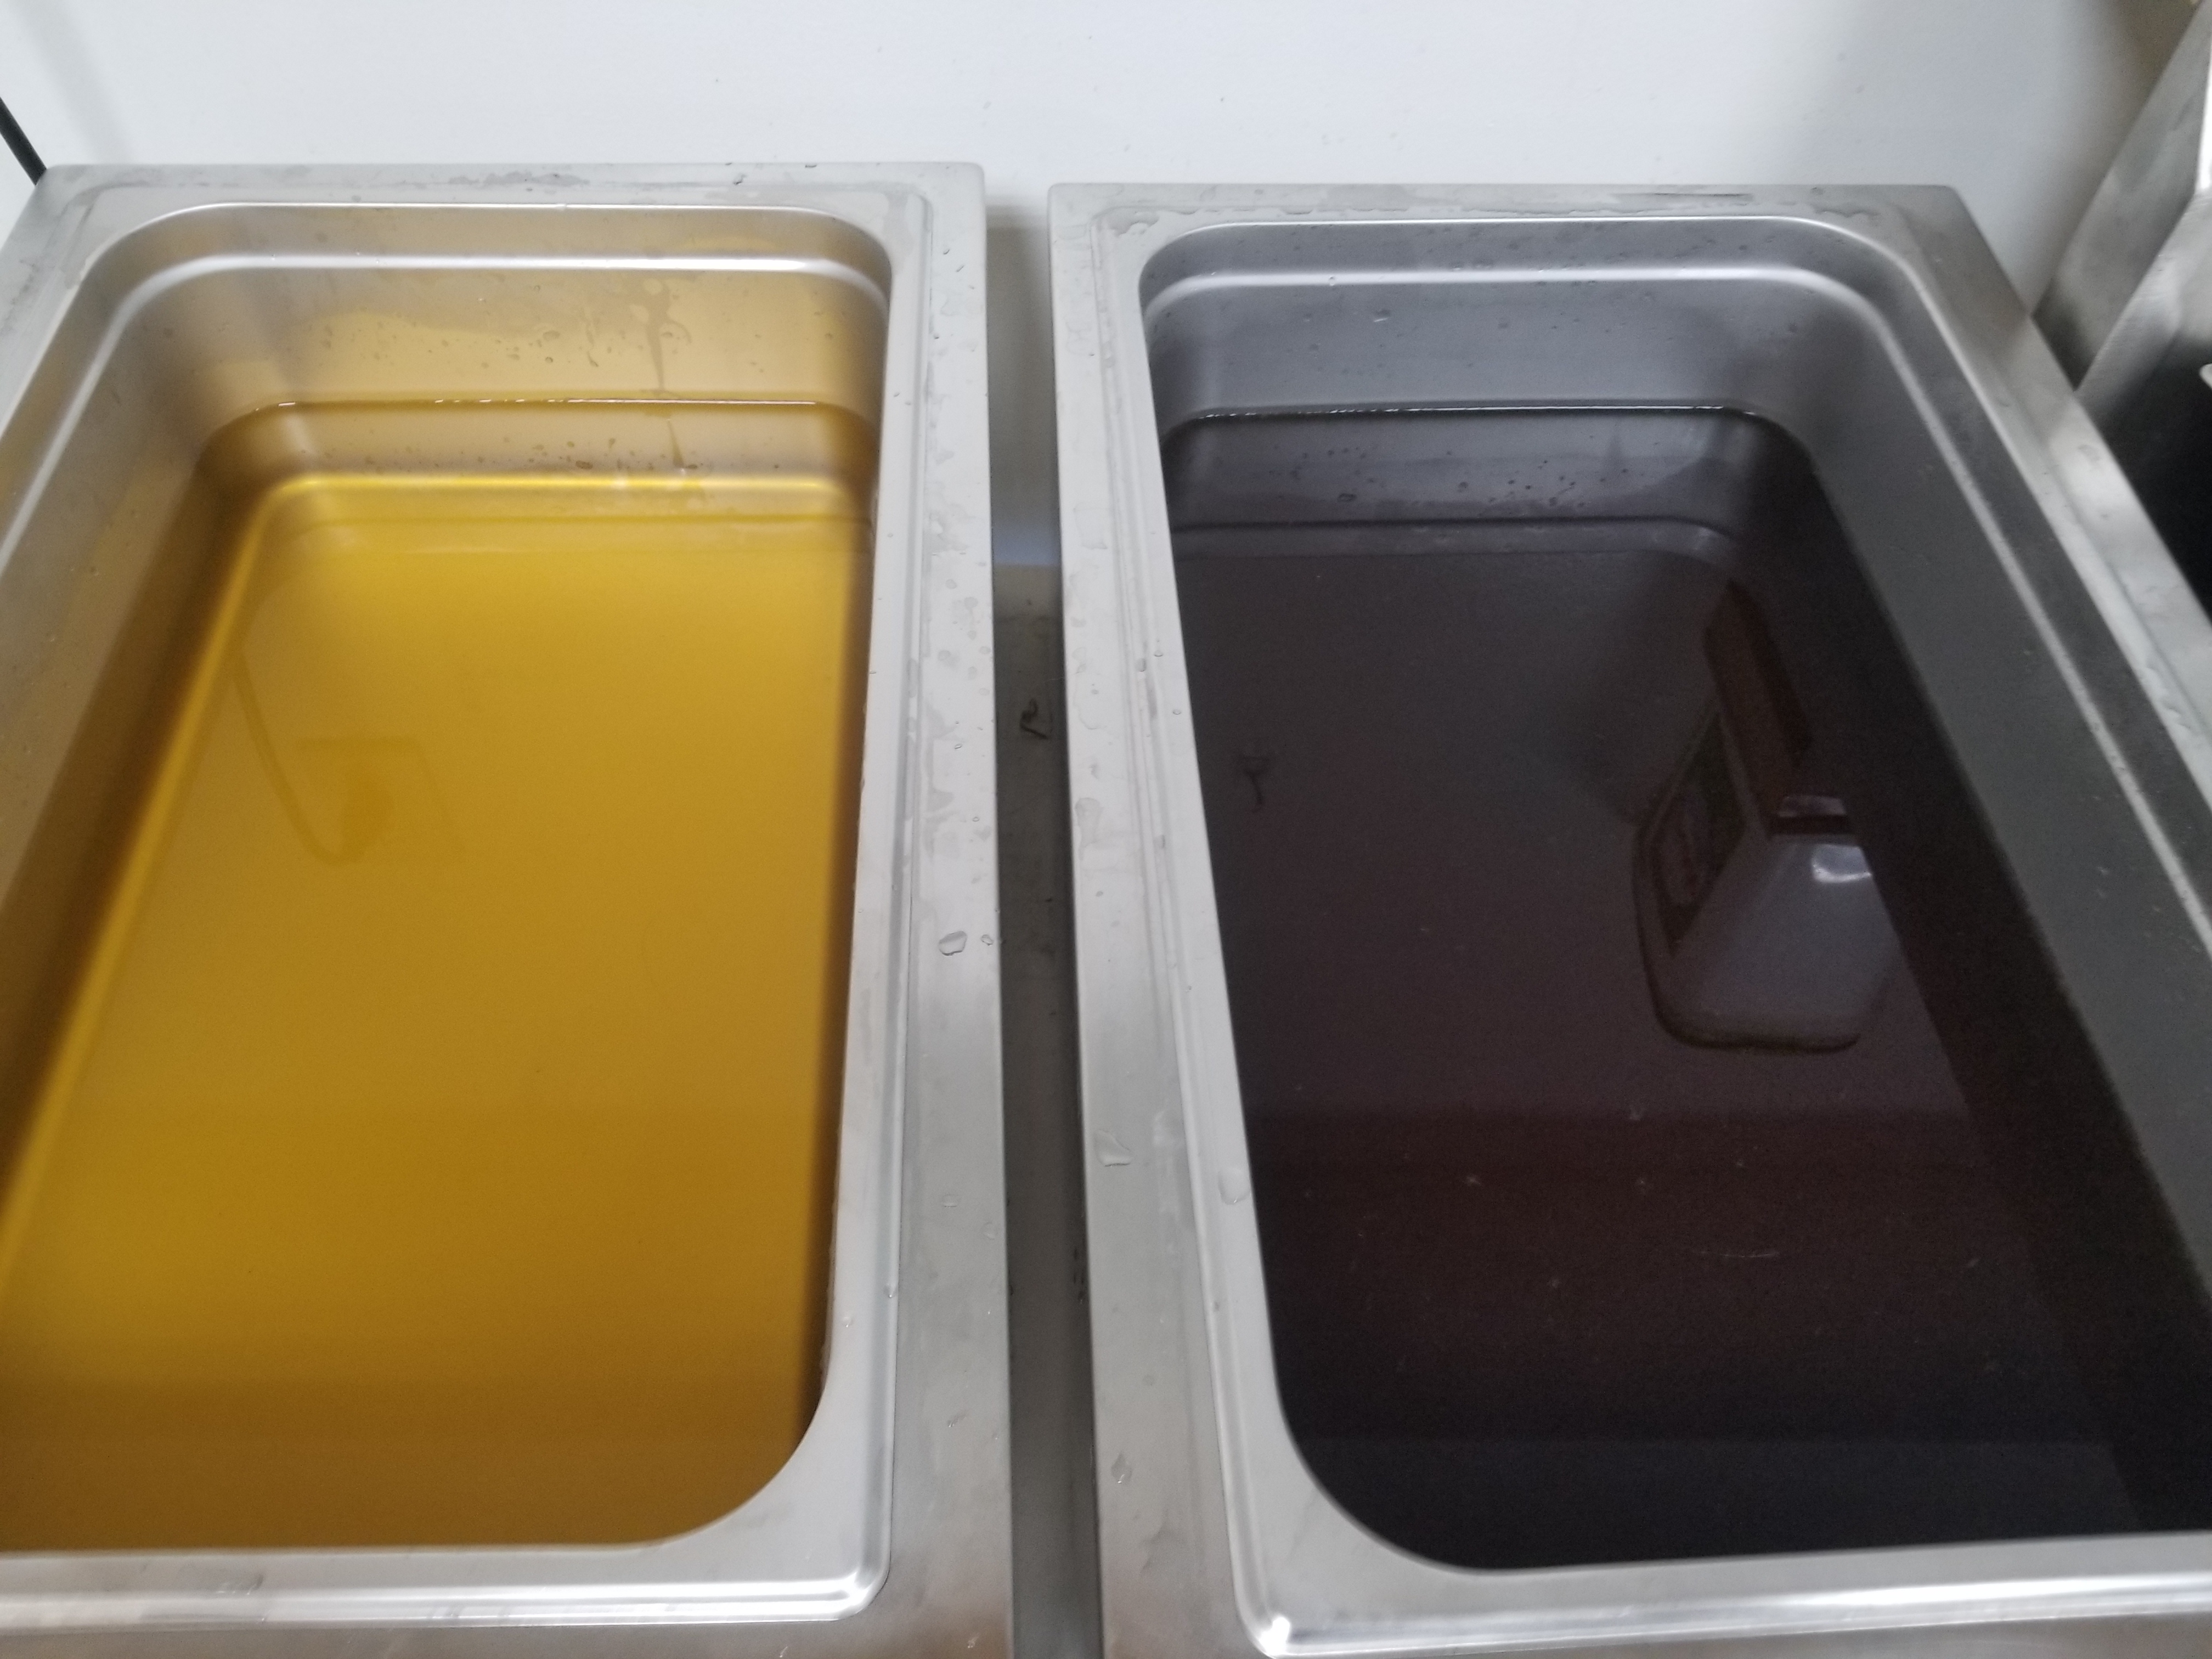
Below are pictures of the two baths. On the right, I diluted the dark brown acorn dye solution with enough water so that my fabric would be fully immersed. On the left, I did the same with the iron solution.
Step Seven: Scouring the fabric and prepping the towels to dye
I washed a set of 4 white linen & cotton hand towels in synthropol, washing soda, and hot water. They soaked for 40 minutes in the synthropol and washing soda hot bath and then were rinsed thoroughly in hot water.

I wanted to make some resist patterns on the fabric, so I wrapped them on pipes and wrapped some random patterns of cotton twine.
Step Eight: Initial dye
I simmered the fabric in the acorn dye bath for 40 minutes until the fabric turned a mid tannish-brown. This is always the hardest part because it looks like I’m not getting enough color. But it’s just the first dip.
(Sorry- I missed this photo. I’ll take it with the next batch)
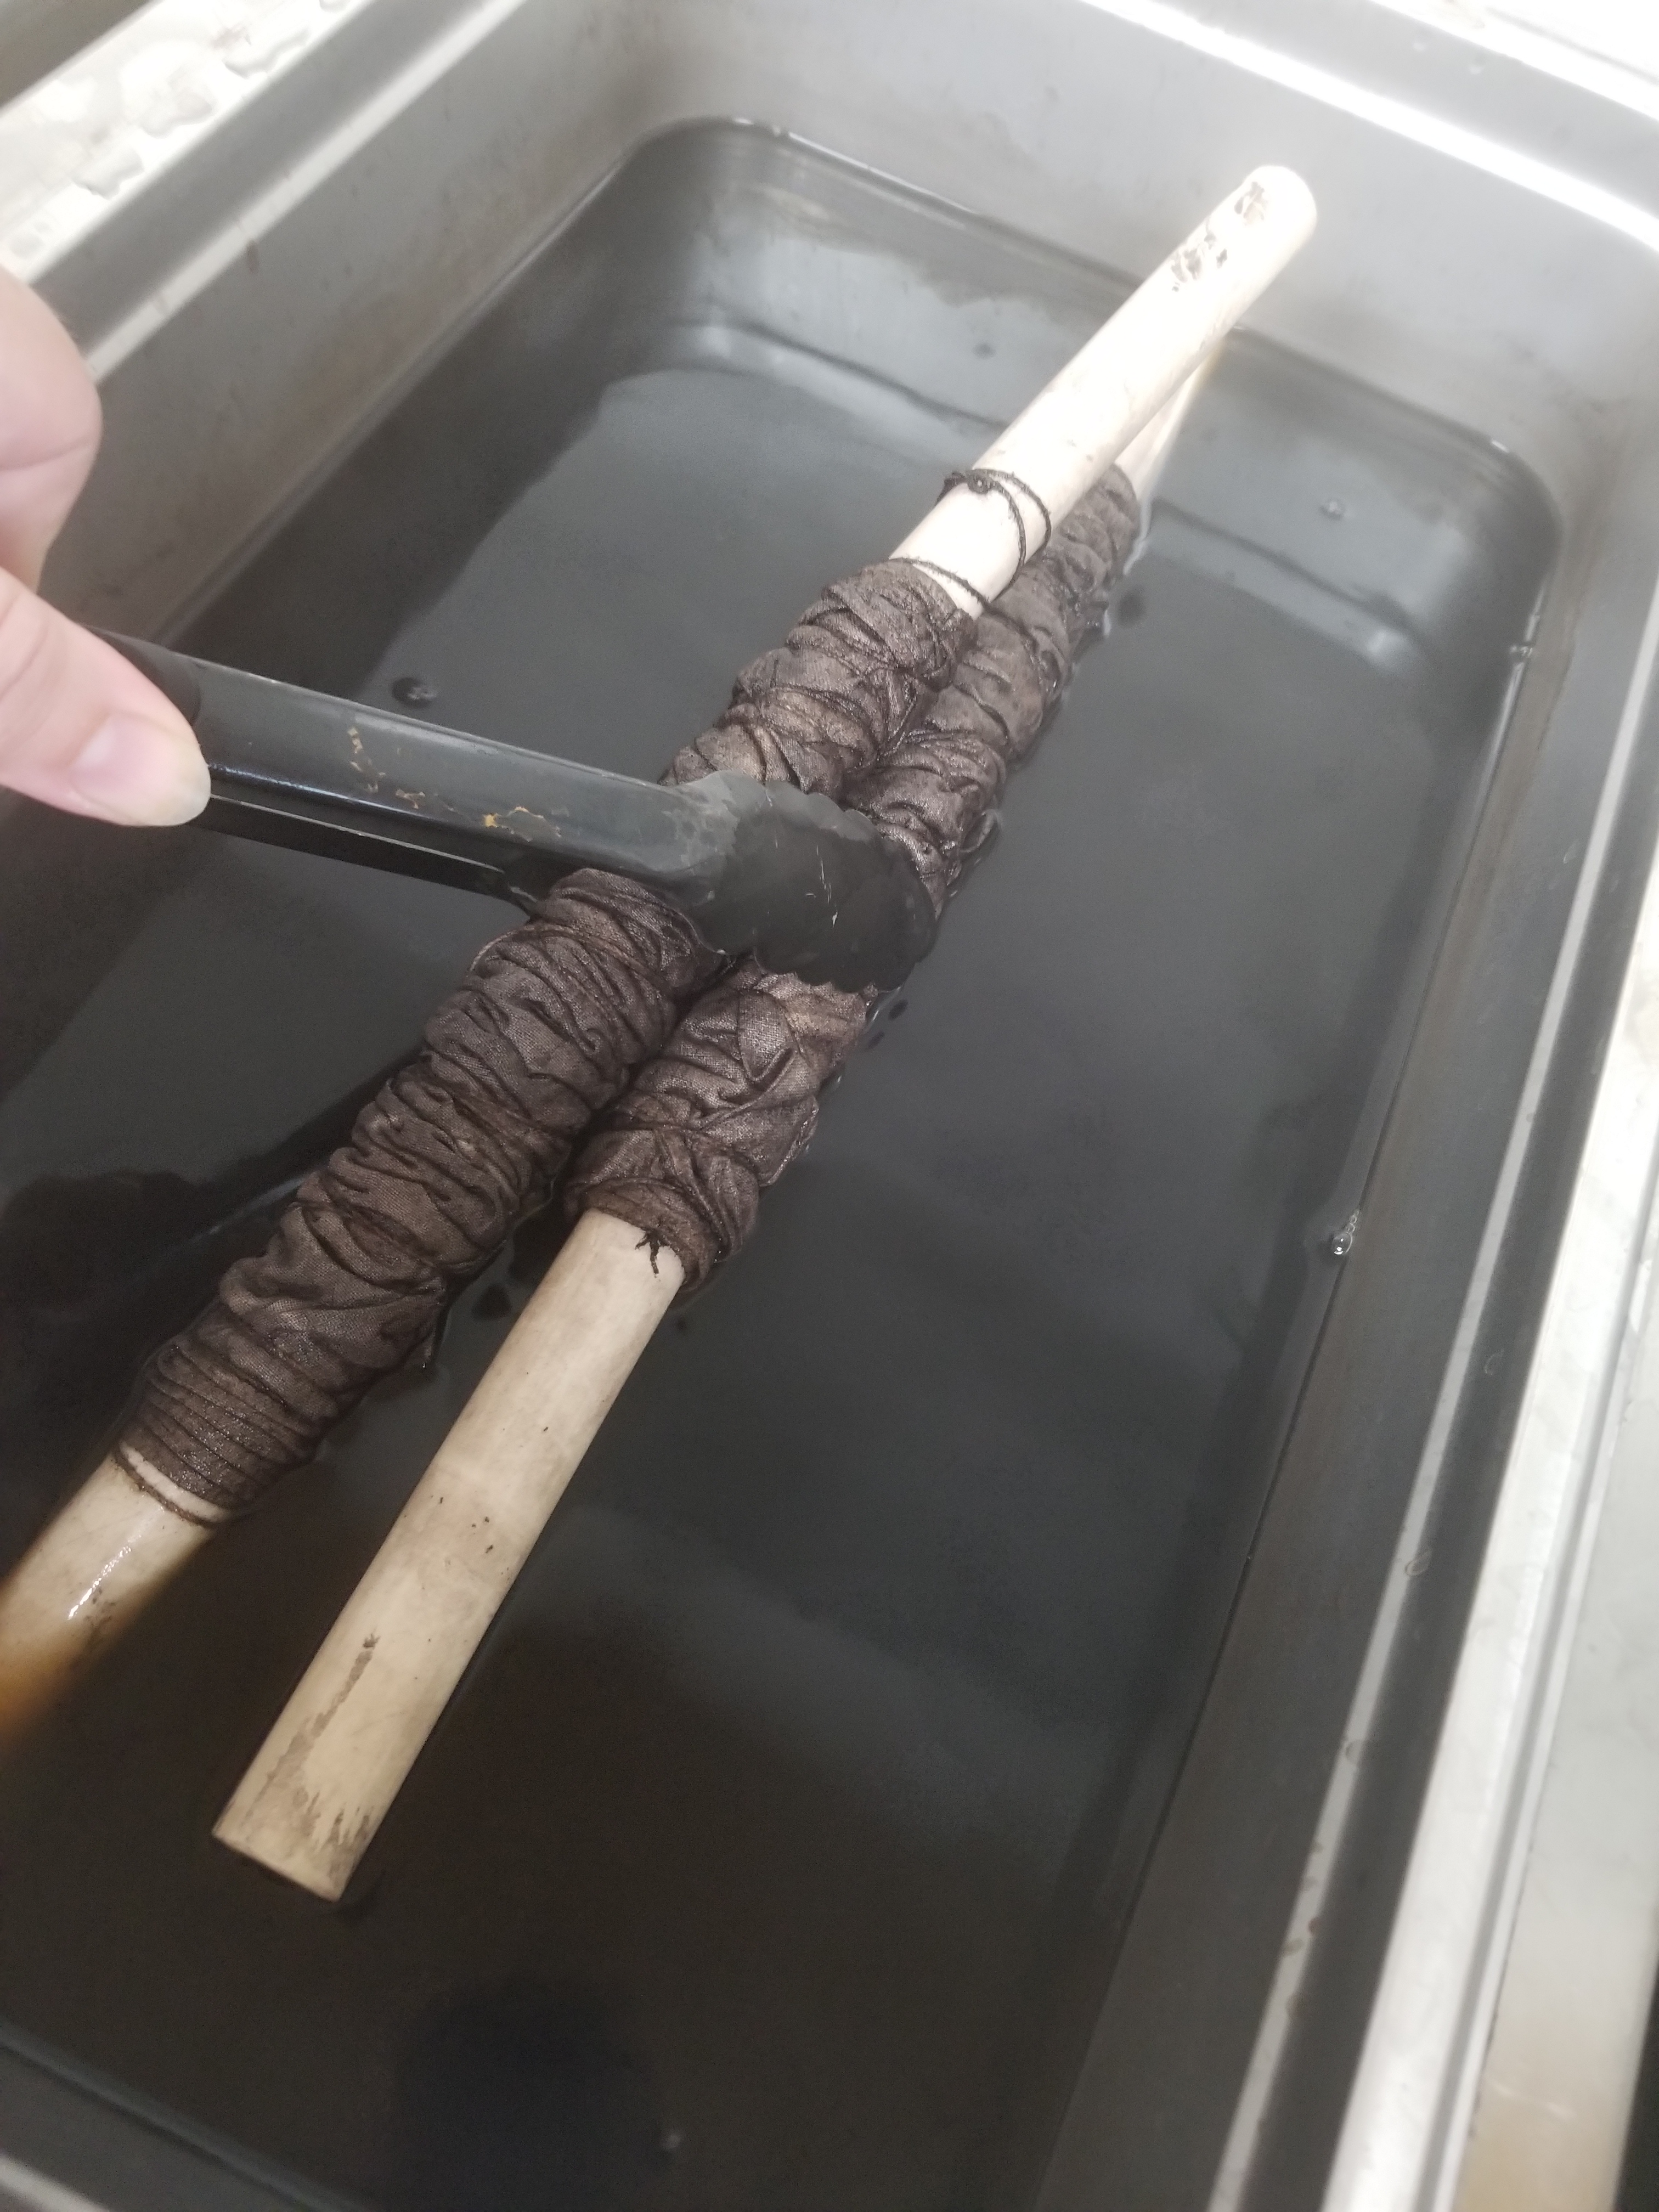
Step Nine: The iron dip
I moved the brown fabric into the iron bath (195F) and let it rest for 20 minutes. The color darkened but not as much as I wanted it to. Take a look at the dye bath. A dark brownish black precipitate has formed in the pan. With stirring, it will go back into solution.

To darken the color, I moved it back into the acorn dye so that iron that had penetrated the fiber could more easily interact with the tannins. I let it sit until the color deepened more closely to what I wanted
I wanted even more color, so I let the fabric continue to simmer in the acorn bath for another 30 minutes, repeated the 10 minute iron dip, and then put it back in the acorn bath for the final soak. After 20 minutes, I had the color I wanted. It’s a dark purple-brown that is almost black. On 100% cotton, this would be pure black. On linen, I’m hoping the purple and grey undertones show through. Because of the resist I should have a wide range of colors from the plain linen/cotton white through the brown, lighter grey-brown, and darker purple-grey. I love this moment in natural dyeing. Because I don’t know how much iron and how much tannin I had in each bath, I have a good but not exact idea of the colors I’ll have on the fabric. Add to that the ever changing nature of my tap water, and things can surprise me.
Step Eight: Cooling in the bath
It’s really tempting to pull it out and immediately rinse to see how things turned out. For full color, I leave it in the bath, turn off the heat, and walk away until the pot is completely cool. This can take several hours, so it really helps to have another project in the works. When in doubt, go out and gather more dye stuff.

Step Nine: Rinse and wash
Once everything has cooled, a thorough wash with some gentle dishsoap will take out any unfixed dye and acorn bits and make sure there isn’t a residue left behind.
As you are dyeing, don’t forget that things look paler when they are dry. Here are the towels. The one on the left is wet. The ones on the right are the same towels after they have dried.


